neu·ro·sis/n(y)o͝oˈrōsis/Noun: 1.A relatively mild mental illness that is not caused by organic disease, involving symptoms of stress (depression, anxiety) but not a radical loss of touch with reality. Compare with psychosis
2.(in nontechnical use) Excessive and irrational anxiety or obsession.
When planning a wedding ALL of them surface. Example, I have an extreme distaste for odd years. Pretty weird. I am an open book and I've had lots of acting training so I'm usually pretty in touch with myself, but the wedding has forced me into situations I've never been in before.
As it turns out, I really don't like changing my mind. I enjoy being a decisive person. I like making a plan and sticking to it. It makes me dependable and responsible. I'm not immovable by any means, but when other people (vendors, family, wedding party) are involved I have serious guilt.
First it was the dress. I was so torn about abandoning the sample dress I found a thrift store 4 years ago that I shed tears over it. Not because I was so in love with the dress, but because I had let myself down. I failed to comply with the plan. Never mind that the dress was impractical for someone with mobility issues (and an outdoor venue) it was bought and paid for why couldn't I suck it up?
Why? Because there was something better out there waiting for me. My real dress. I survived, the budget survived and no one shook their finger at me and told me what a disappointment I am. I LOVE my dress. I love that it's being custom made to my size and specifications. I love the idea of wearing it again...
Then I found a picture of blue sea holly in a magazine. We'd been planning for a long time to get all the groomsman and dads matching lapel pins. It was a cute idea, but reality was the one we liked wasn't available anymore. Beyond that this thistle screamed Mike's Boutonniere to me. He loved it too. No big emotion issues there. I started to think my pain over the dress was a one time thing.
Now I've started doubting my bouquet choice. At first I loved my bouquet and that I was the only one with one. It made it more special. Than I started considering a brooch bouquet.
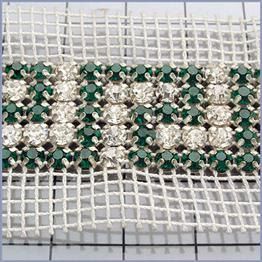
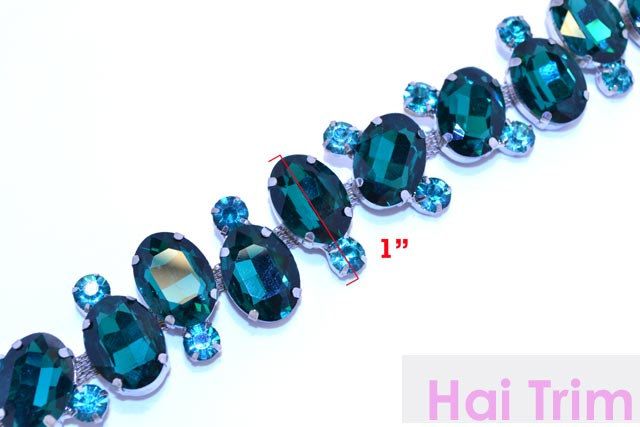
 Something like this, but with fairies instead of flowers. It would be pretty. Imagine it with pieces like this:
 The last one is my absolute favorite. I may buy myself that pin whether I do the brooch bouquet or not. I could just pin it to the ribbon around the stem of my flower bouquet. Making a brooch bouquet could be a fun last DIY project before the wedding. I could ask everyone attending my bridal shower to bring a fairy pin. I did something similar for a Christmas party one year and it turned out amazing. My tree was so interesting and I have sentimental attachment to all of those ornaments because of who they came from.
I'm just not sure. It bothers me that it was already decided. I also feel like brooch bouquets are so trendy now, thanks Miranda Lambert. It would be heavy so there would be no tossing it. Not that we couldn't get around that. Hmmm...
On the plus side I could take it apart afterward and keep all the fun jewelry. It would save a little on flowers (that Mike would eat up with his decor design without blinking). Do I really want one? I'm not sure...I hate being not sure.
I investigated compromise:
 Here's what splitting the difference looks like. Yeah. Huh. To each her own, but I despise it. I really don't like it at all. So that's out. I'll either have all flowers or all pins. Help me out guys what do you think?
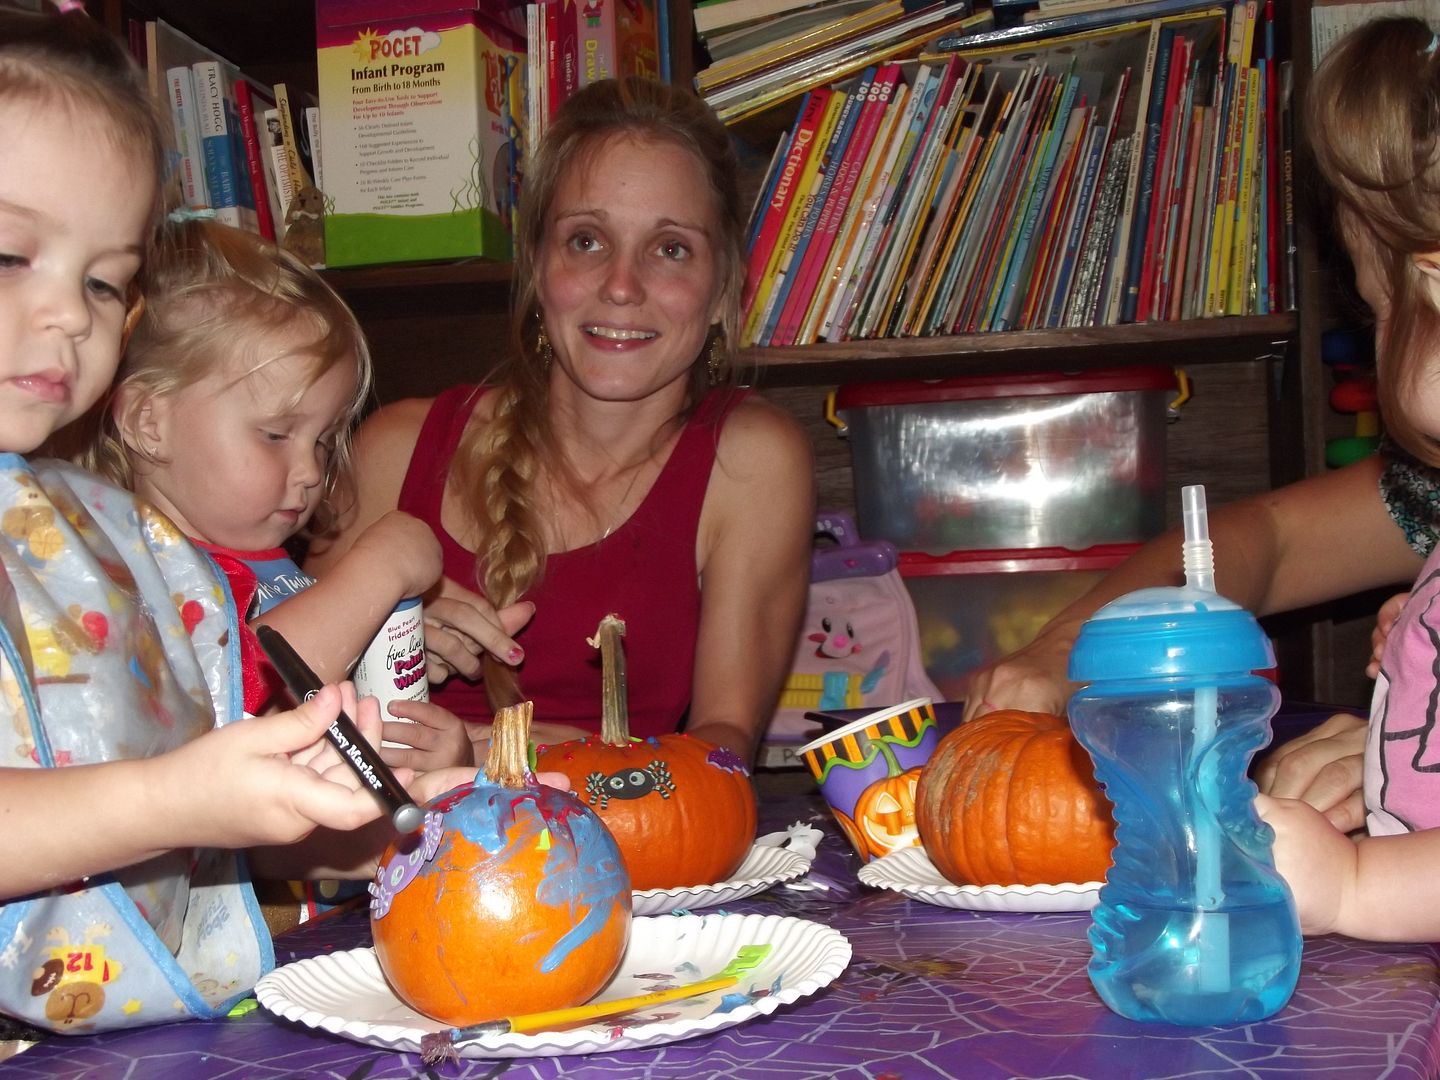
 HAPPY HALLOWEEN
 Done
Done


 There is only one page left to write on. I will fill it with words of only one syllable. I love. I have loved. I will love.
And
But you make me happy. It's living up to being happy that's the difficult part.
There is only one page left to write on. I will fill it with words of only one syllable. I love. I have loved. I will love.
And
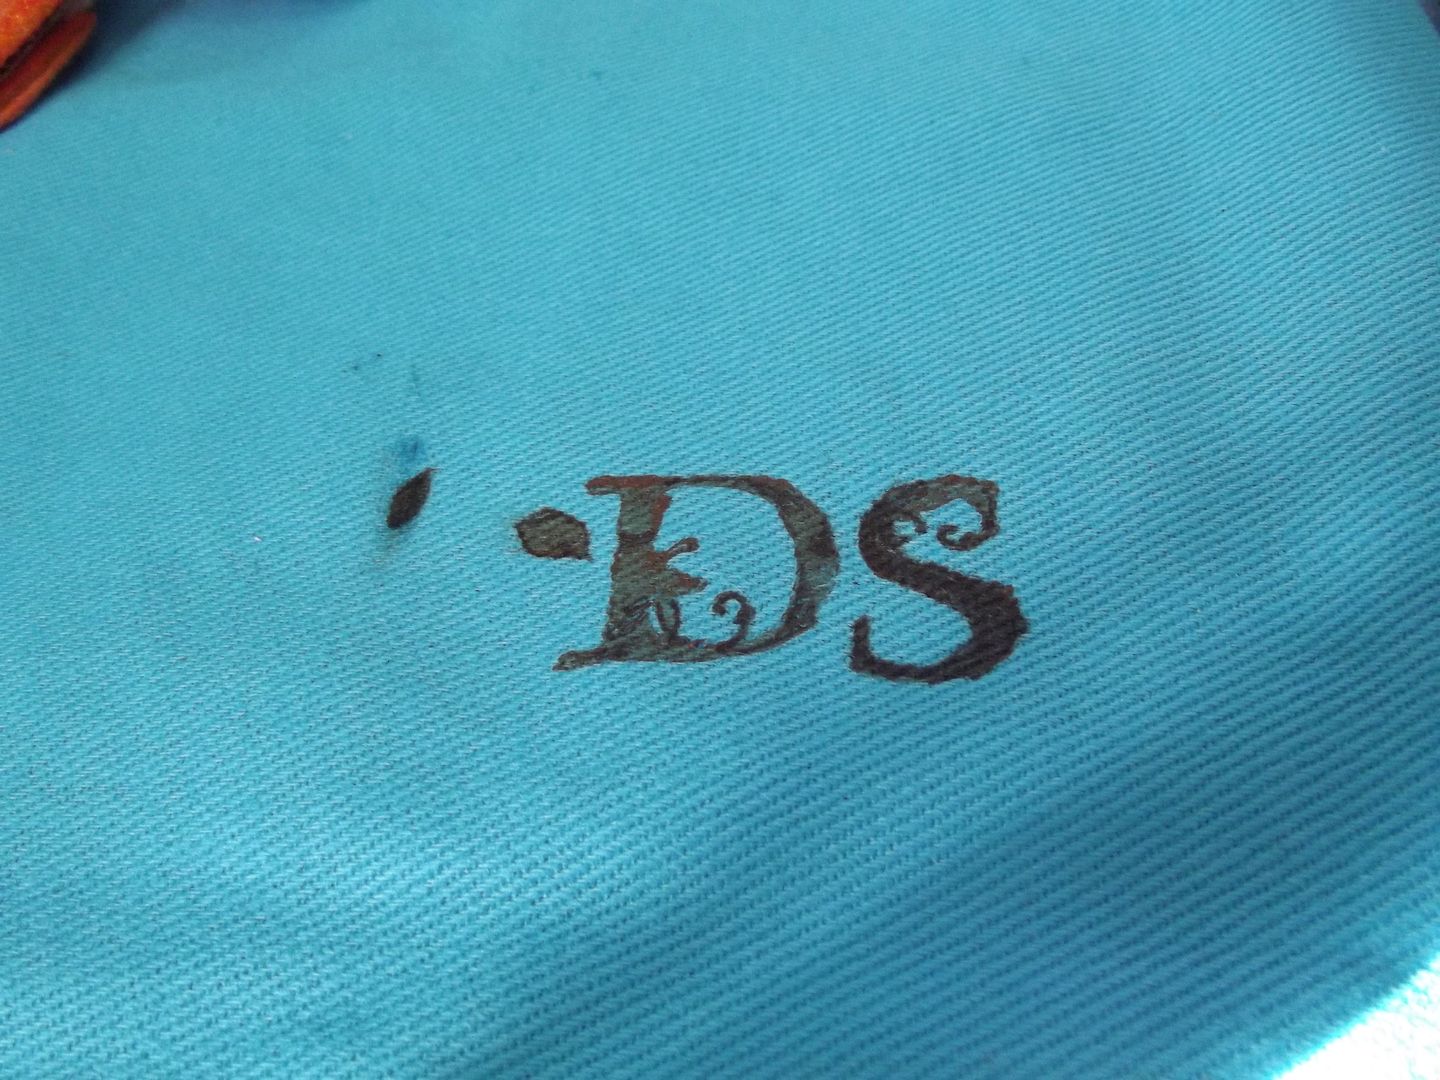
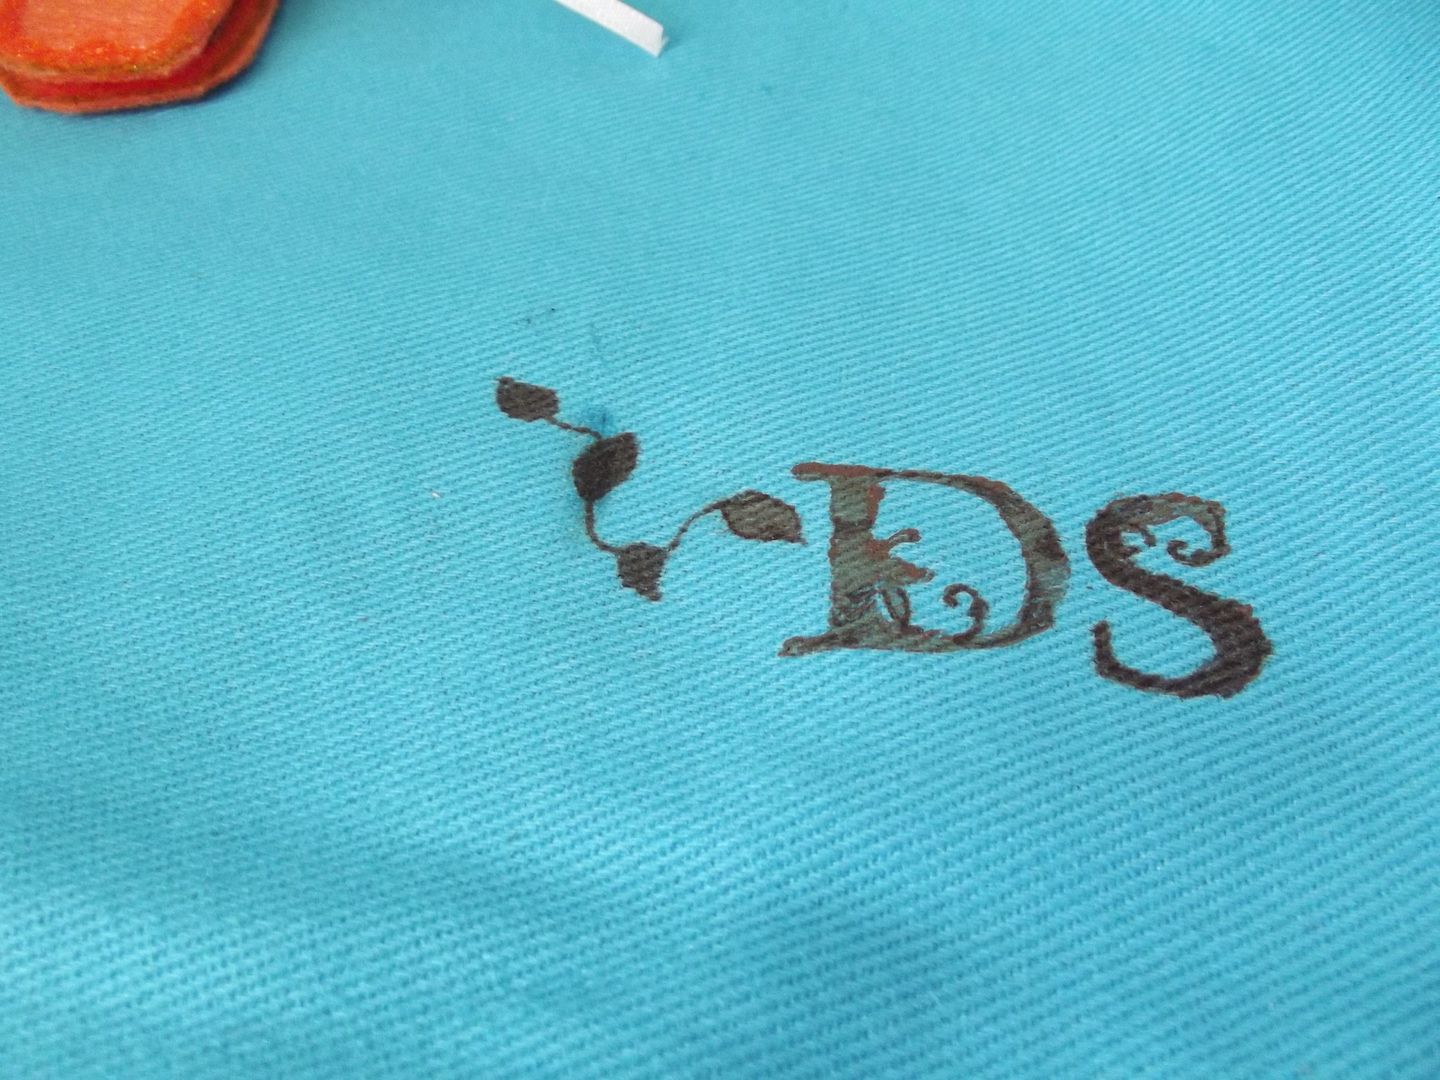
But you make me happy. It's living up to being happy that's the difficult part.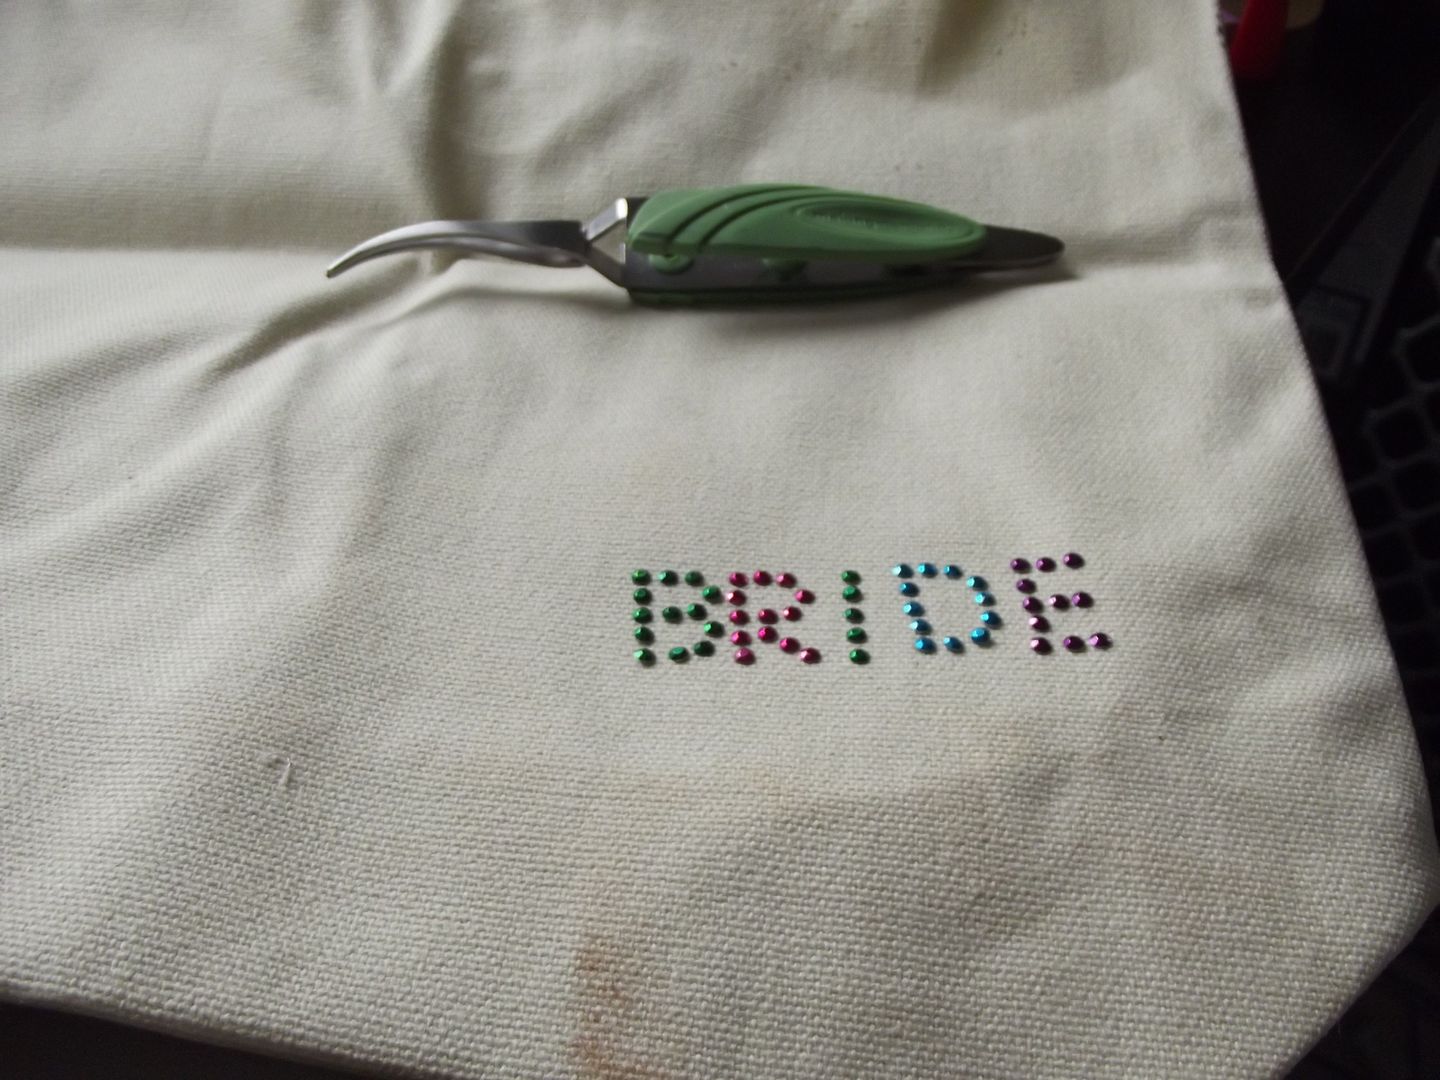 Materials
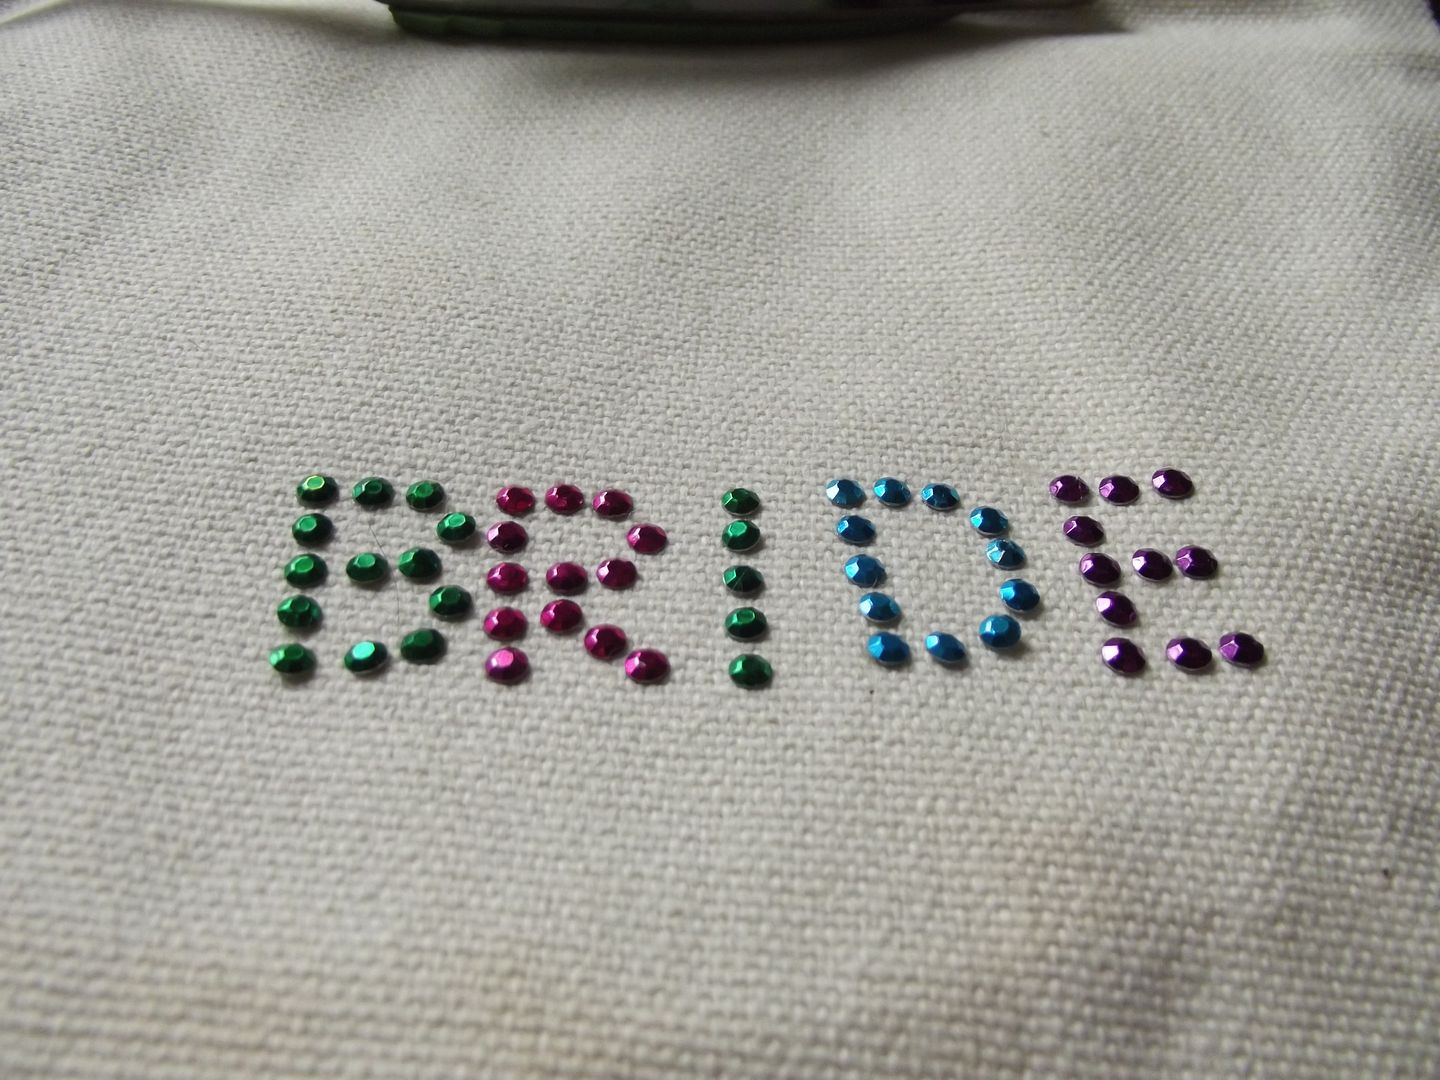

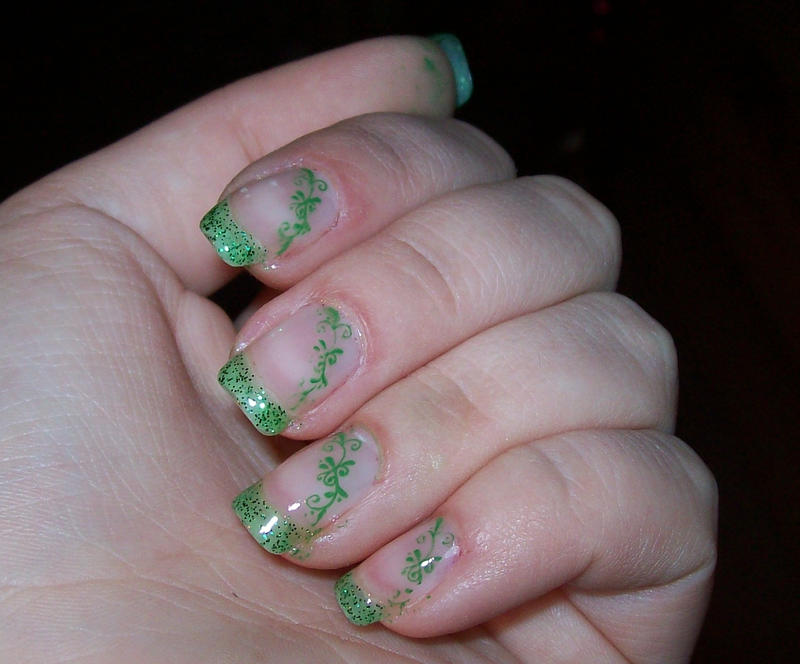
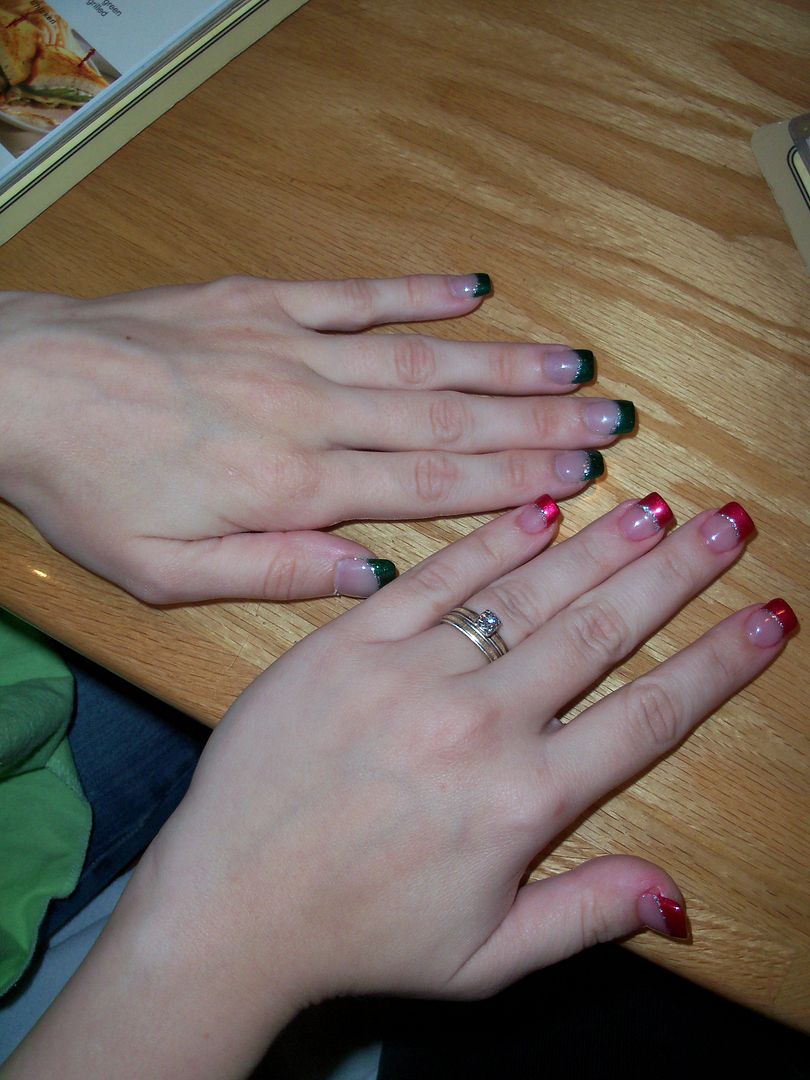 My hand's on the left with the green (and no rings). The other hand is Lara. It was pretty and Christmasy. Unfortunately, one fell off right before Christmas. I pulled them all off just in time to be proposed to, darn it. Anyway, the fakeness creeped Mike out and the after effects of the adhesive on my nails creeped me out.


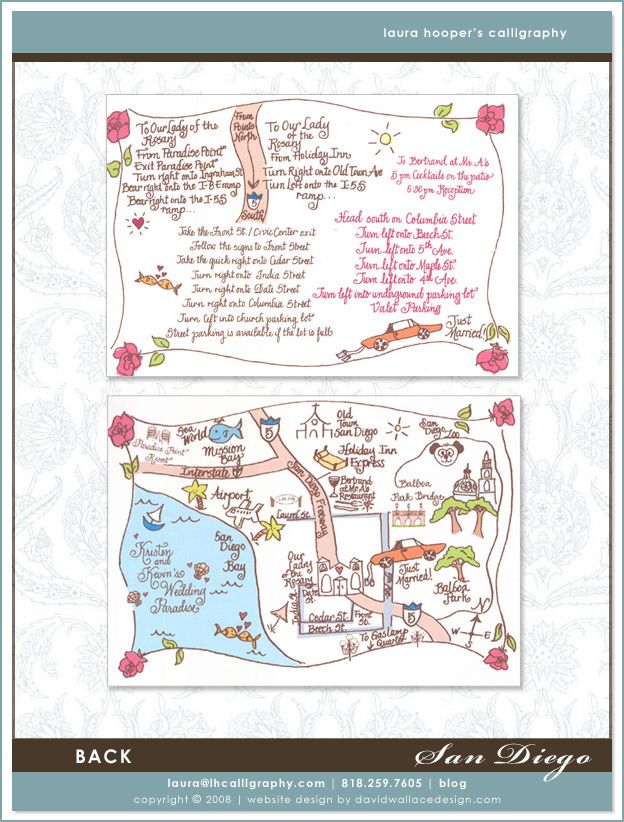
 Front
Front
 Back
Back
 Test Phase
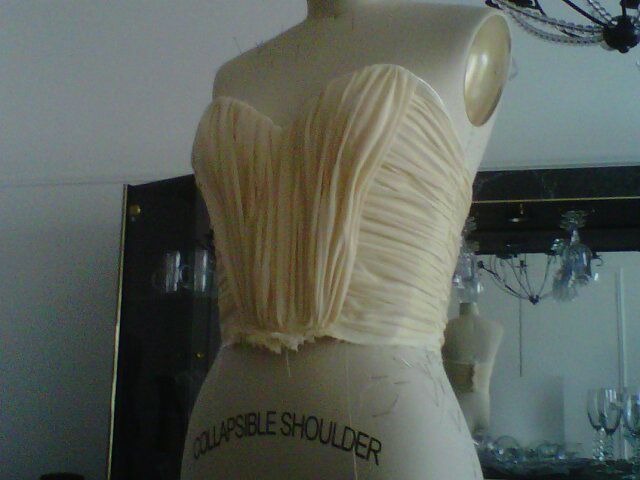
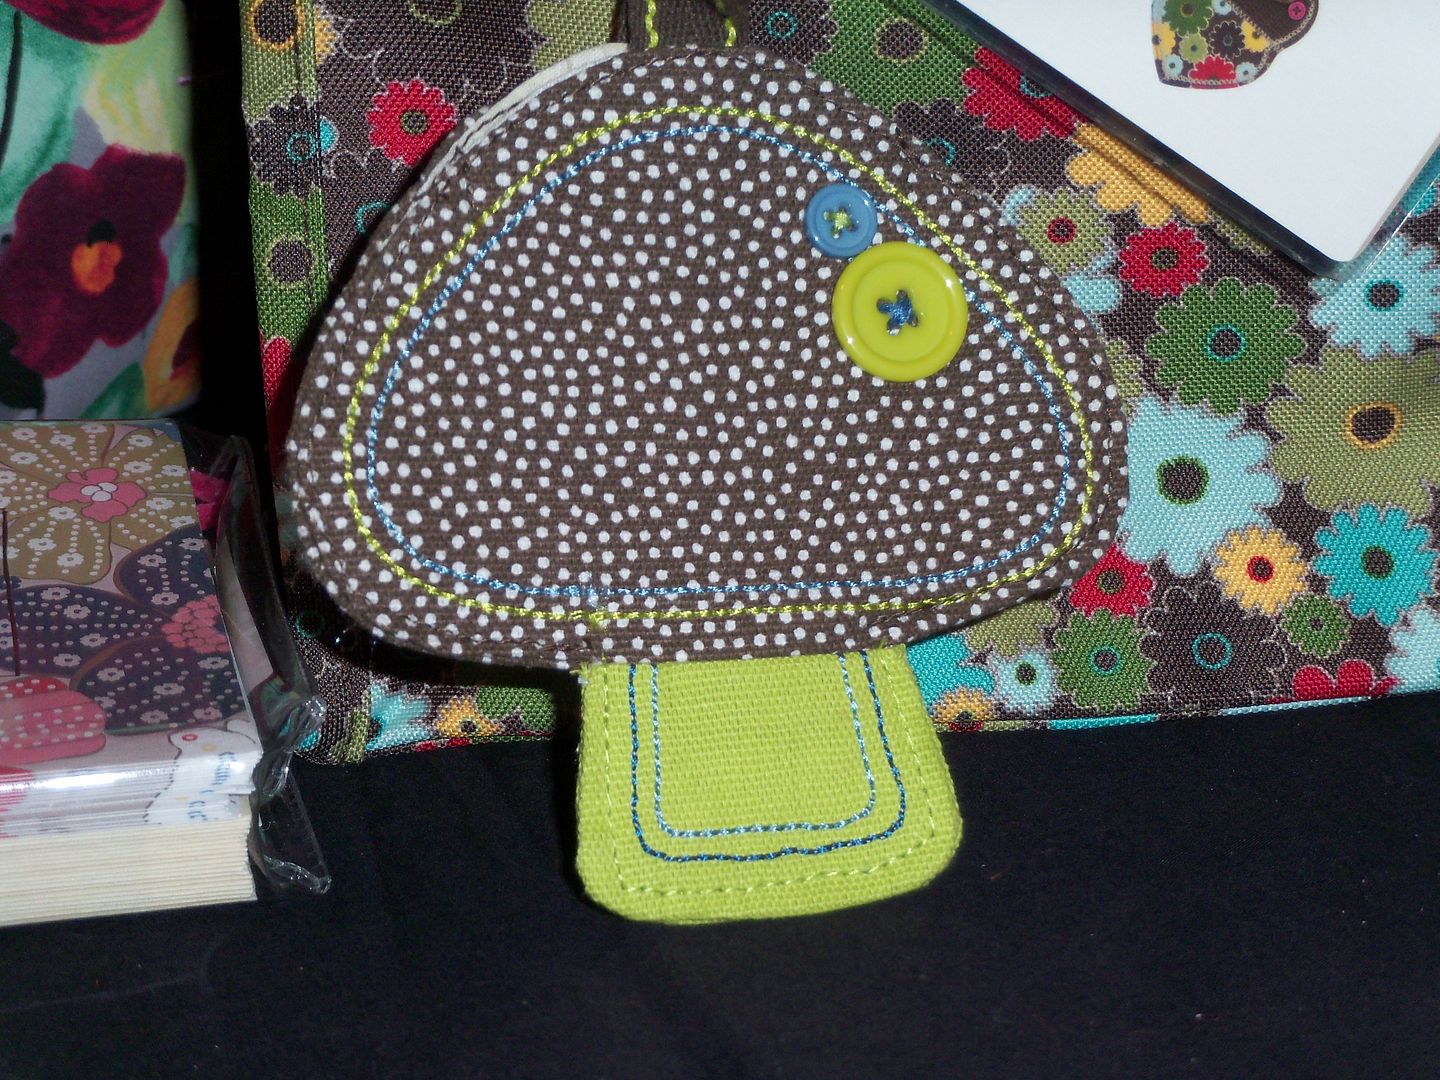 Obviously, I'm not a skilled enough sewer to reproduce this exactly. I just used it as inspiration.
 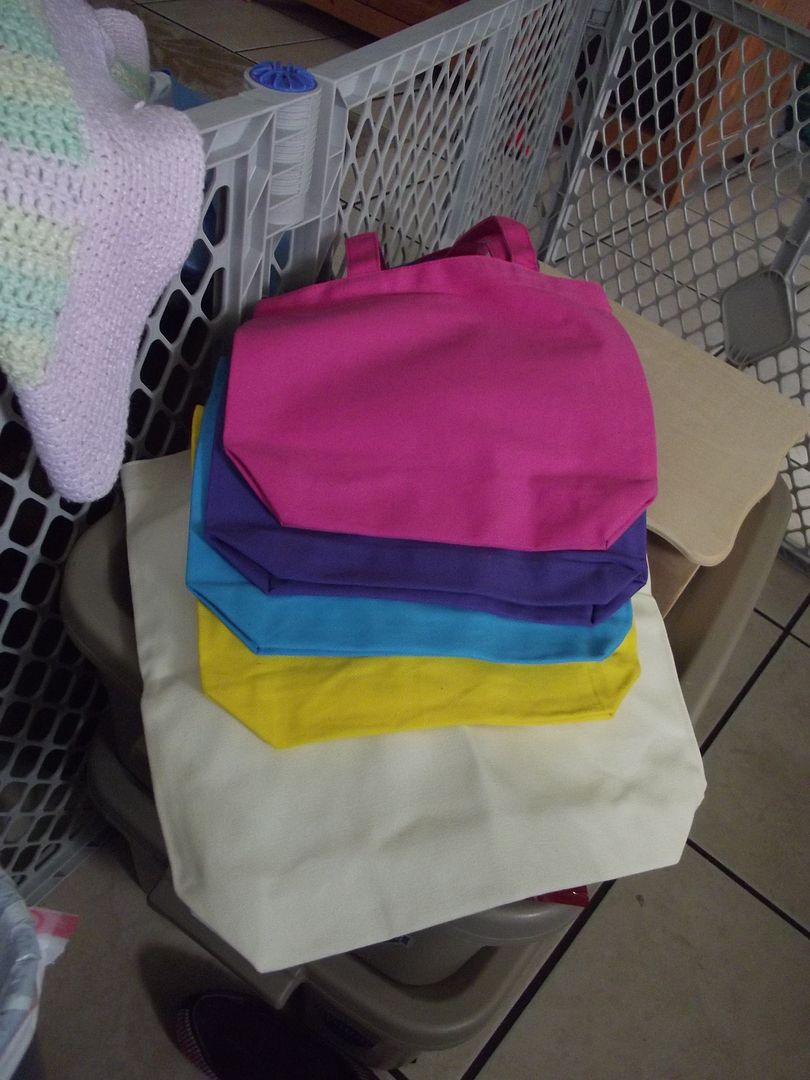 They're cute, right? I'm going to fill them with wedding day emergency kits, their
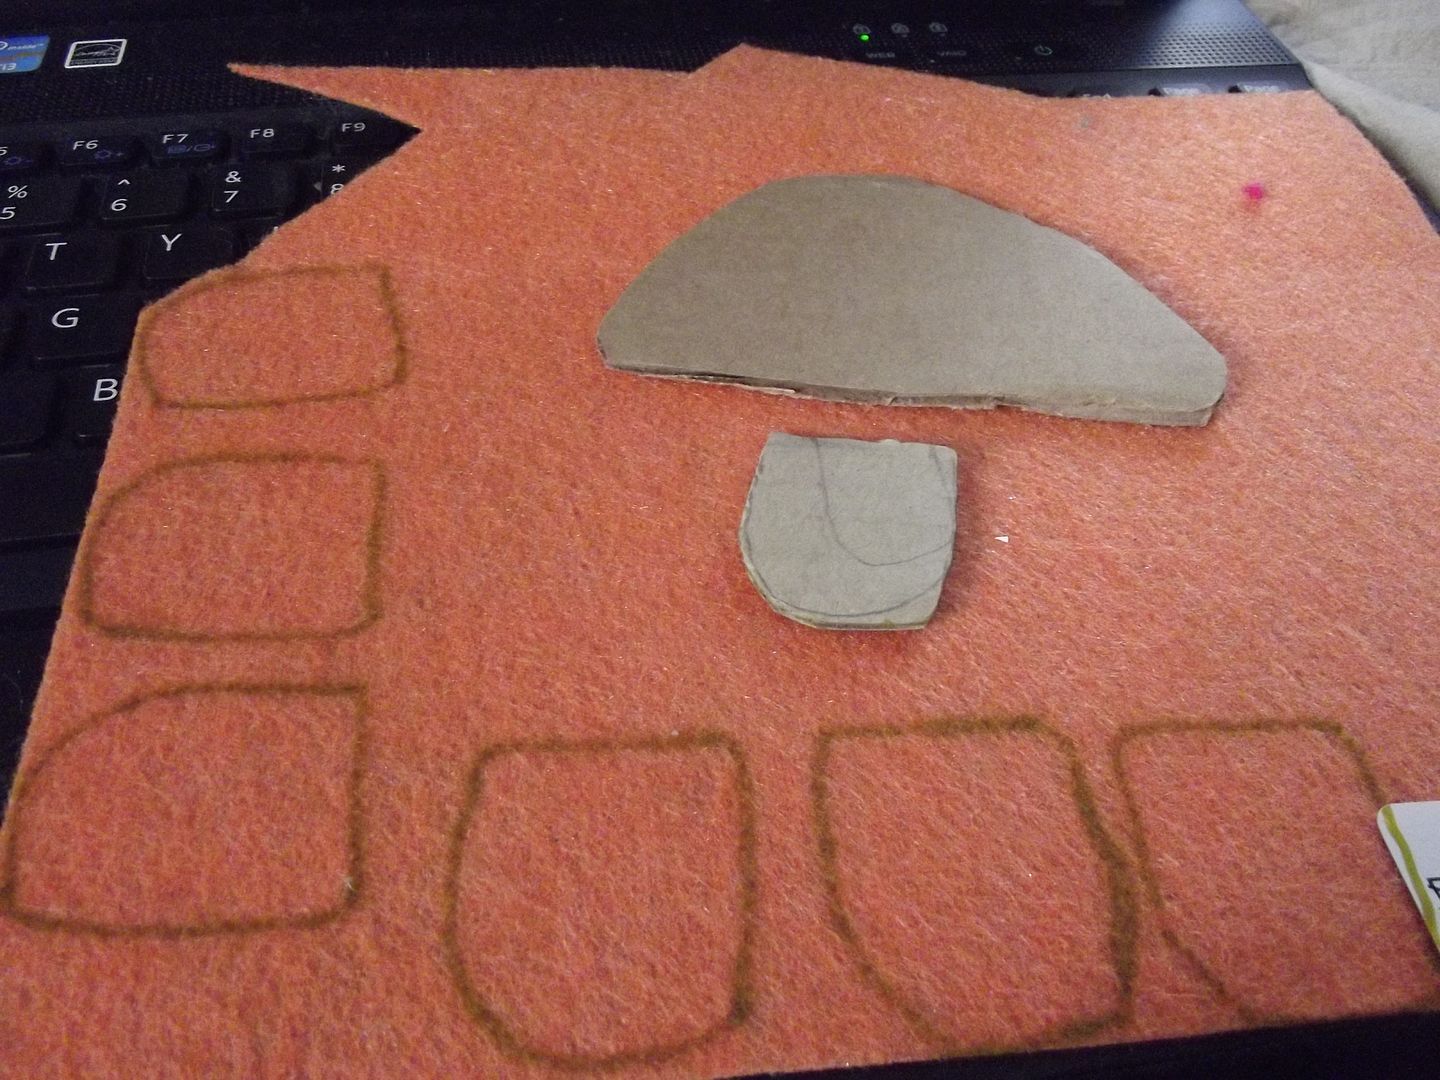
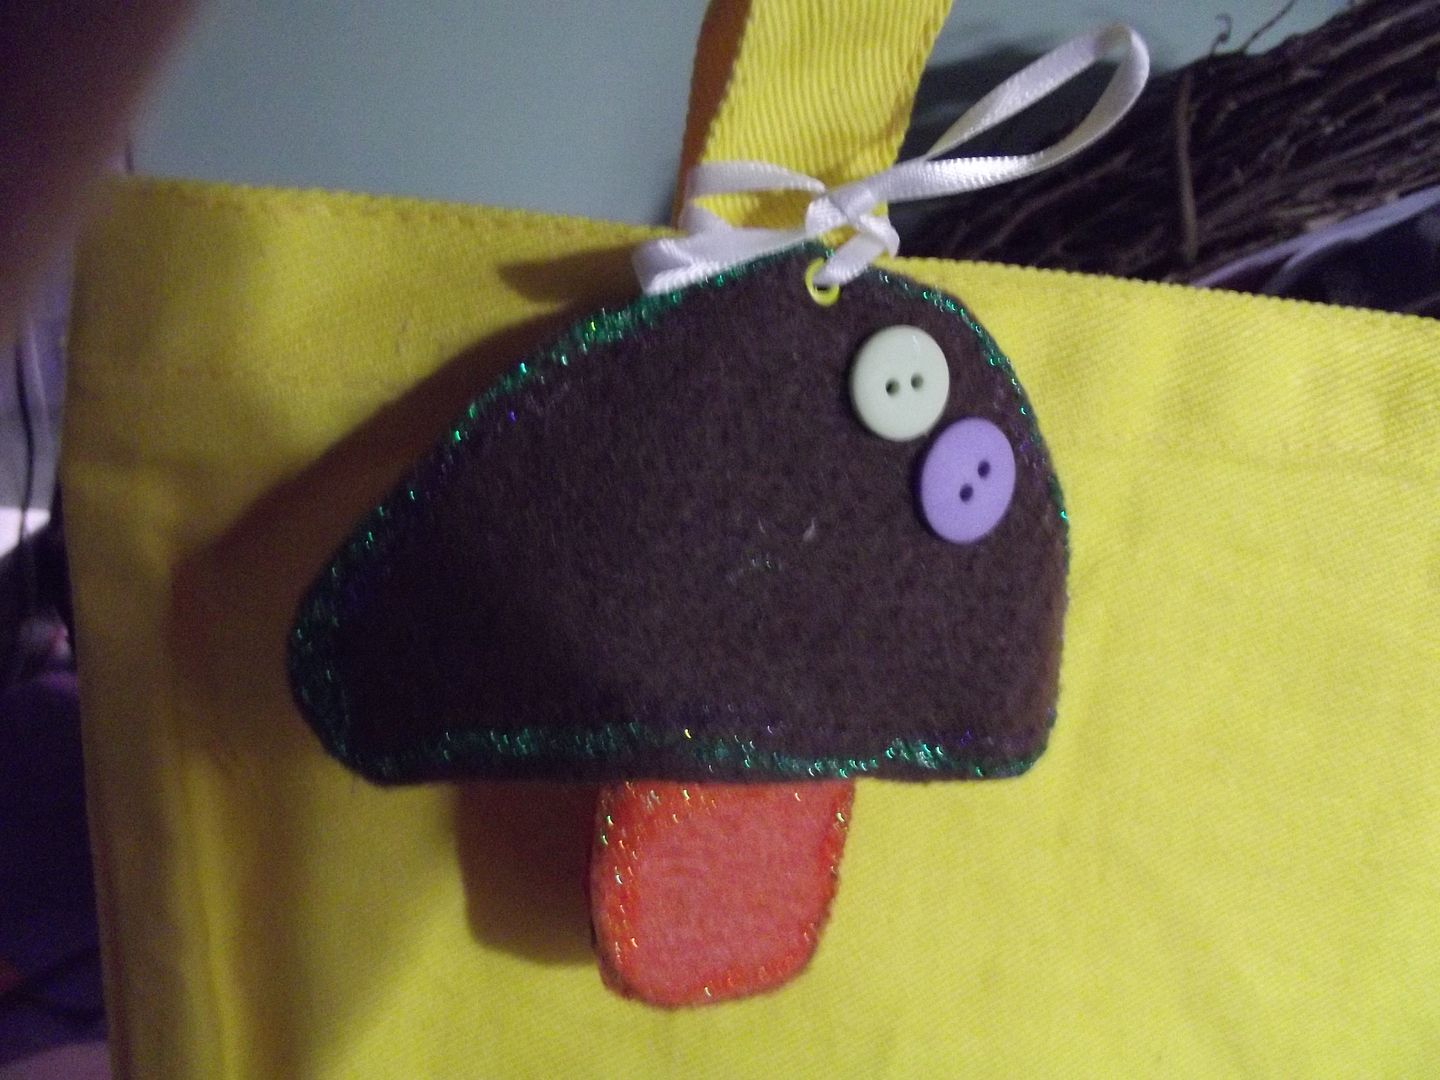
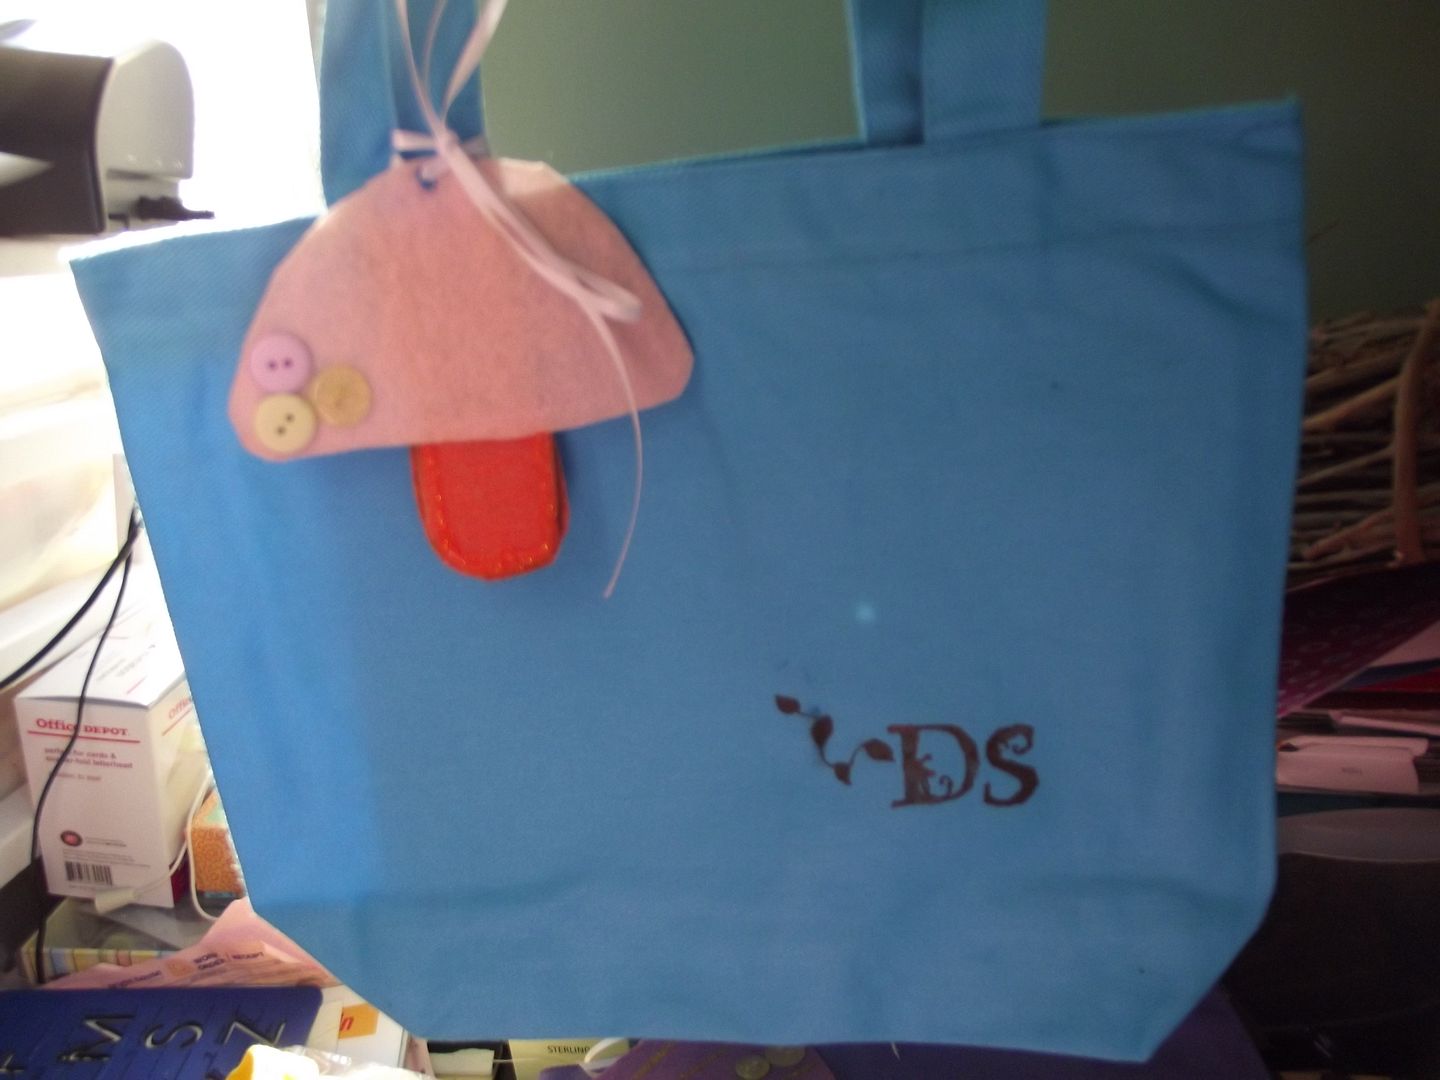
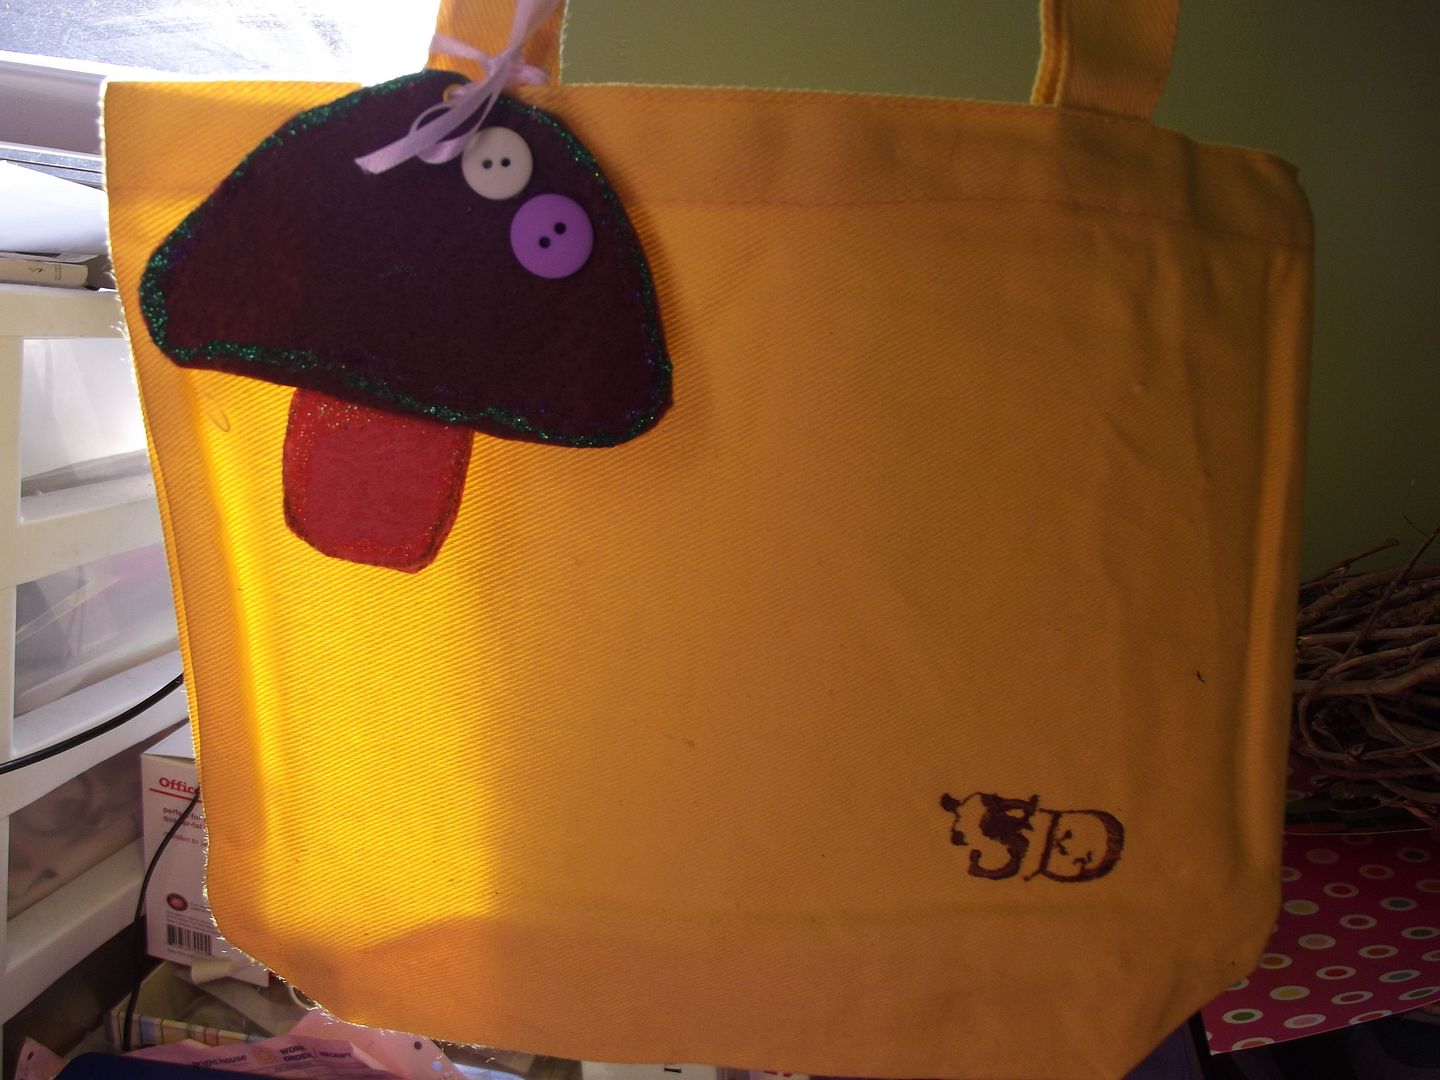
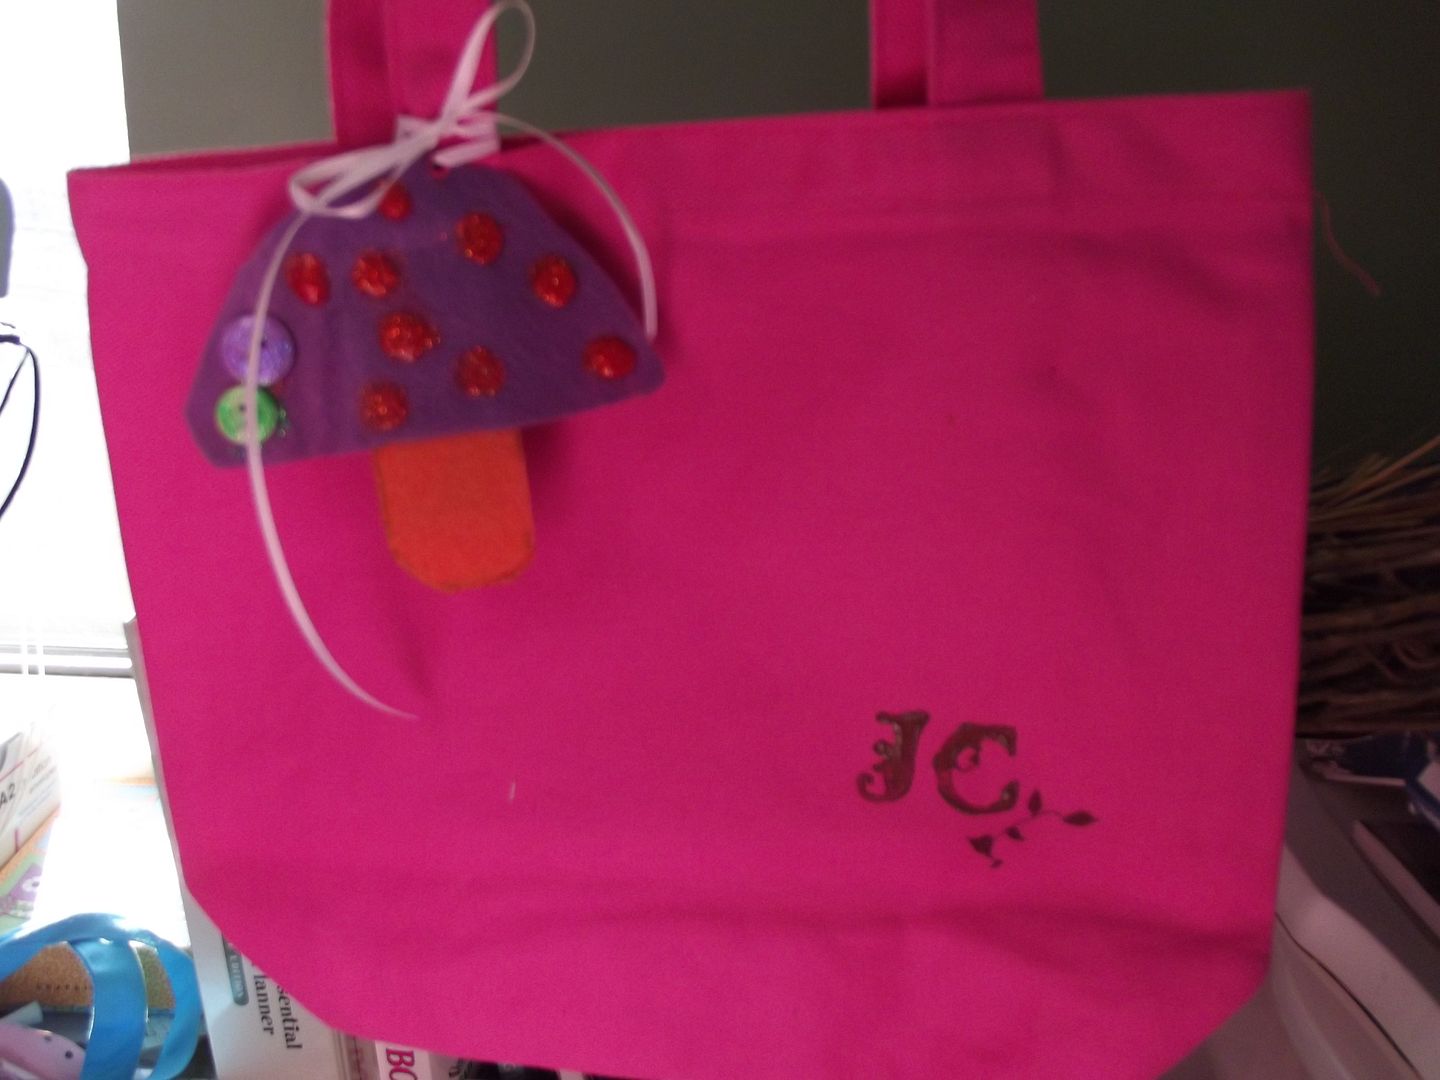
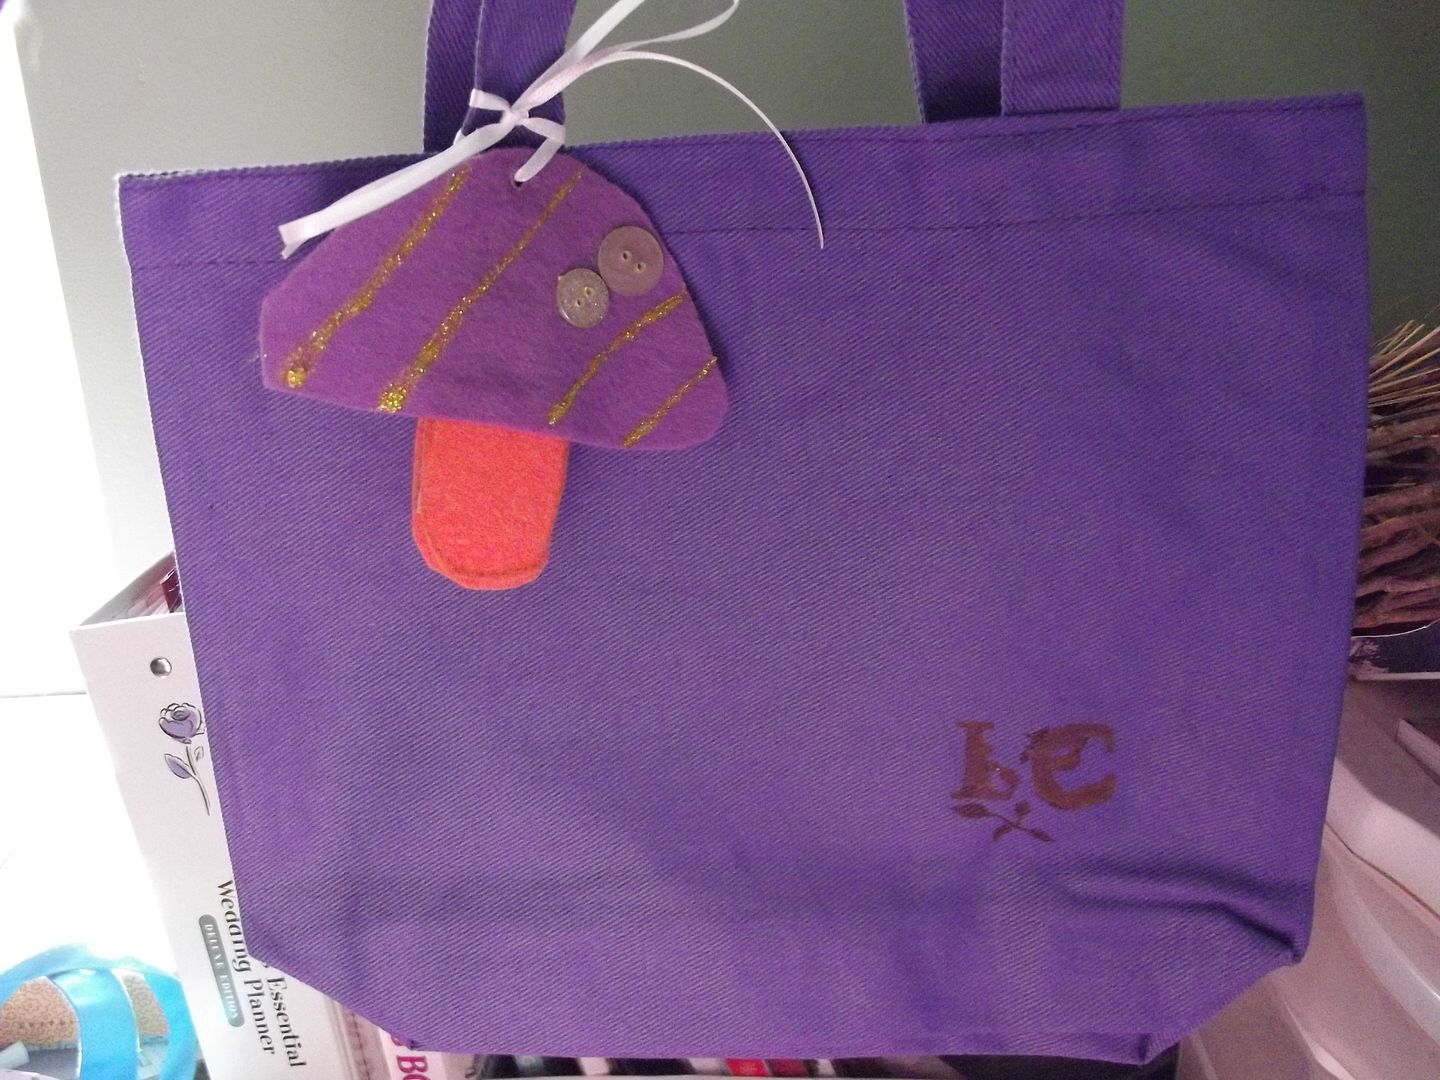
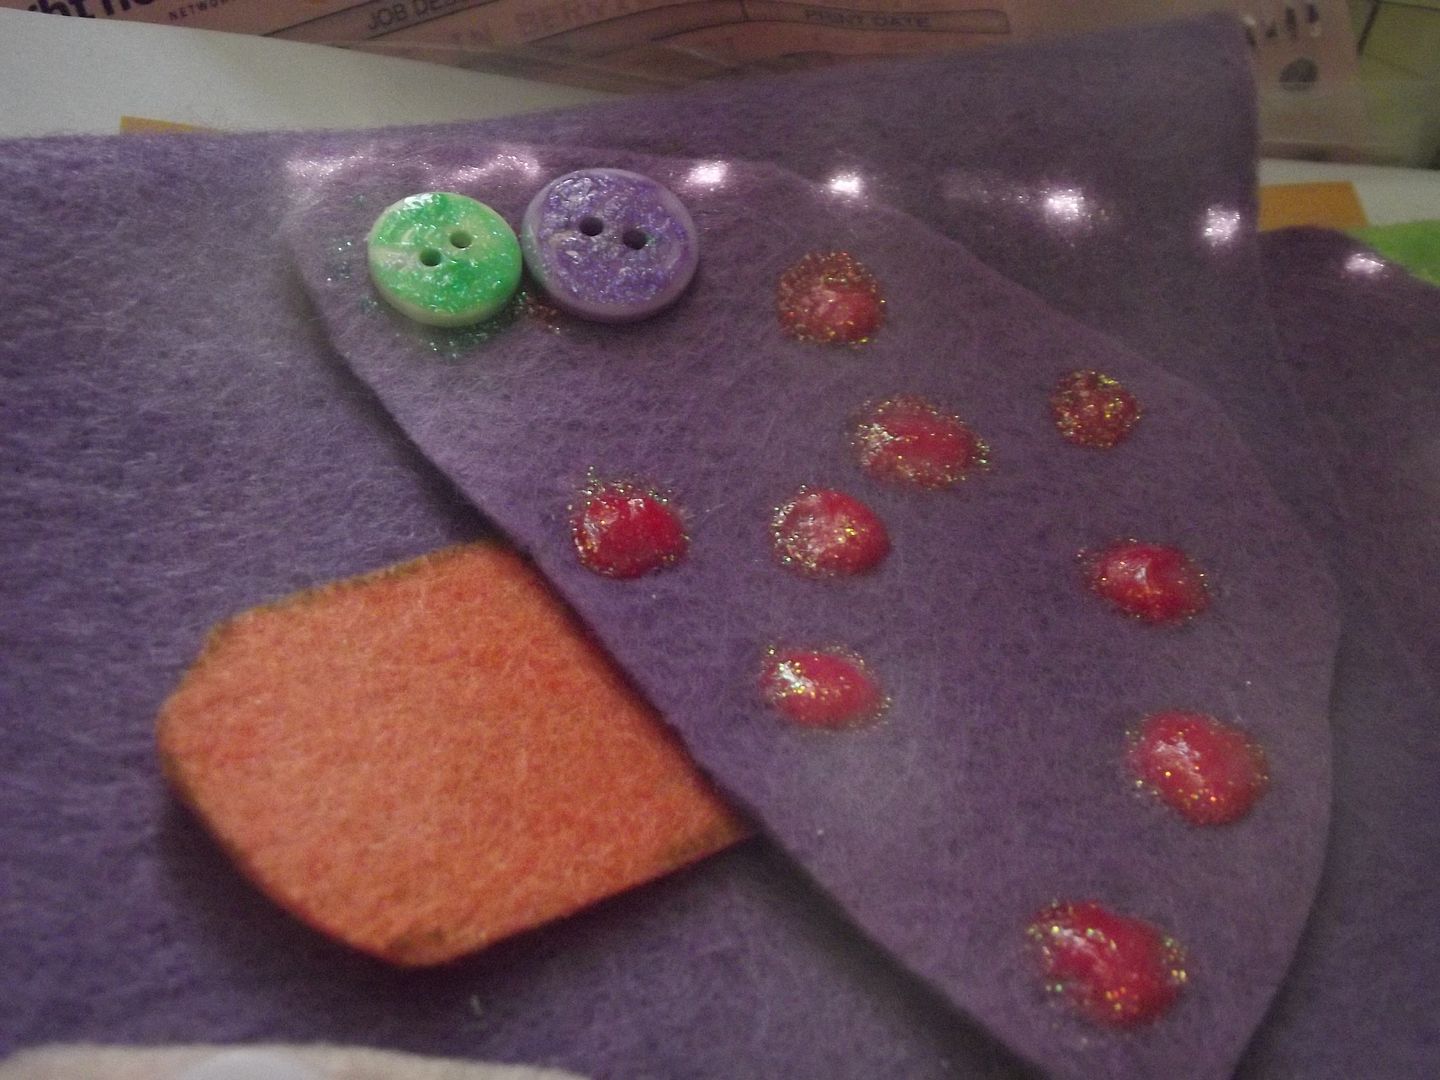
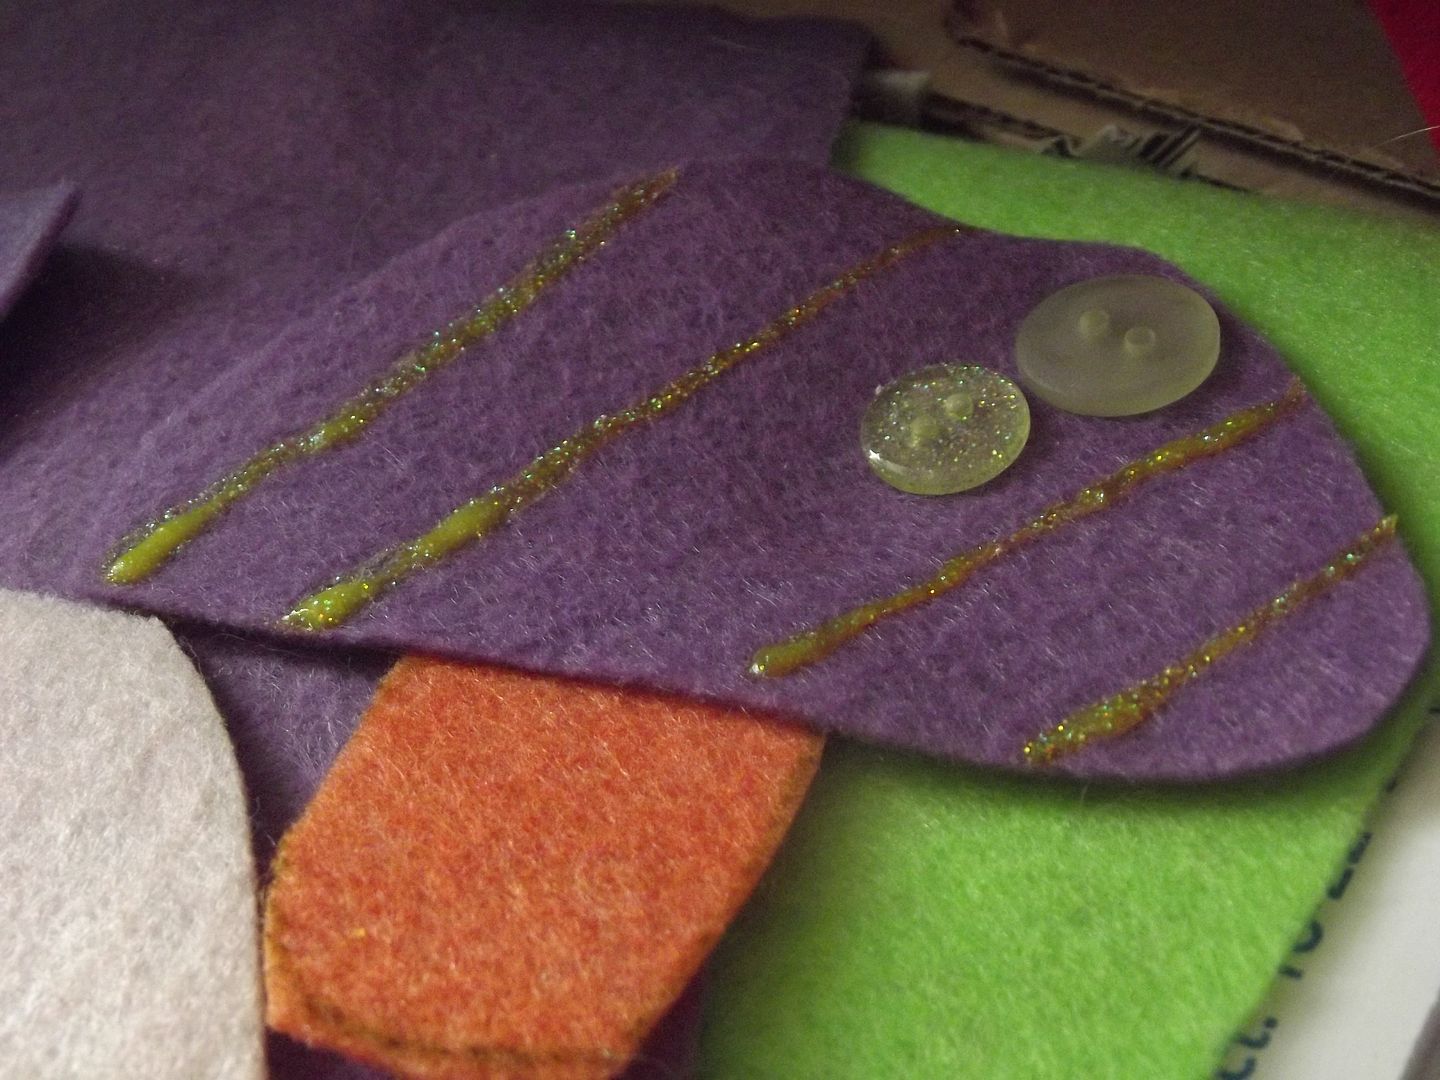
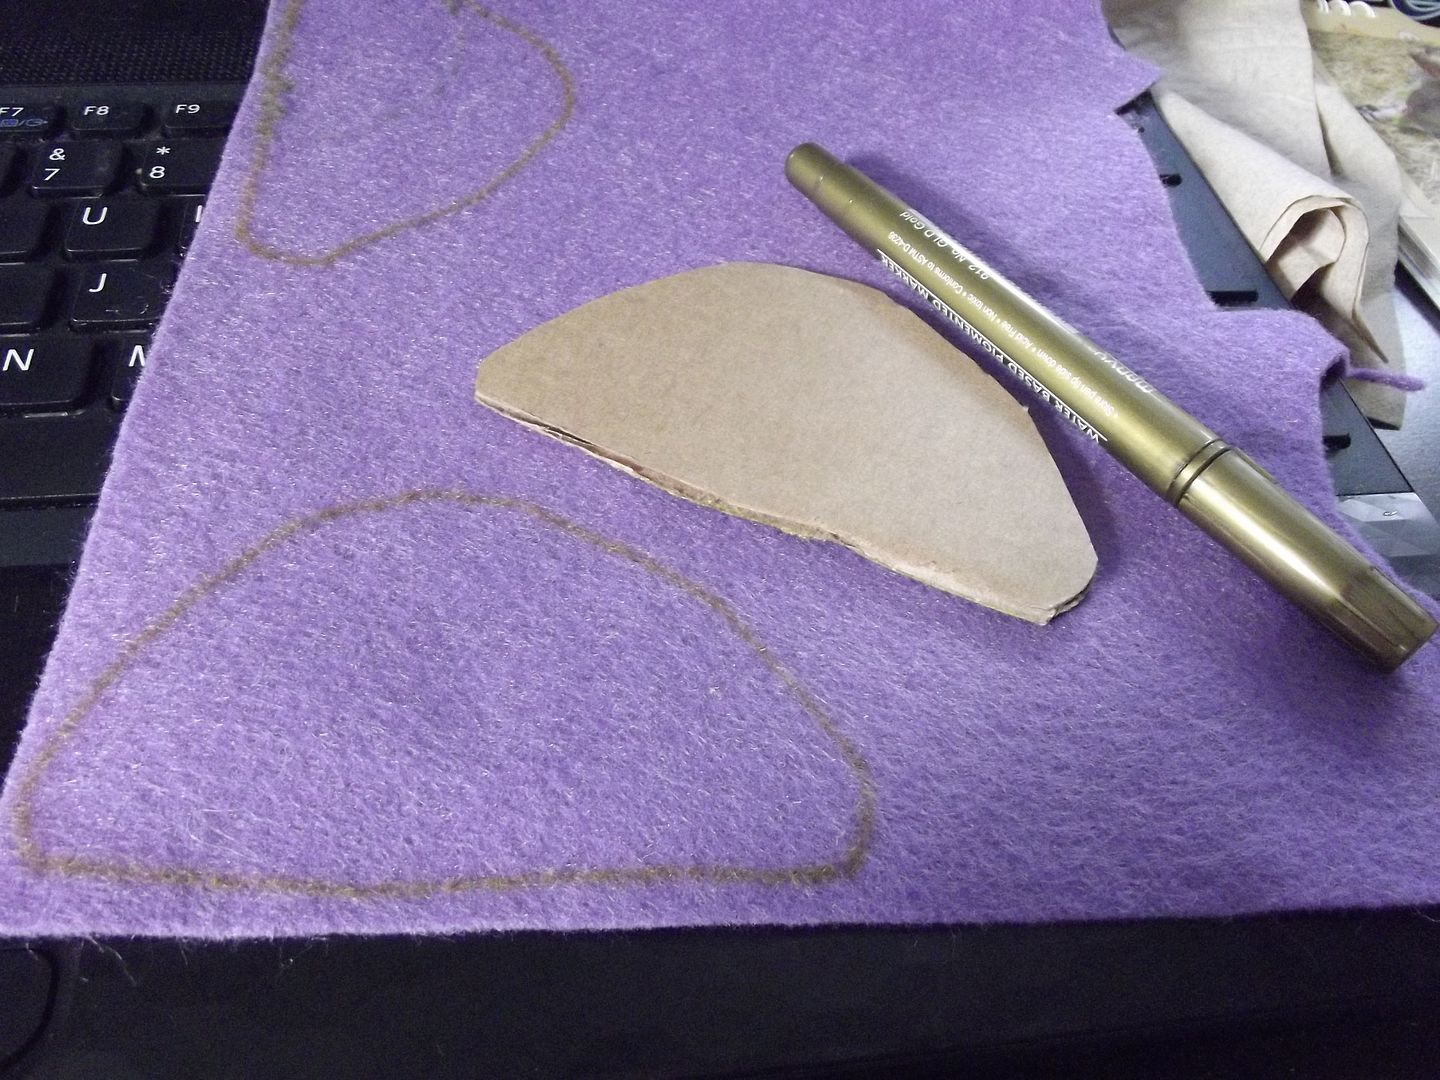 I attached a stem to each cap. Then I decorated each mushroom with glittery puffy paint and buttons.

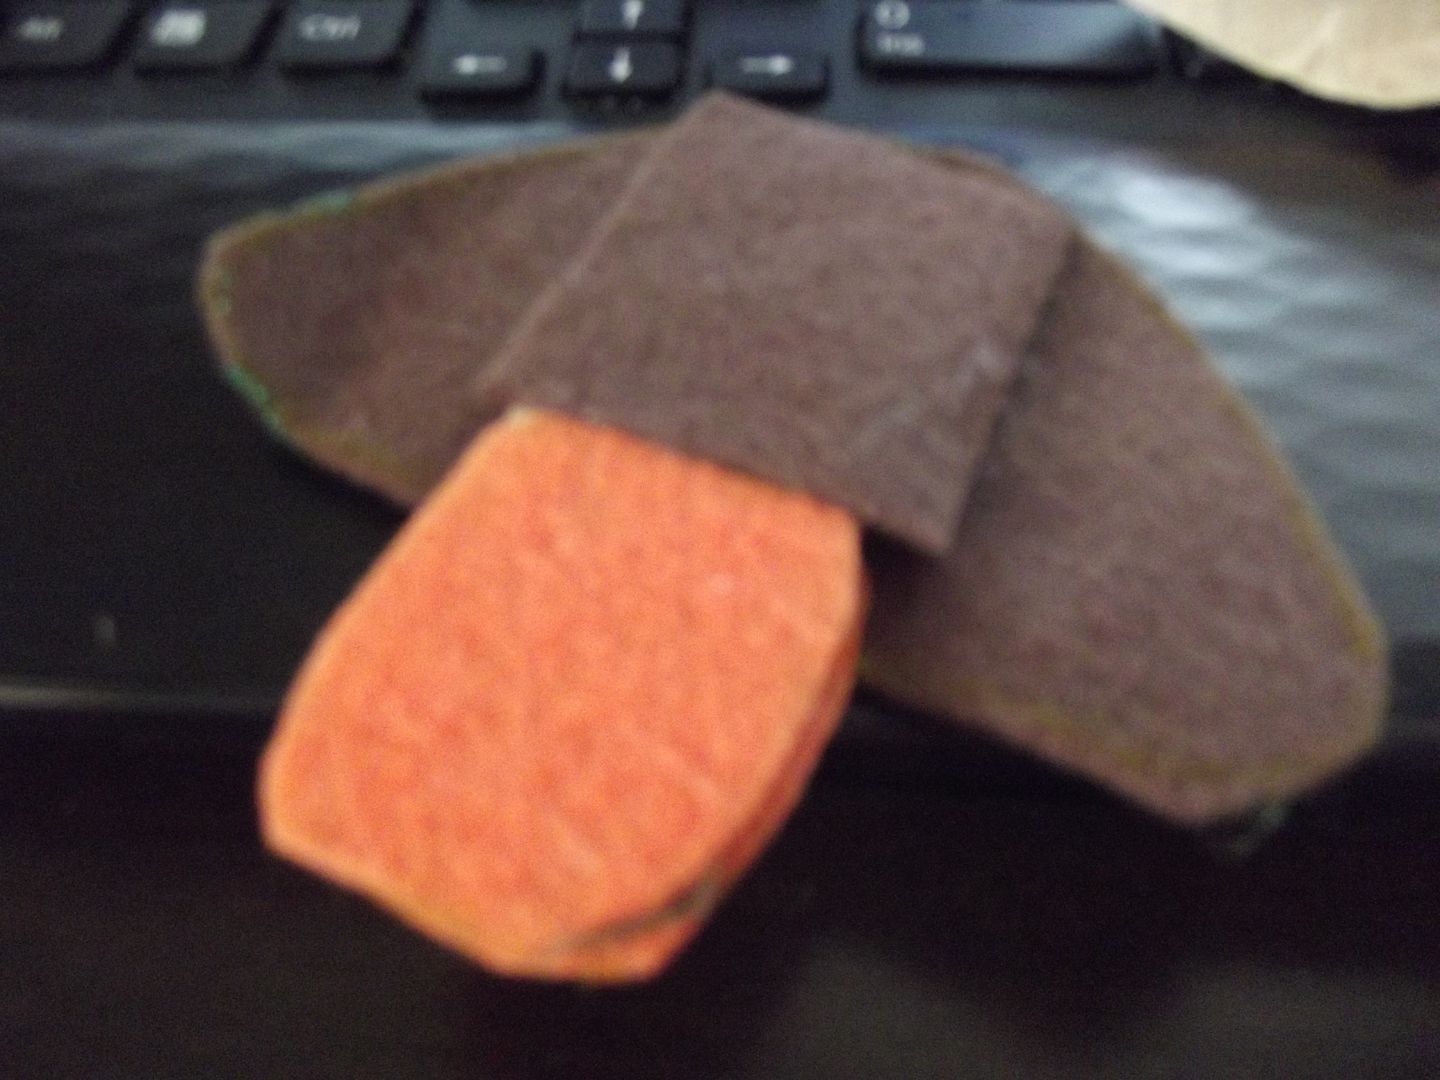 Here's the back of one after I added cardboard and felt.
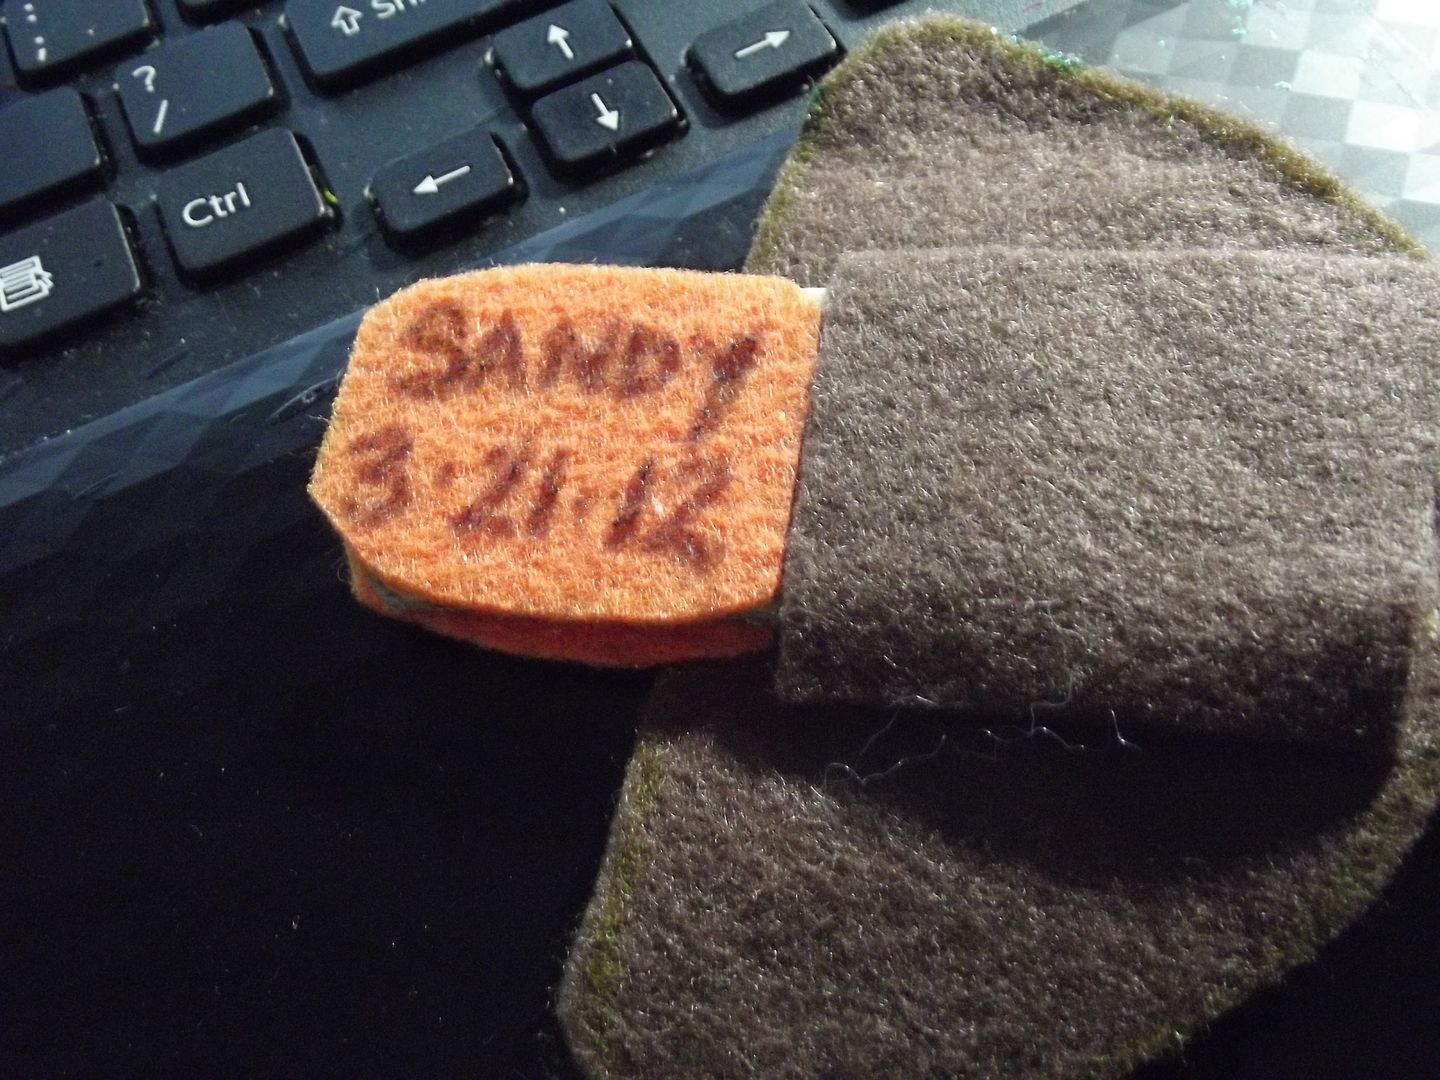 Then I added a grommet that matched the color of the tote each mushroom would be attached to with my Crop-a-dile. I threaded it with ribbon and tied a small bow in the front. So cute!