From the beginning I planned to present my lovely bridesmaids with tote bags containing their jewelry, a t-shirt and an emergency kit as their swag. I finished their super cute bags in October and have a bridesmaid completing the day of kits. My intention is to have them wear their shirts at the rehearsal. I was going to make them for the whole wedding party, but Mike informed me that no guy wants to wear a shirt that says Groomsman on it no matter what it looks like. So, I decided to design shirts for just the girls.
Materials
- Photo editing software (photo or paintshop, etc)
- A free font site
- A custom t-shirt making site
OR
- White t-shirts
- Photo editing software
- Printer T-shirt transfer paper
- Iron (ironing board/had surface)
Drumroll....
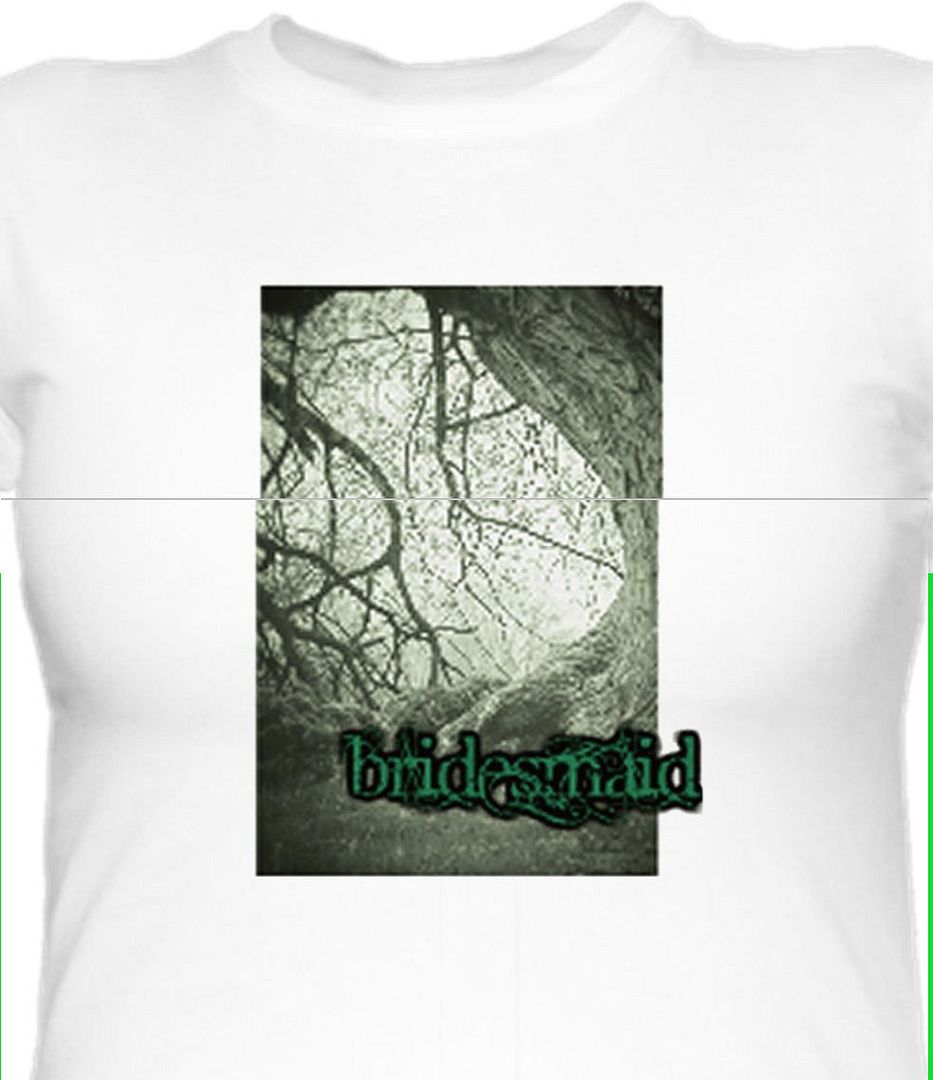
I found a picture of some old trees in a Google search. I cropped them and turned them black and white in Paintshop Pro. Then I went to fontfreak.com and downloaded a cool free font. I adjusted the color and size until I was happy. I also wrote their names and the year in the same pretty font on the back.
Now, at this point I decided not to do the shirts myself, but to upload them to a t-shirt printing site. I started with customizedgirl.com which was great because there were lots of styles and colors to work with and it was easy to edit. However, when I added up the cost of the shirts on their site I started shopping for deals. I then re-uploaded to Vistaprint.com for about $4 a shirt and free shipping.
The only downside to the switch was that they wanted $5 extra to put the names on the back and I couldn't make the font look right. So I decided I'd put the names on myself when the shirts came in. By the way, I did send the girls an email with the size chart and double checked all their sizes before I ordered. In the end with my image upload fee and tax (shipping was free) I paid the same amount for all 4 shirts as I would have paid for one on the other site. They should be here next week.
If you do them yourself (I always make the kids shirts for holidays this way), remember that once you have the image the way you want it you have to flip it. In Paintshop it's called mirror. You need it completely mirror imaged before you print it so that it comes out correctly on the shirt. Make sure you check the ink levels in your printer before you get started too. Once the image is reversed and printed cut as much white space out as possible before you iron it on. Follow the instructions for the transfer paper. Remember not to move it off the ironing board until it cools to prevent cracking. Also, instruct the receptions to wash them inside out.
When they come in I'll post about adding the names. I'm thinking rhinestones...We'll see. Next I have to decide if I'll do shirts for Mike and I myself or not. I either want Mrs. (HIS LASTNAME) or Mike's Wife that way I can wear it again. Those will probably be t-shirts, iron on embellishments and fabric paint.
honey badger t shirts
ReplyDelete