The other day I saw (and of course pinned) this:

I originally thought I'd just use the small green pillow Lara was kind enough to pass on after her wedding:
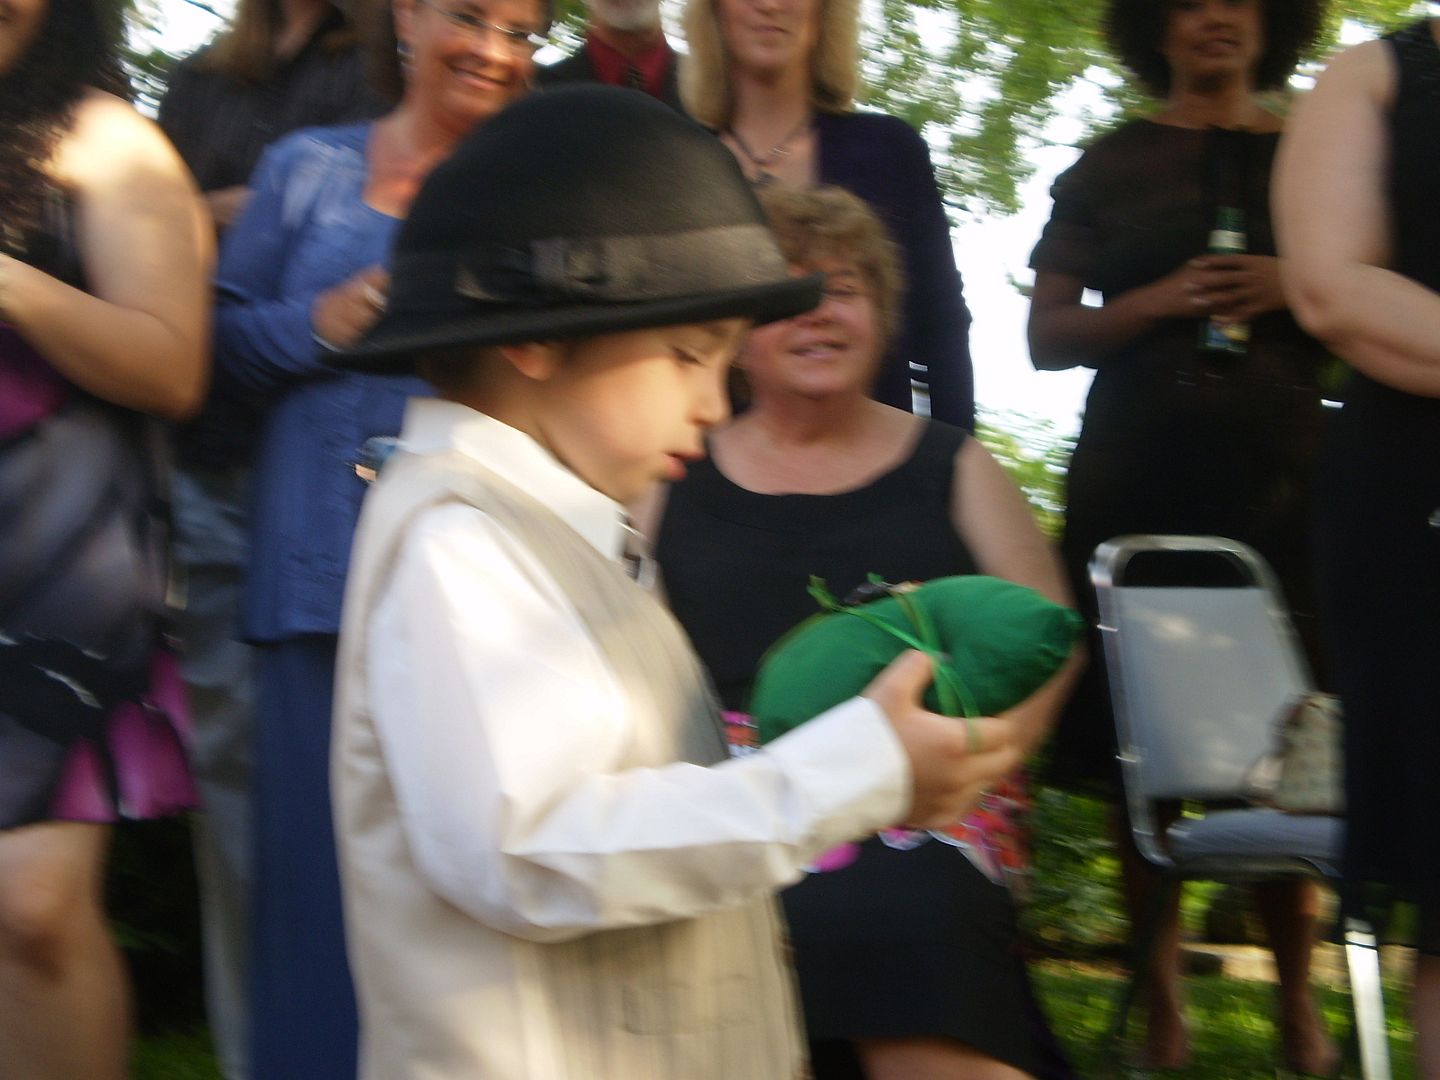
There's Isaac bearing the rings. The fedora came from the photo booth props and the bride rolled with it. He's saying "Step...together. Step...together" in all the pictures of him going down the aisle. So, I figured since it was small and green I'd cover it with one of the burlap sacks we got for favors. Something similar to what I did with Jasandra's ring pillow.
The only problem with that plan was that my sweet little girl long ago found that pillow and put it in her doll cradle. I had a thorough search for it over the weekend and it has vanished. Since Mike had a bag of polyfill from some long ago project I decided to start from scratch.
Materials- 2 4x6 burlap sacks
- Polyfill (or a small pillow)
- Embroidery thread
- Large sewing needle
- Scissors
- Thin rope, twine or raffia
- Ribbon and embellishments
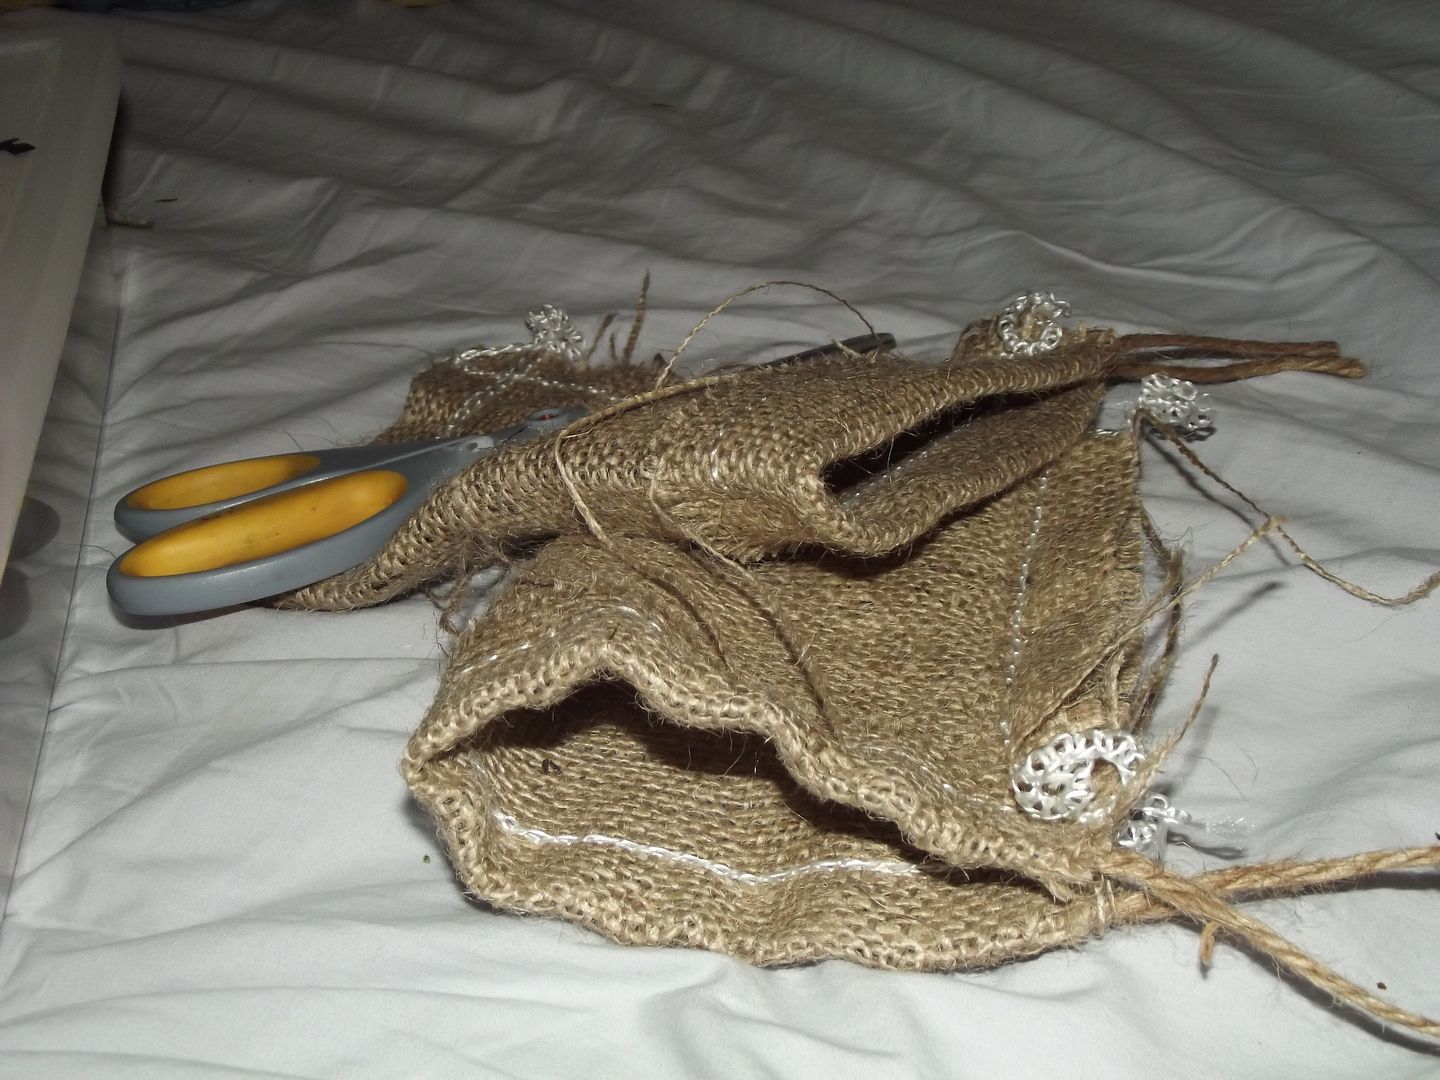
First I set to work removing the stitches from two of the burlap sacks we got for favors (seedling trees for each household). When I turn them inside out, the stitches were white so they were easy to spot. I snipped the ends of each thread at the corners and then pulled them through.
As you can see I pulled all the stitches without removing the draw string. I just wasn't sure if I'd want that element or not and I knew I could always remove it later (and I did). I hand stitched in a tiny X pattern with green embroidery thread. I followed the folds of the bag to create an unfinished edge like my example picture. I really like that look.
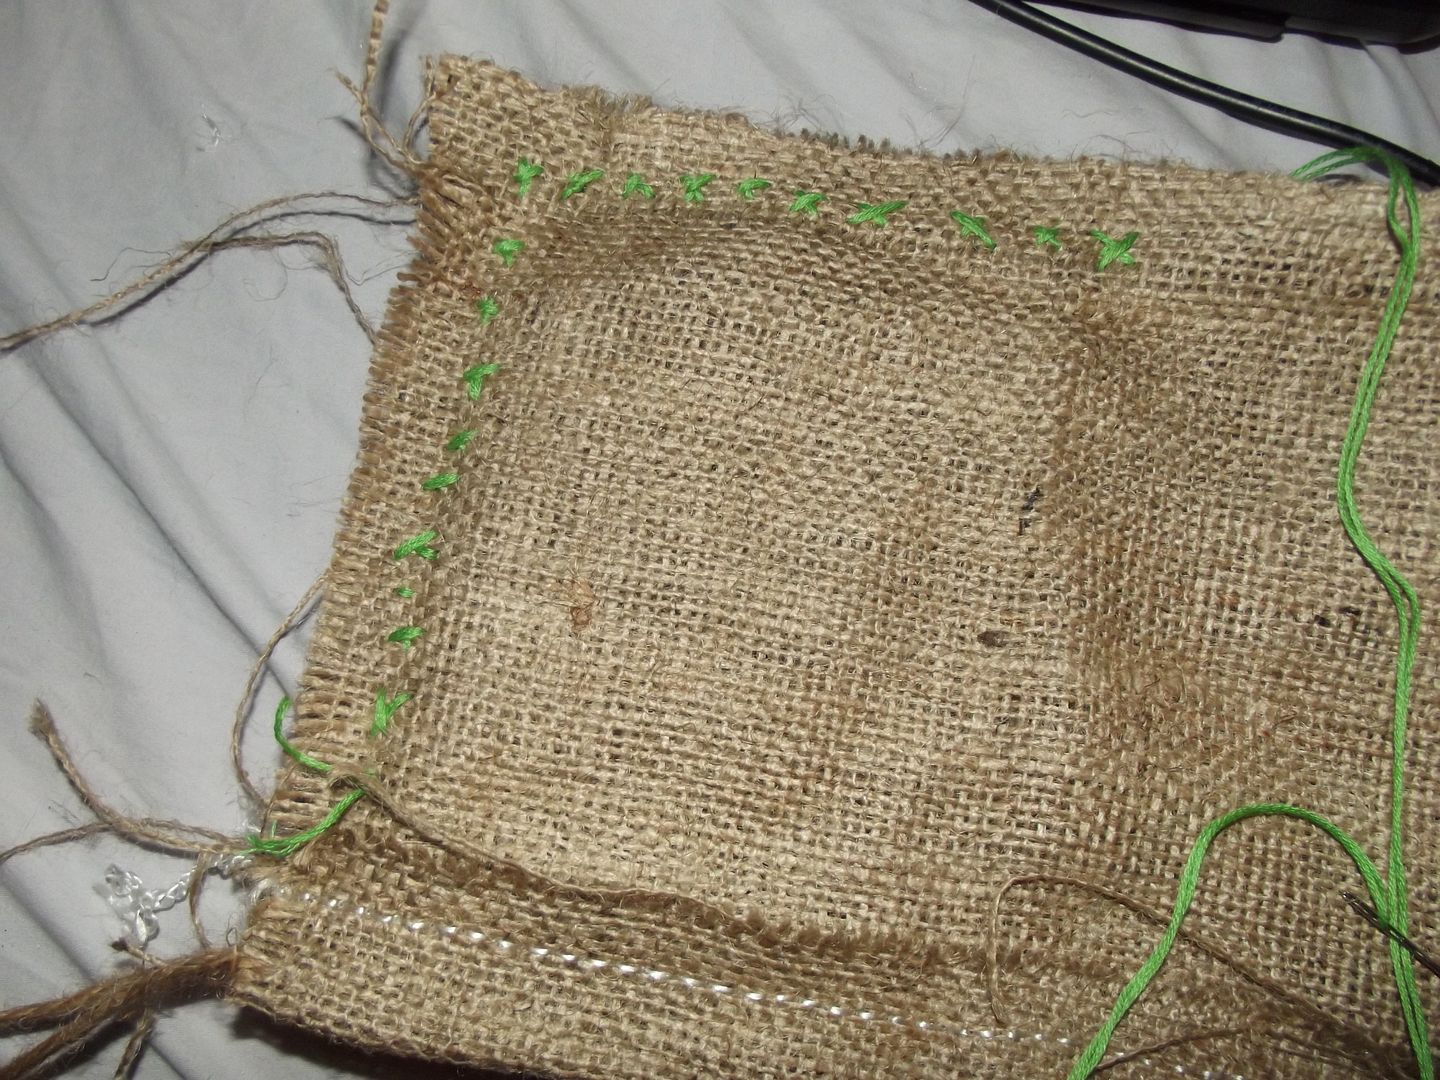
I had originally intended to sew it with on the side where the original seams had been and turn it inside out. It'd been a long time since I hand stitched anything and I quickly realized turning it would mean you couldn't see the Xs or the unfinished edge. So, feel free to start stitching on the correct side of the pillow.
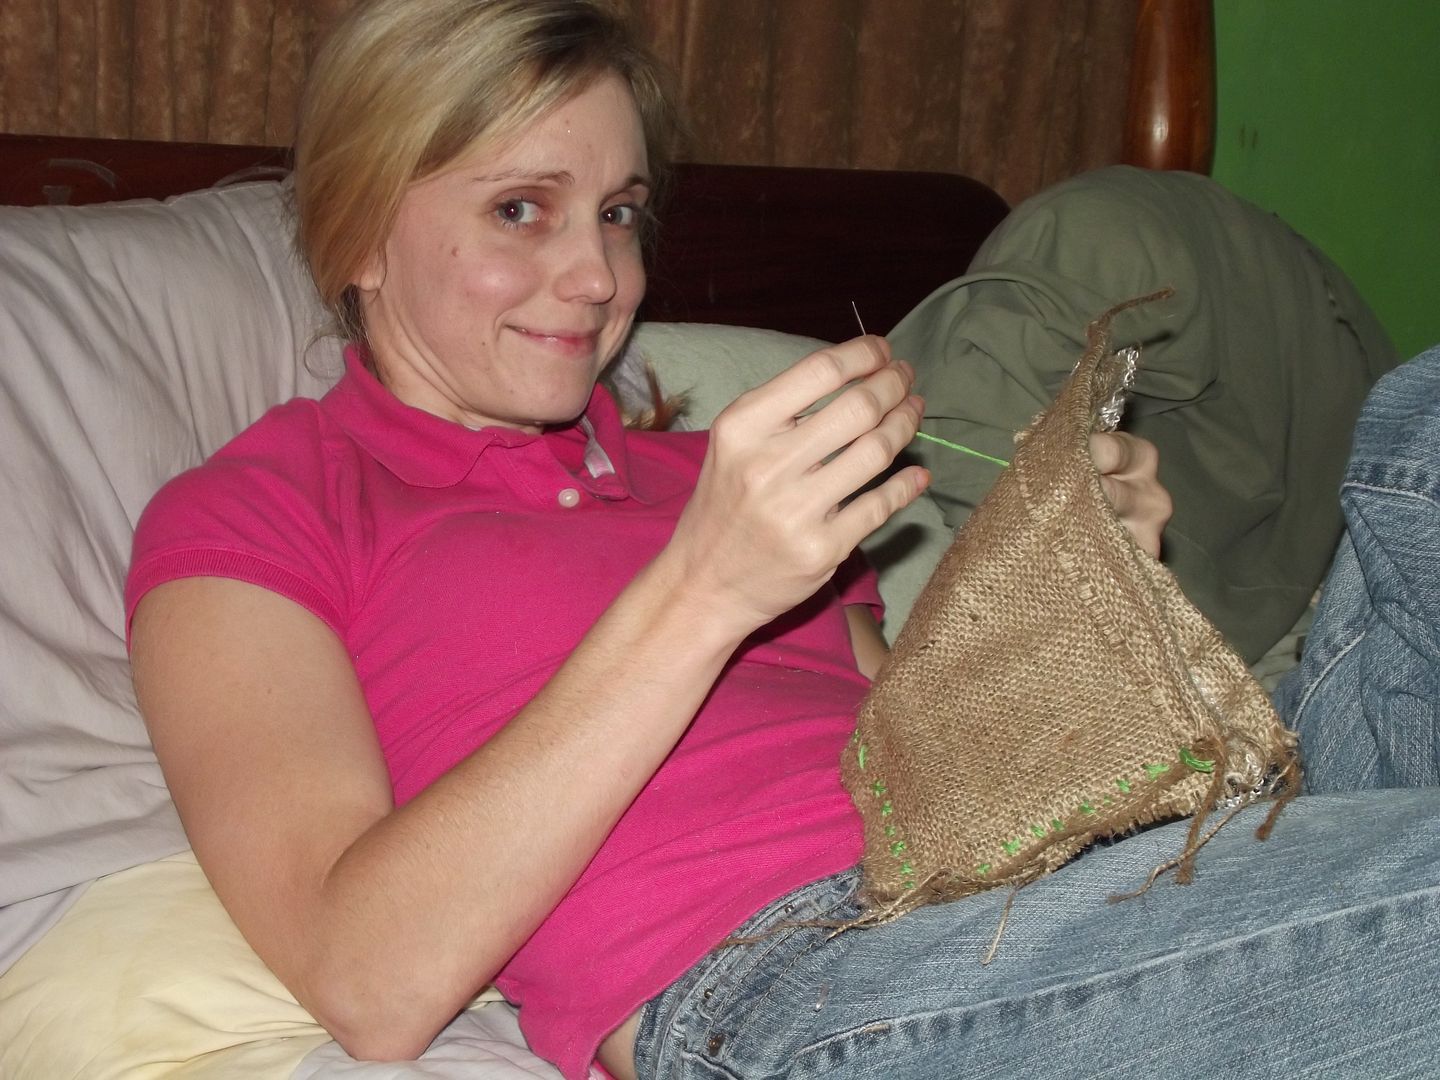
On a side note this project was an amazing stress release. I sat in my bed with an 80's wedding movie playing and some chocolate, rather than at my desk or dining room table. I gave instructions for Mike to occupy the the kids and I could her their delighted screams in the backyard through my bedroom window. Remember to leave a decent size gap for stuffing. You have to really squeeze it to get it into the corners.
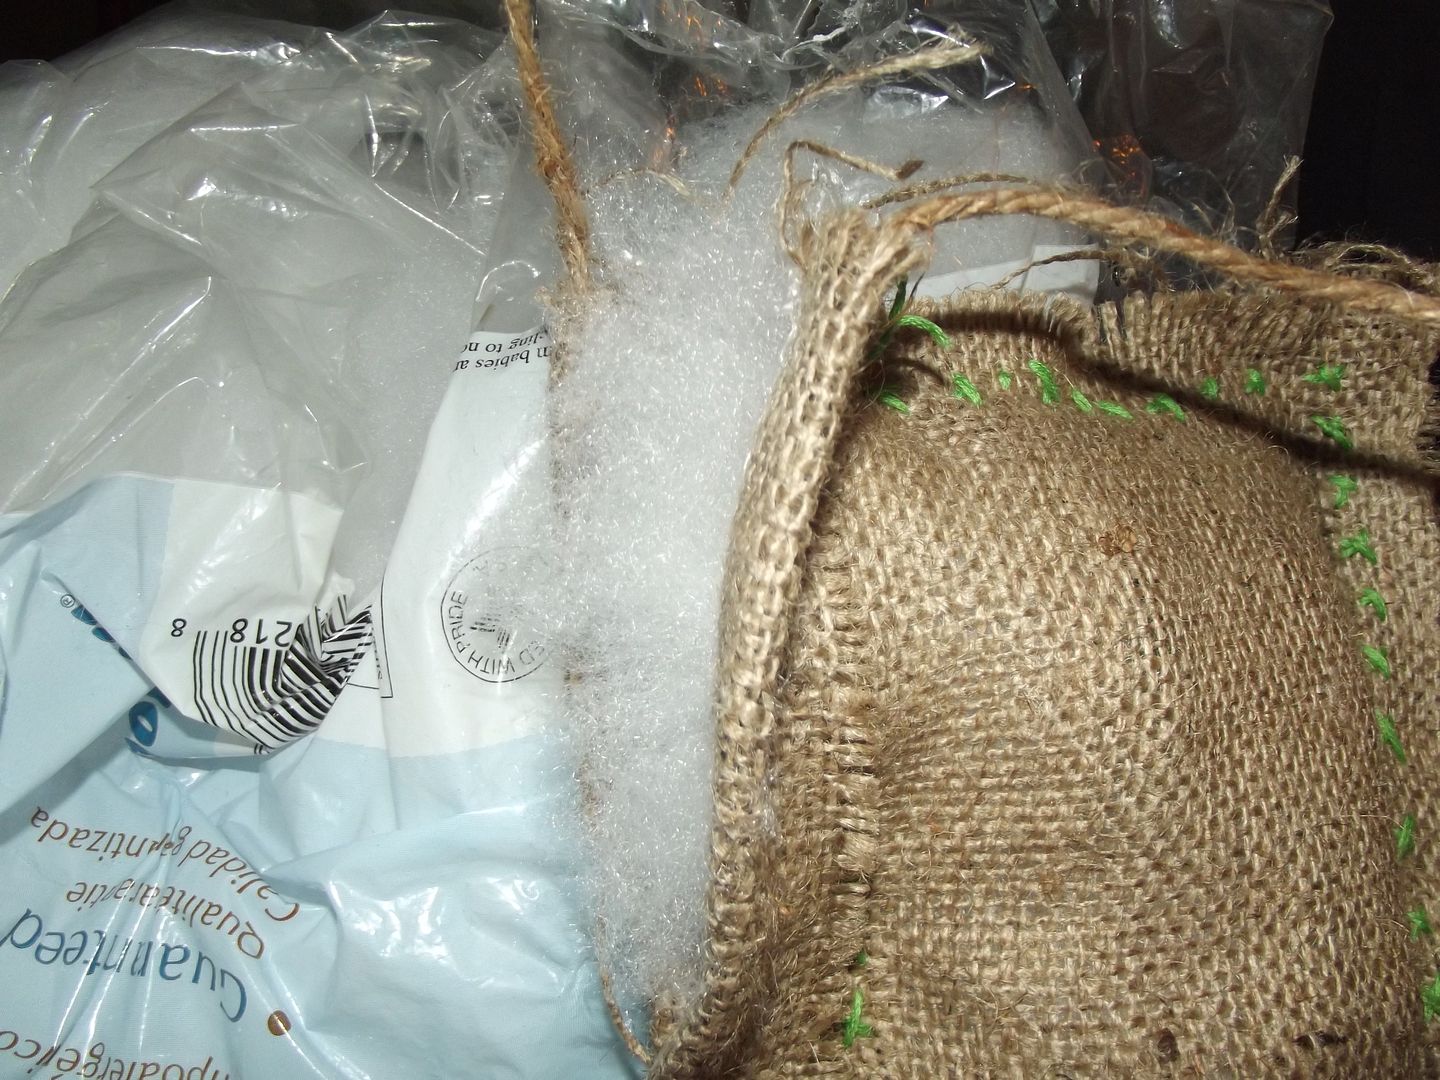
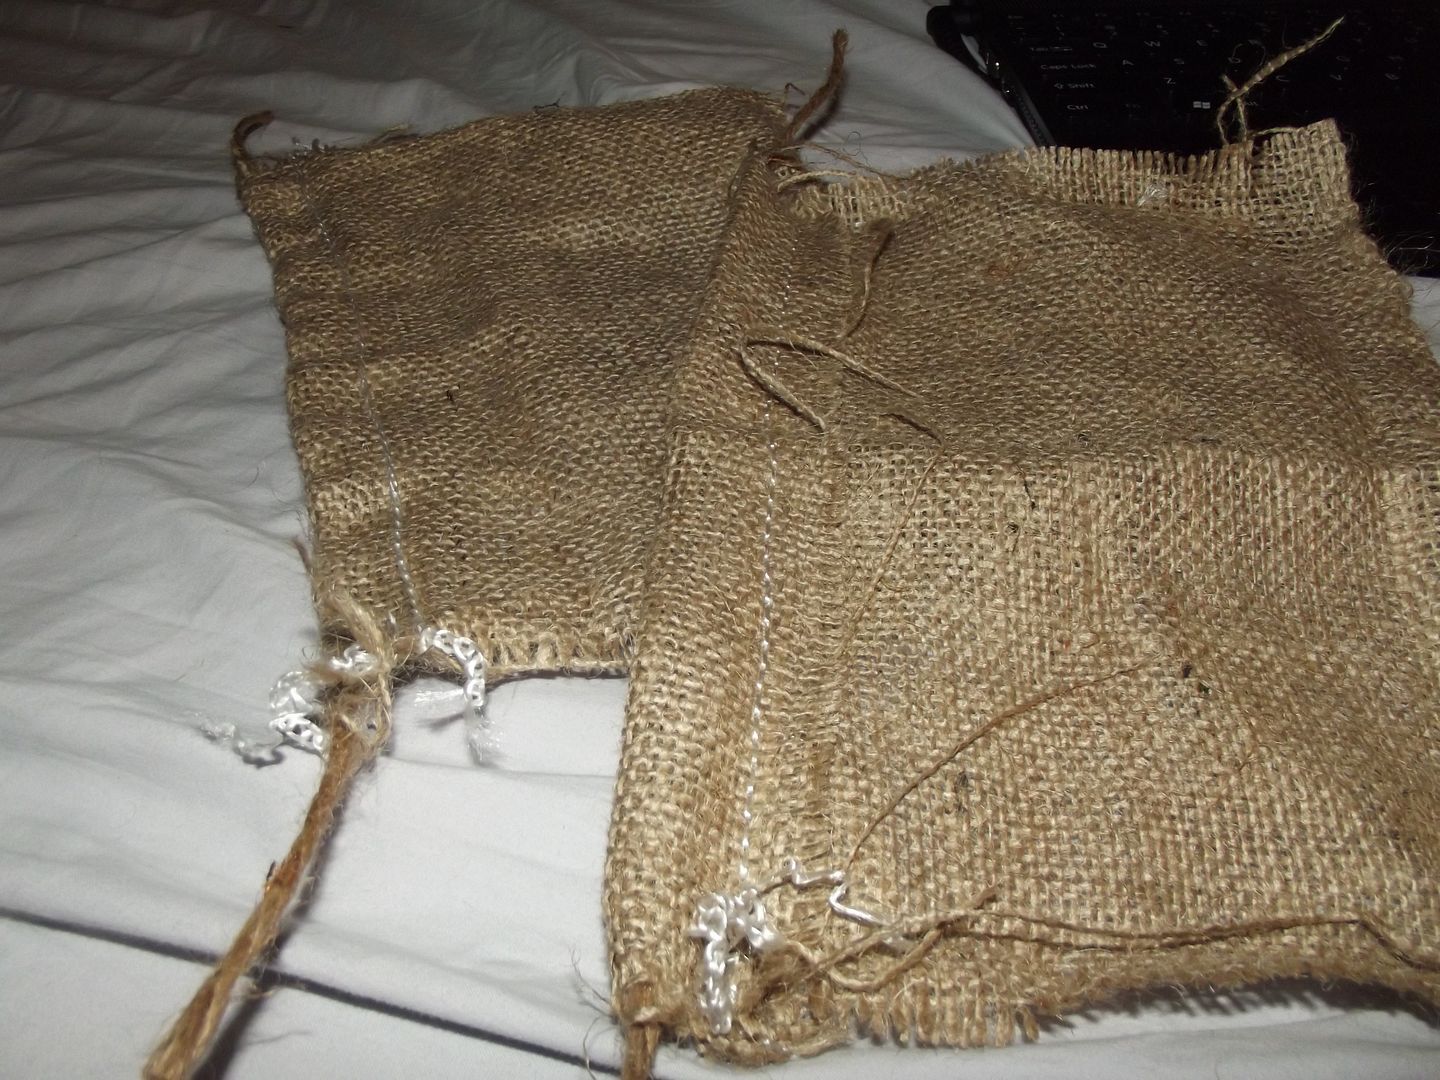
Once it's stuffed you just close it on up. It's much more difficult to stitch once you've stuffed because the fabric pulls apart. I pushed the stuffing down and pinched the edge with my other hand to keep it together. Once it was all together, I carefully cut off the drawstring.
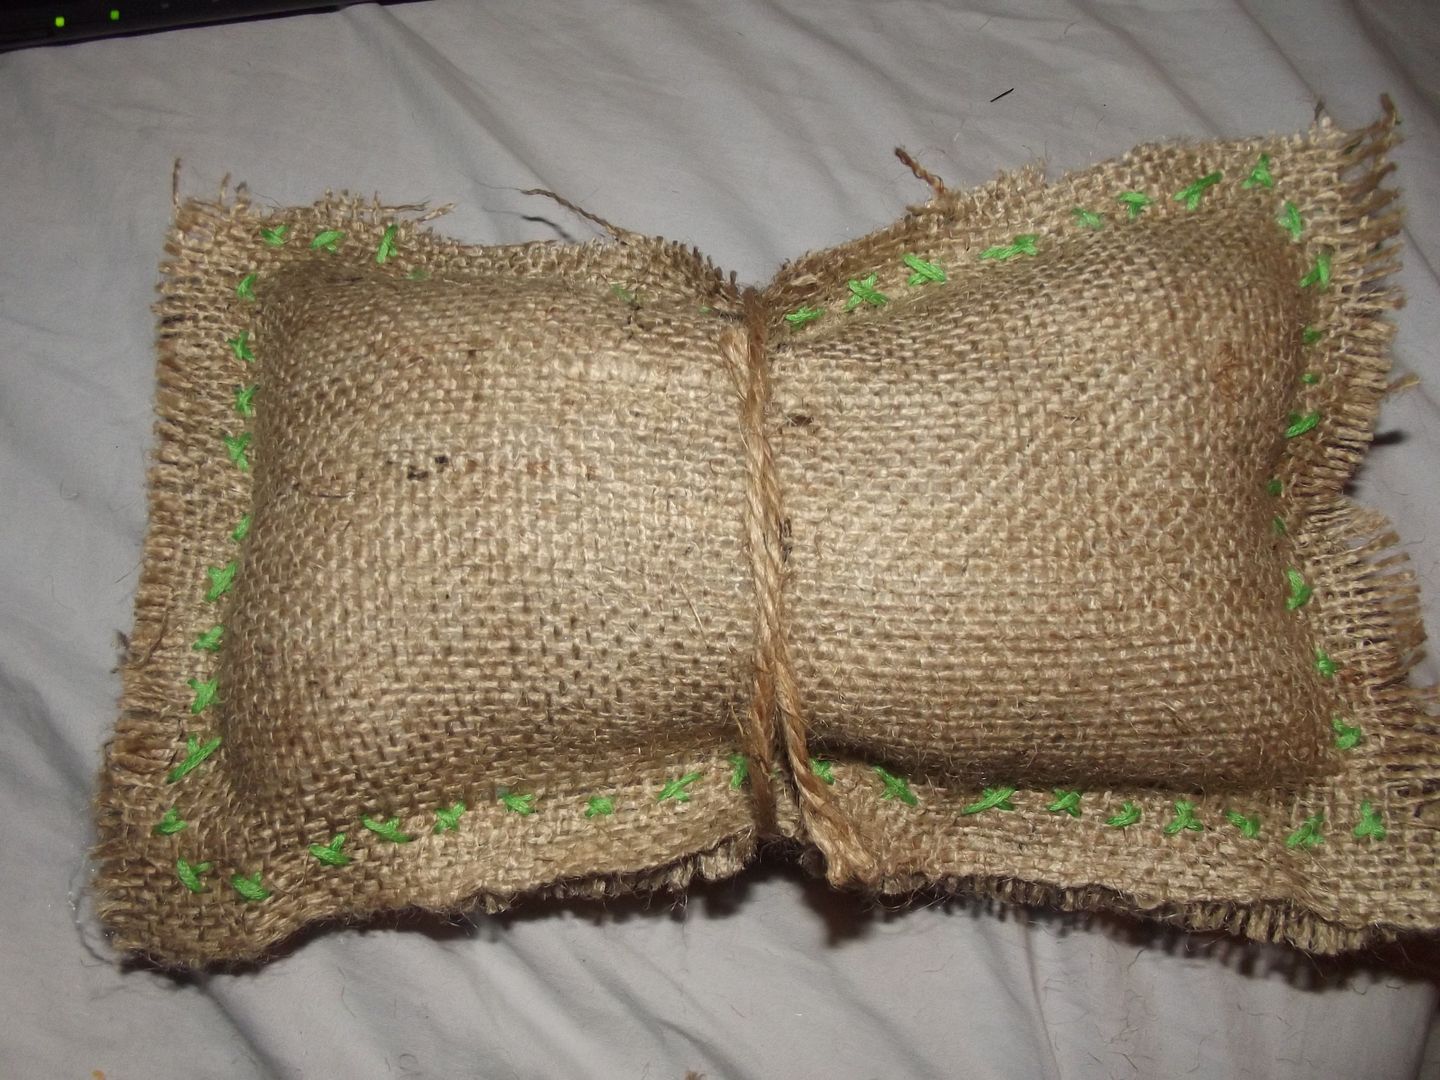
Ta-da! Pillow. Now, in this picture I was attempting to reuse the cord from the draw string to tie around the pillow, but it was too short for that so I scrapped that idea. I decided to try raffia or hemp cord (left over from my card box project). I also cut a mushroom out of cardboard to put on it in lieu of their wooden heart.
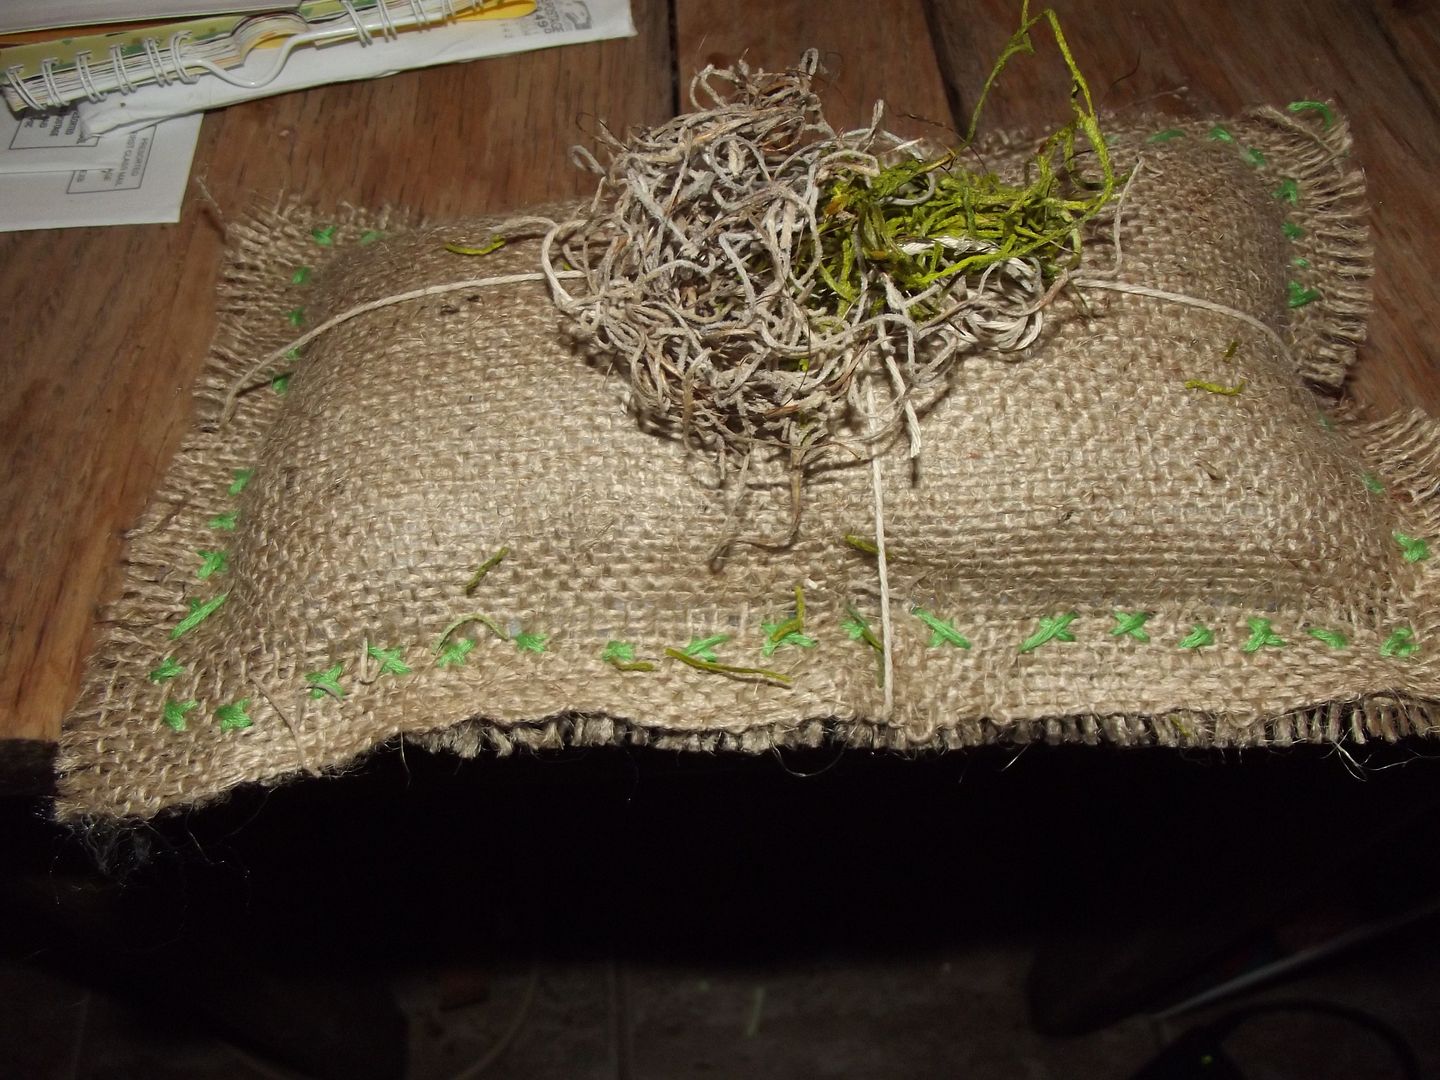
With Moss
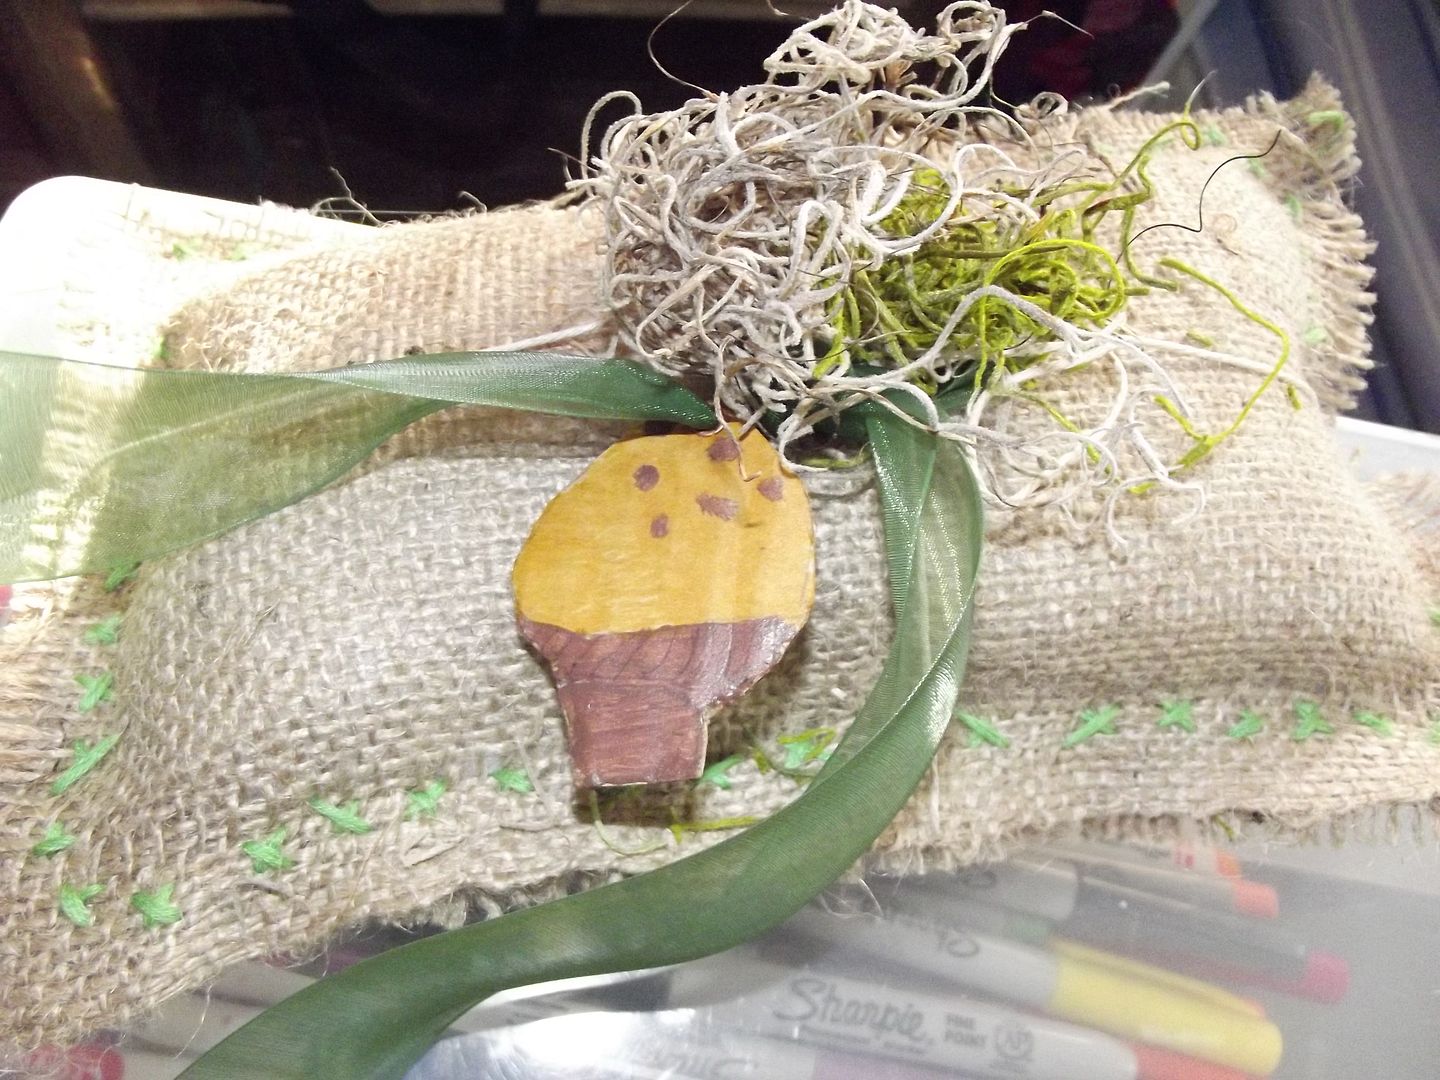
Finished pillow with mushroom and ribbon added
Lovely! Both the ring pillow, and an afternoon's crafting and 80's movie. :)
ReplyDeleteAlso: SO TINY ISAAC. Wow.
Thanks! That was only 3yrs ago, so he was 6...he looks really small to me too!
ReplyDeleteAW! I love the ribbons! So pretty!
ReplyDeleteI love the moss and ribbon :) good job!
ReplyDelete