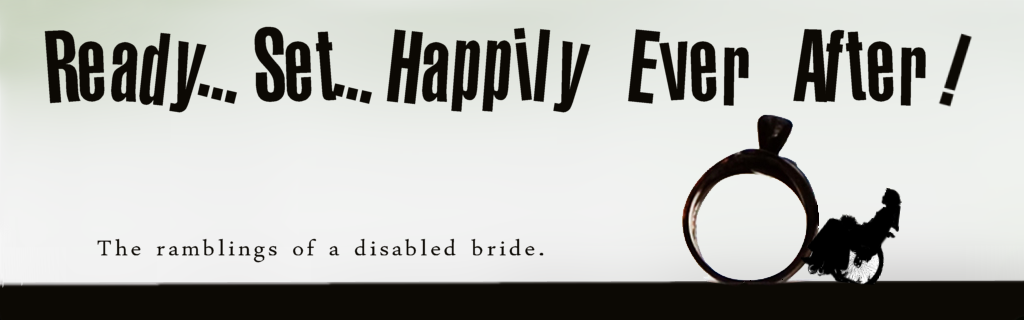
So, you may or may not remember waaaaaaay back in June when I mentioned coming to a consensus on the save the date design. In a nutshell, I wanted a simple magnet that had something humorous on it since folks will be staring at it a long time. Mike ran with that comment and insisted on something interactive. After a few ideas we landed on magnetic poetry for the interactive part.
Materials- Paint Shop (or other design software)
- Magnets (order printed online or print your own magnetic sheets)
- Photo Prints
- A source for quotes
- A craft cutter (I used a Silhouette) or Xacto knife
- Spray adhesive
- Glue stick
- A4 Invitation Envelopes
- A stamp
- Inkpad
- Tissue paper
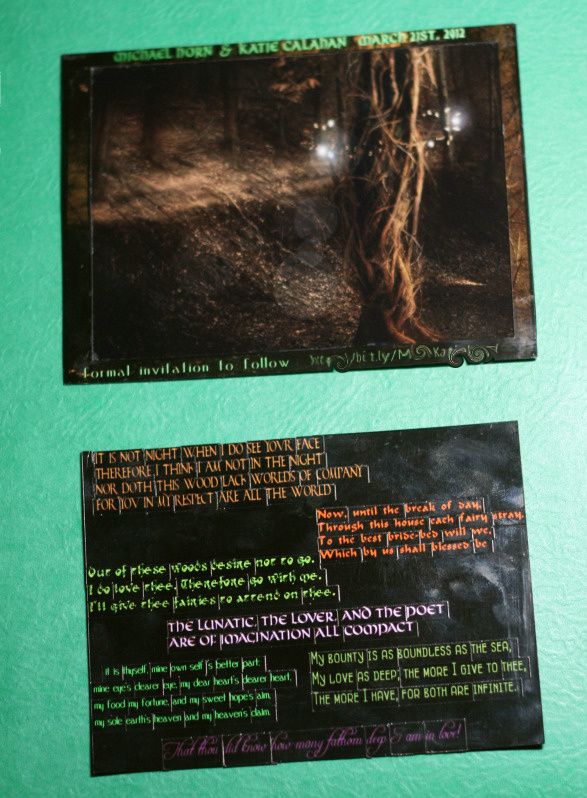
Before I begin, please remember we're having a Midsummer Night's Dream inspired wedding. Now to begin with you need a source for your pretty quotes. We used 4 quotes from Midsummer, 2 from As You Like It and 1 from Romeo & Juliet. Is my theatre major showing? My Quote List
- "It is not night when I do see your face, Therefore I think I am not in the night; Nor doth this wood lack worlds of company, For you in my respect are all the world"
- "Out of these woods desire not to go. I do love thee. Therefore go with me. I'll give thee fairies to attend on thee."
- "Now, until the break of day, Through this house each fairy stray. To the best bride-bed will we, Which by us shall blessed be"
- "The lunatic, the lover, and the poet Are of imagination all compact"
- (MY FAVORITE)"it is thyself, mine own self's better part: mine eye's clearer eye, my dear heart's dearer heart, my food my fortune, and my sweet hope's aim, my sole earth's heaven and my heaven's claim."
- "That thou did know how many fathom deep I am in love!"
- "My bounty is as boundless as the sea, My love as deep; the more I give to thee, The more I have, for both are infinite."
Once you've got your quotes done all pretty, you'll want a background. We preferred this so that once the words were broken apart there was still something pretty and intact to look at. We didn't want a picture of ourselves, although that's customary. We chose a picture of a cool old tree with "fairies" circling it. 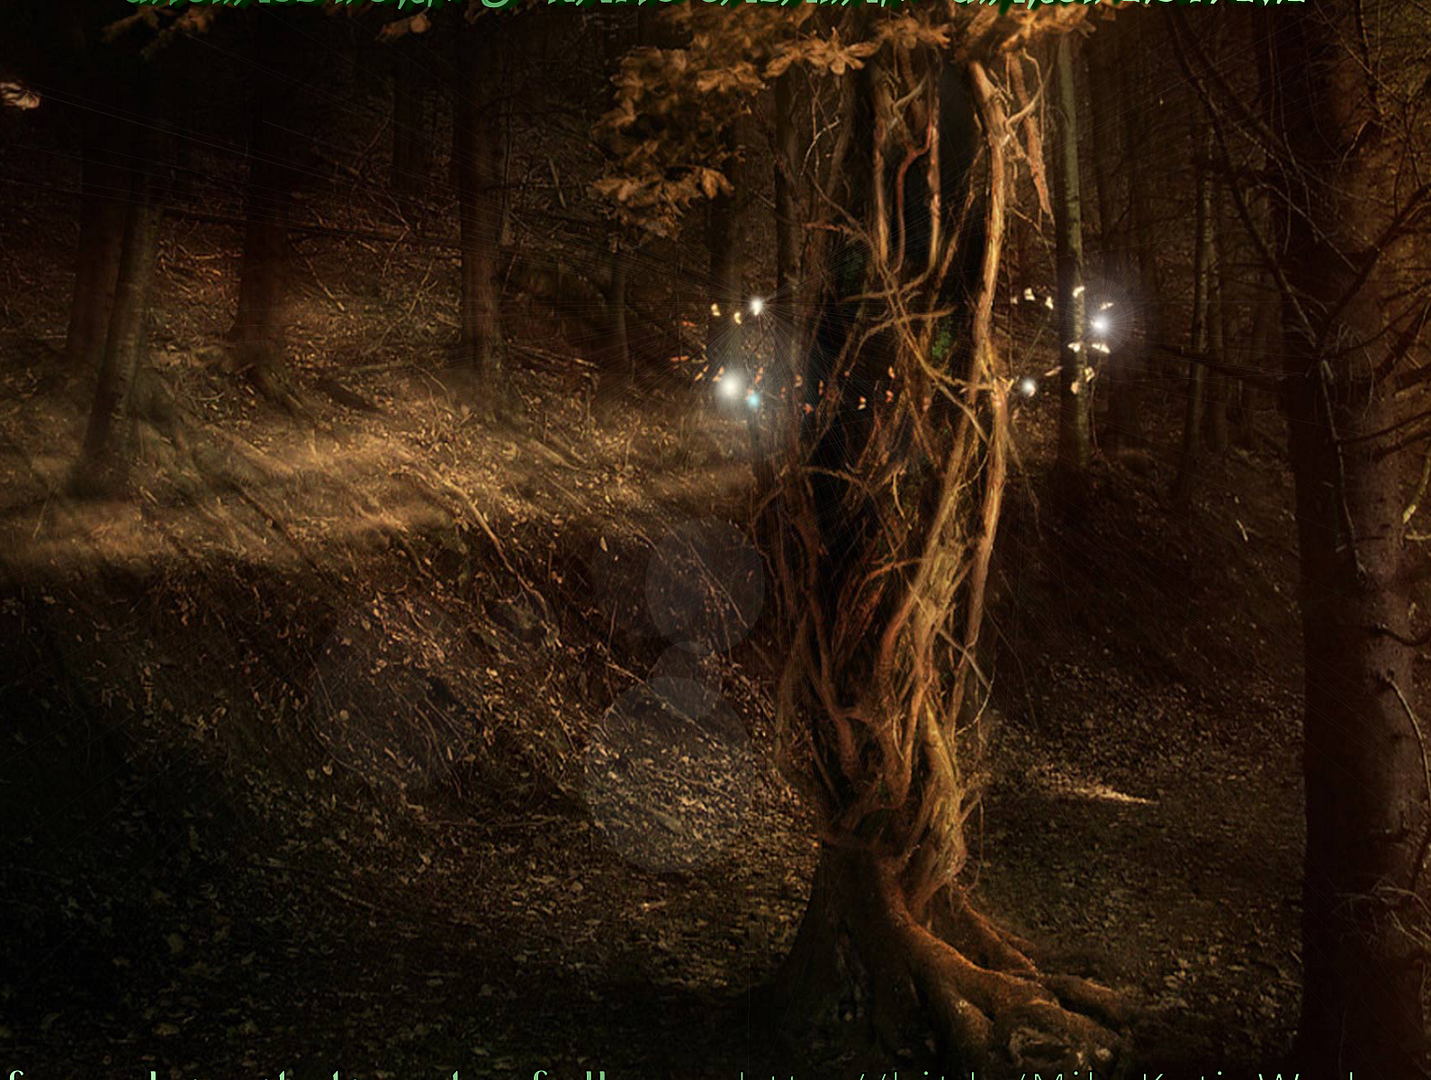 I just scoped out deals on photo prints and had 50 printed once we'd run it through Paintshop to our satisfaction.
The next step was making the frame that had the actual information on it. Typically, save the dates have: the date, your names, the city & state, the wedding site url and "formal invitation to follow". We did all of those except for city & state. Exact location is listed on the wedding site, which sorry blog fans is guests only. The frame would ultimately go around the background image, but needed to be magnetic so once we designed it we put it around the quotes and sent that image to Vistaprint. 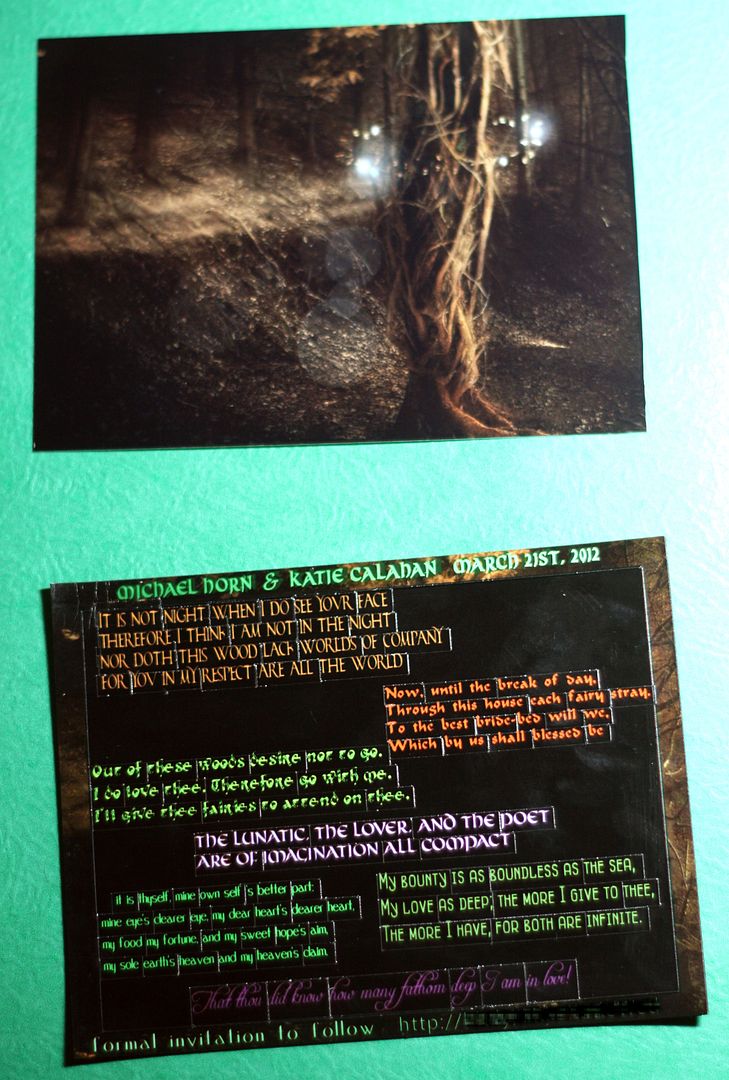 Here are the two pieces: Top-Background Print from CVS and Bottom-Custom Magnet from Vistaprint. A word of warning: do not adjust your image to the magnet size Vistaprint lists under the magnet type. Instead open the product description and use the dimensions there. They compensate for bleed and it kept cutting off the bottom of my frame. Also, with any DIY project order a test batch, make a prototype, make any adjusts and then order your 50 magnets (or whatevers).
Now for the trickiest bit, cutting all those tiny words apart without severing them completely from each other or the background. I invested in a craft cutter because I'm a crafty DIY person in real life as well as the wedding planning arena. 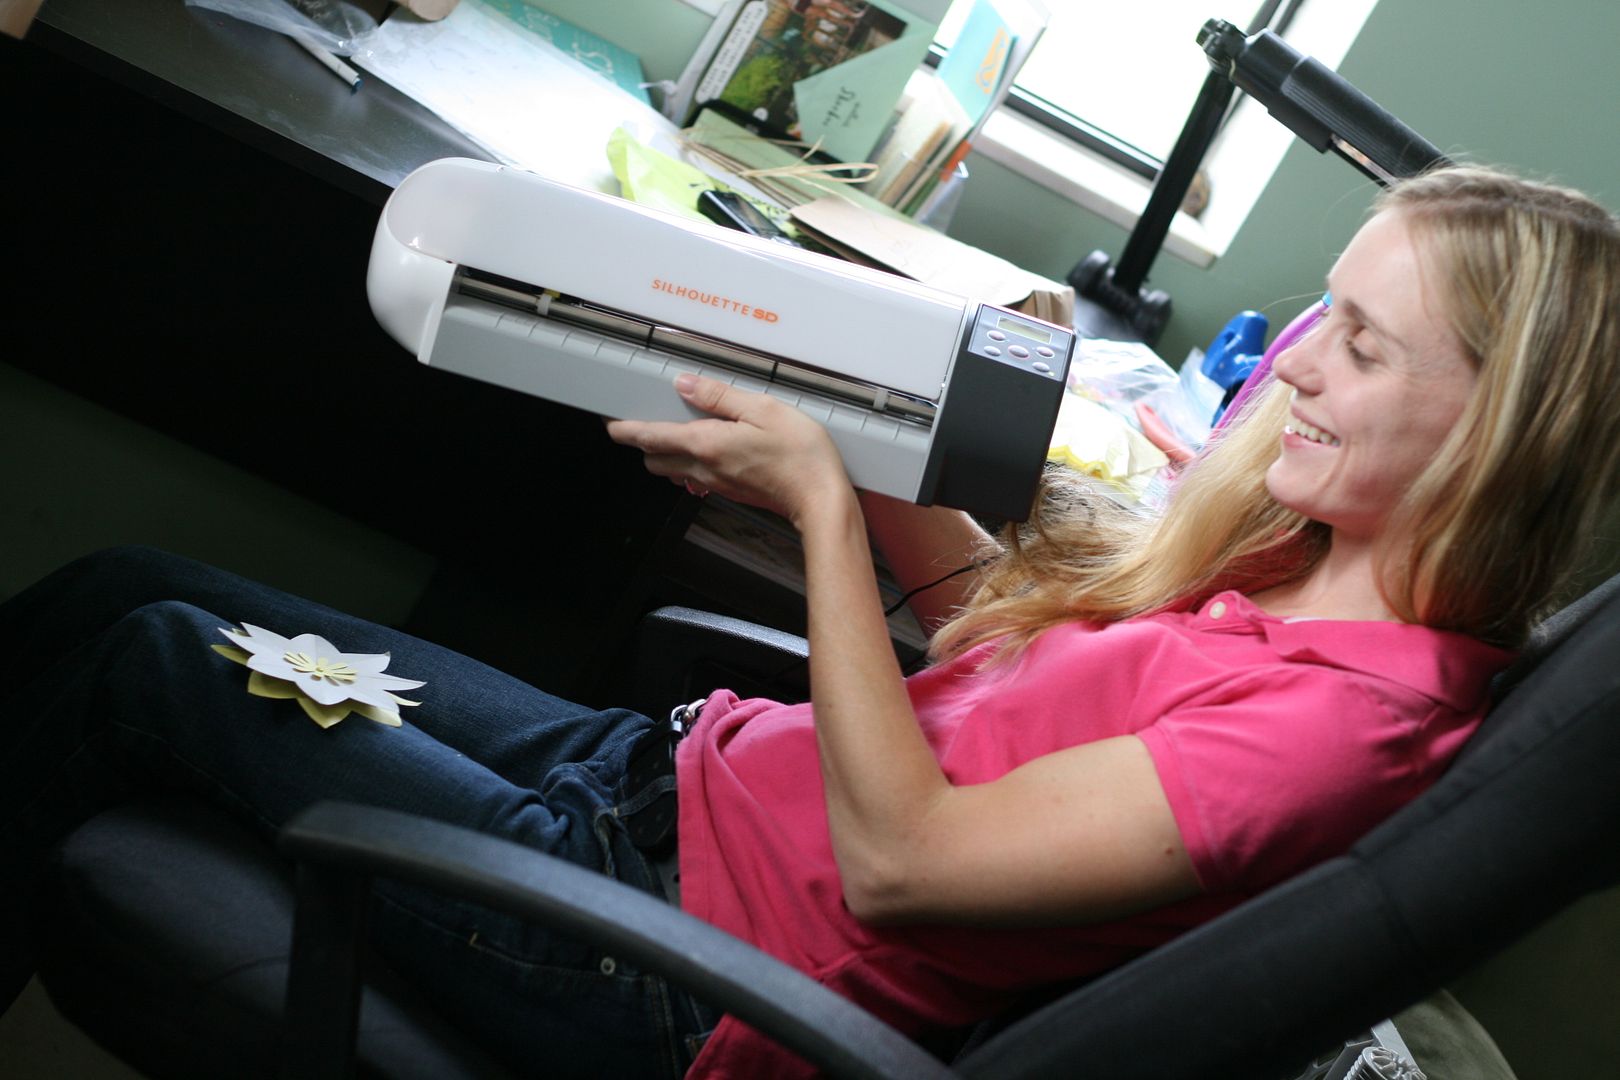 Now, you need to make sure you have a craft cutter that hooks up to your computer as opposed to a cartridge based one for this. If you do, you simply pull your design from Paintshop into the design software that came with your cutter and start drawing boxes. Make sure you have the correct dimensions for your image. Once you've tested the blade options and found the one that will cut deep enough to allow them to be broken apart by the recipients I recommend putting a pen (we used a fine tip Sharpie) in and letting it draw where it'll cut to test your alignment.
We destroyed 30 magnets before discovering this trick. Once you have it aligned properly you simply feed them through. Please make sure you’ve allowed enough room for the cutting mat to feed through without bumping anything! We gave the adhesive mat a spritz of spray adhesive every so often to keep the magnets from sliding. You will probably need a replacement blade once you're done. If you're doing this project on a much smaller scale you can simply draw lines with a straight edge and go over them with an X-acto knife. I think it may yield more perfect results, but for just shy of 50 magnets it was completely impractical for us.
With the complicated part behind you comes the repetitive tasks (that if you're lucky enough to have a groom and wedding party like mine) you can enlist help for. First, I had to carefully separate each frame from the quotes magnet. I recommend bending it all the way around and then pulling in opposite directions so you don't yank a word or two free. Then you secure the liberated frame magnet to the background image. 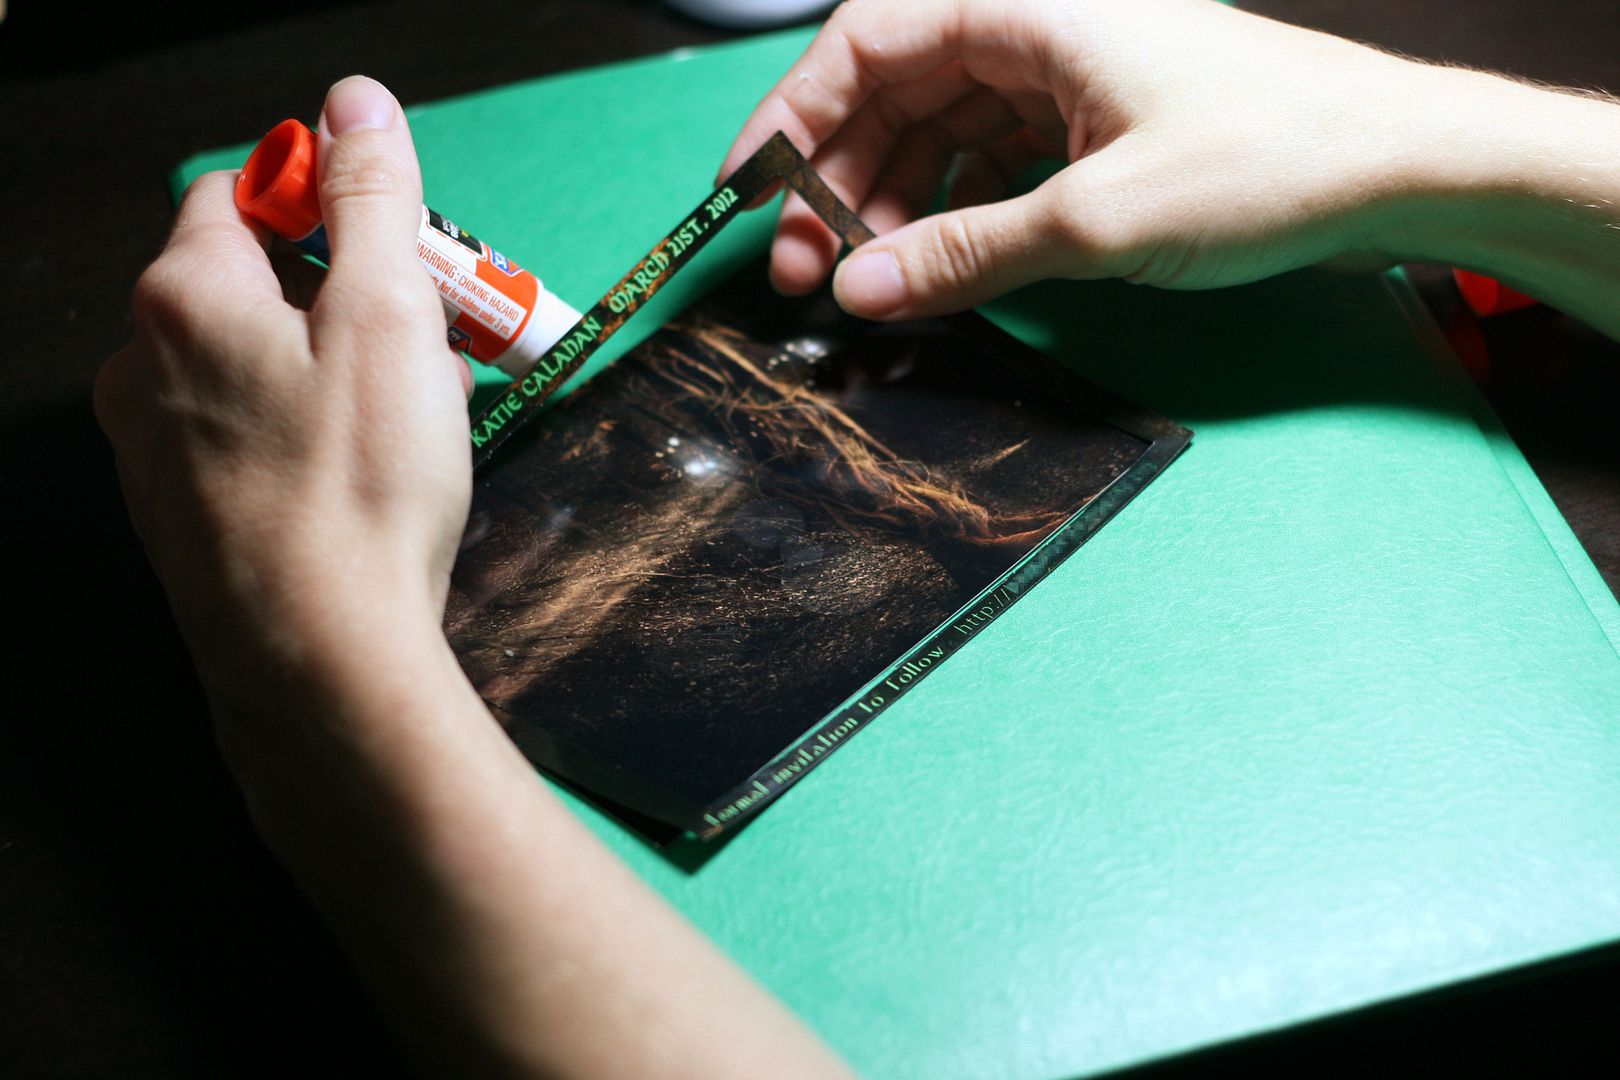 I used a glue stick and then set them under heavy books. I experimented with spray adhesive, but it was messy and unforgiving. I found it took a lot of squidging to get the frame just right and the approximate weight of a high school yearbook to ensure they dried nice and stuck.
 Hurray!
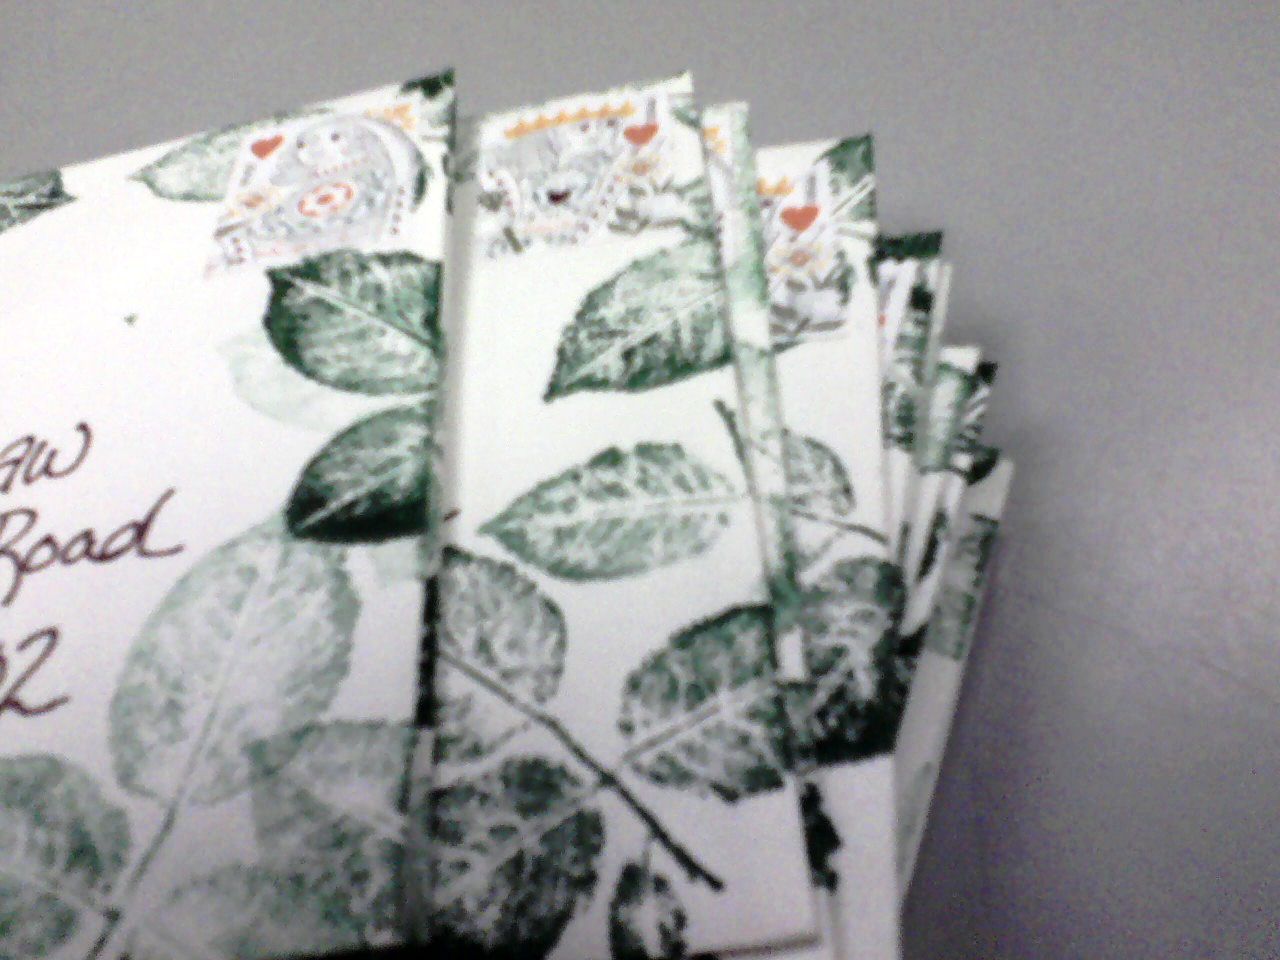
Next I bought A2 invitation size envelopes at Office Depot in ivory. My bridesmaid and official blog photographer, happily hand stamped them. I then loaded them in 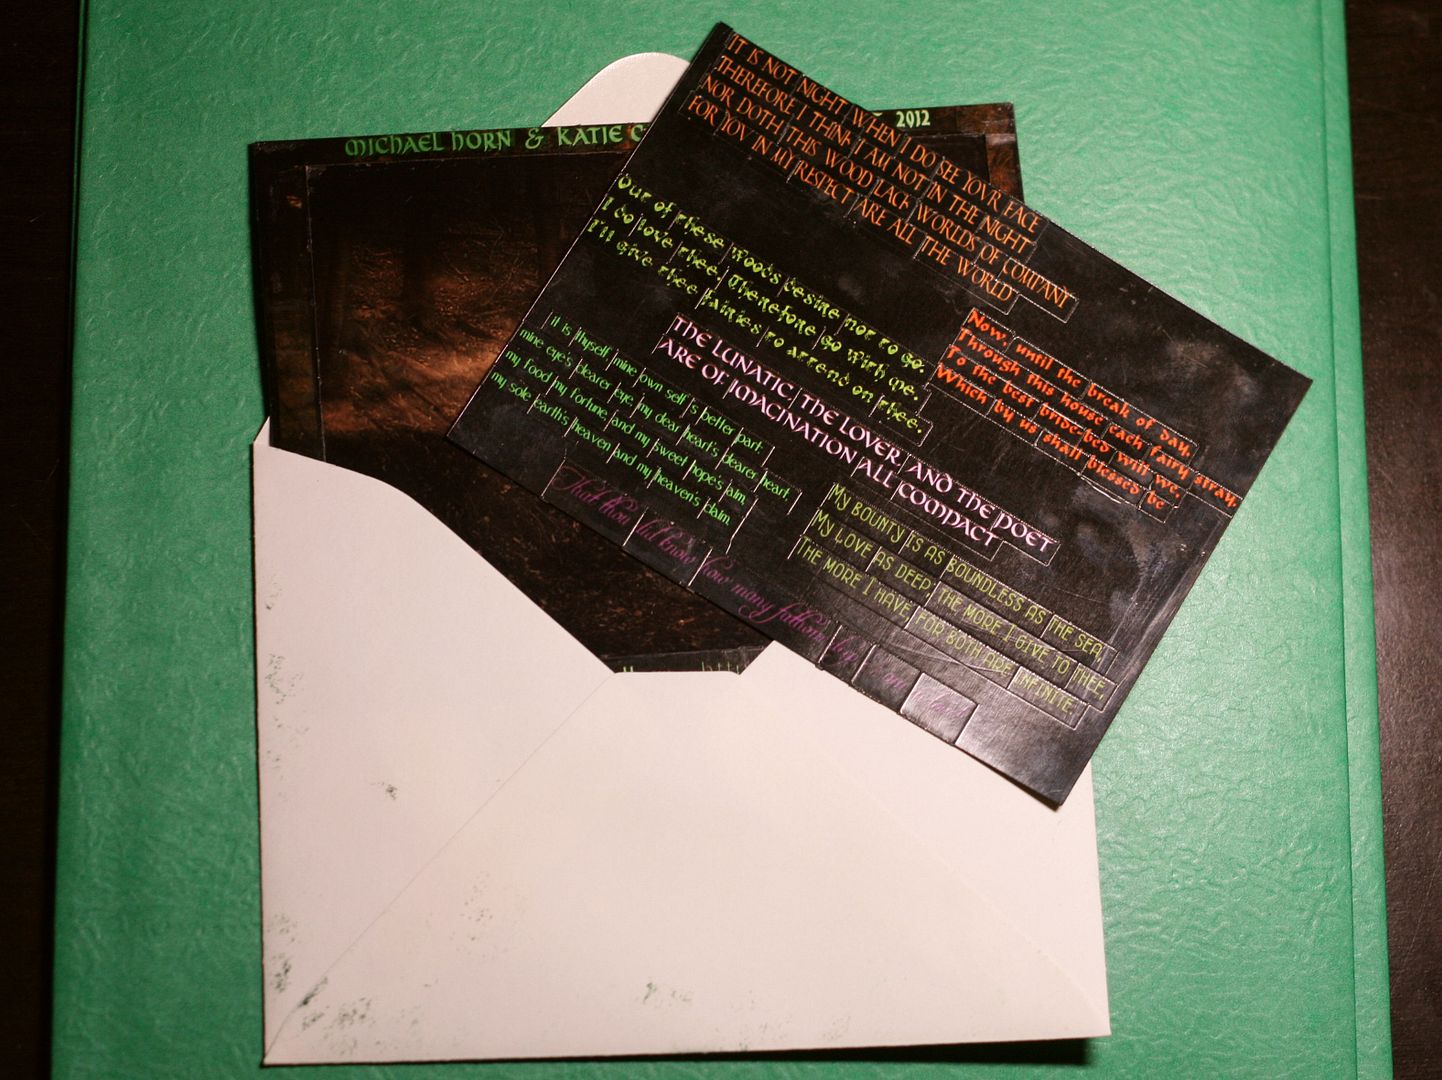 but not this way unless they were being hand delivered. When mailing magnets the post office requires they be loaded into the envelope magnet side away from the address. Which is why I recommend cutting some tissue paper. That way your guests, unlike mine, won't open their beautifully stamped envelopes looking at black magnetic frame and photo processing paper.
Ta-da! Interactive, magnetic, Midsummer Night's Dream inspired save the dates. Don't be shy, comment on this project please. The wedding budget prevented me from sending it to more than 44 households so pretend you're receiving one, what do you think?
They turned out so nice! Great job! It just shows, when people are as creative as this, that I have no creative talent at all!
ReplyDeleteWOW!! THOSE ARE PHENOMENAL!! Whata creative idea and painstaking work! Congrats!
ReplyDeleteWow, awesome job!
ReplyDeleteThose are great! I'd deffinetly have fun with those!
ReplyDeleteThat's awesome!
ReplyDeleteThey're really unique!! I like them-you did great! =)
ReplyDelete