
So, through trial and error (see previous post) I discovered a few things. First check your printer's functionality and ink levels before beginning the project. It's a real buzz kill to design your masterpiece and have no way to realize it. Second Microsoft Publisher is the way to go on this one. I used Word to make the documents before I realized it wasn't my best option so I copied and pasted into Publisher for mine.
Materials:
- White Cardstock 8.5x11-(4.5 pages per calendar x 5 calendars)
- Patterened Cardstock 12x12- 1 sheet
- Eyelets 1/8in-(2per calendar)& craft tweezers
- Crop-a-dile
- Thin Ribbon
- Double sided tape
- Stapler
- Scissors/Paper cutter
- Sticker jewel embellishments
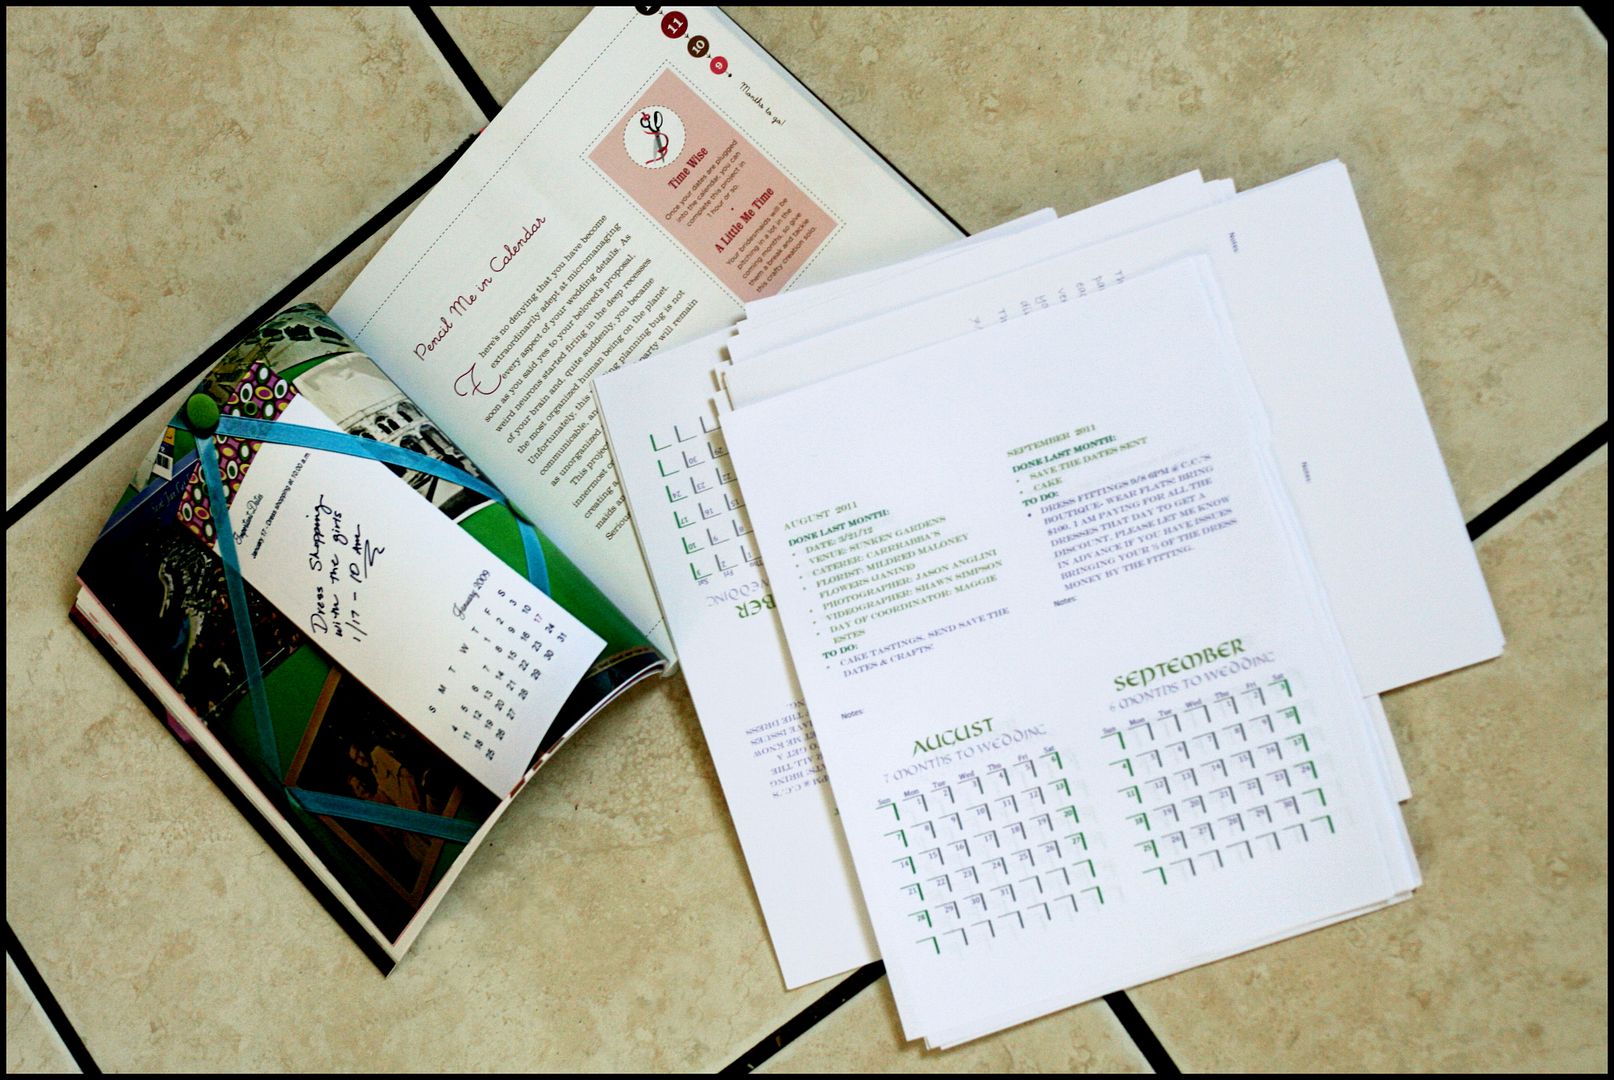
Make sure you resize your page before you start! The book recommends 4x9 with .25 for margins. I did 4x9, but was weary of not having space for my patterned paper at the top and made my top margin 1in instead. It is completely up to you how big you what them. I liked this size for portability. Remember your only do the months from now until the wedding so if you’re a few months away and have a lot of events, go big.
Go nuts creating your calendars I used the most feminine versions of my wedding colors and a fairy tale-ish font for month names. Do whatever makes you happy. As you can see from the previous post, the book example is super basic. I started with August and went forward to the month of the wedding writing "months until wedding/wedding month" under each as appropriate. Above my calendar I made a "Done Last Month" & "To Do" section and left space for notes. I kept them pretty general except for the dress fitting and all the wedding month events. I started trying to fill in all my appointments, when packages (ie lanterns and Save the Dates) would arrive, bridesmaids birthdays and anniversaries and it quickly became overwhelming and cluttered. Keep it simple. I also added a "thank you from the bride" on the last page. I used a font that looked like handwriting and told them they kick butt.
Once the design is too your liking make sure you check your print settings carefully. Make sure if you select print 2 pages per sheet if that's what you want. Also if you have an odd number like I did print the last page 2 per sheet at the end so you don't waste a whole page. Please do a test print on printer painter, we all know how precious cardstock is.
 Viola!
Next carefully cut your pages apart and put your months in order. If you made a thank you page don't forget to add that. Once the pages are trimmed and in order staple them. The book reccommends: To secure the stack, staple the pages about 1/4in from the top, in center of stack
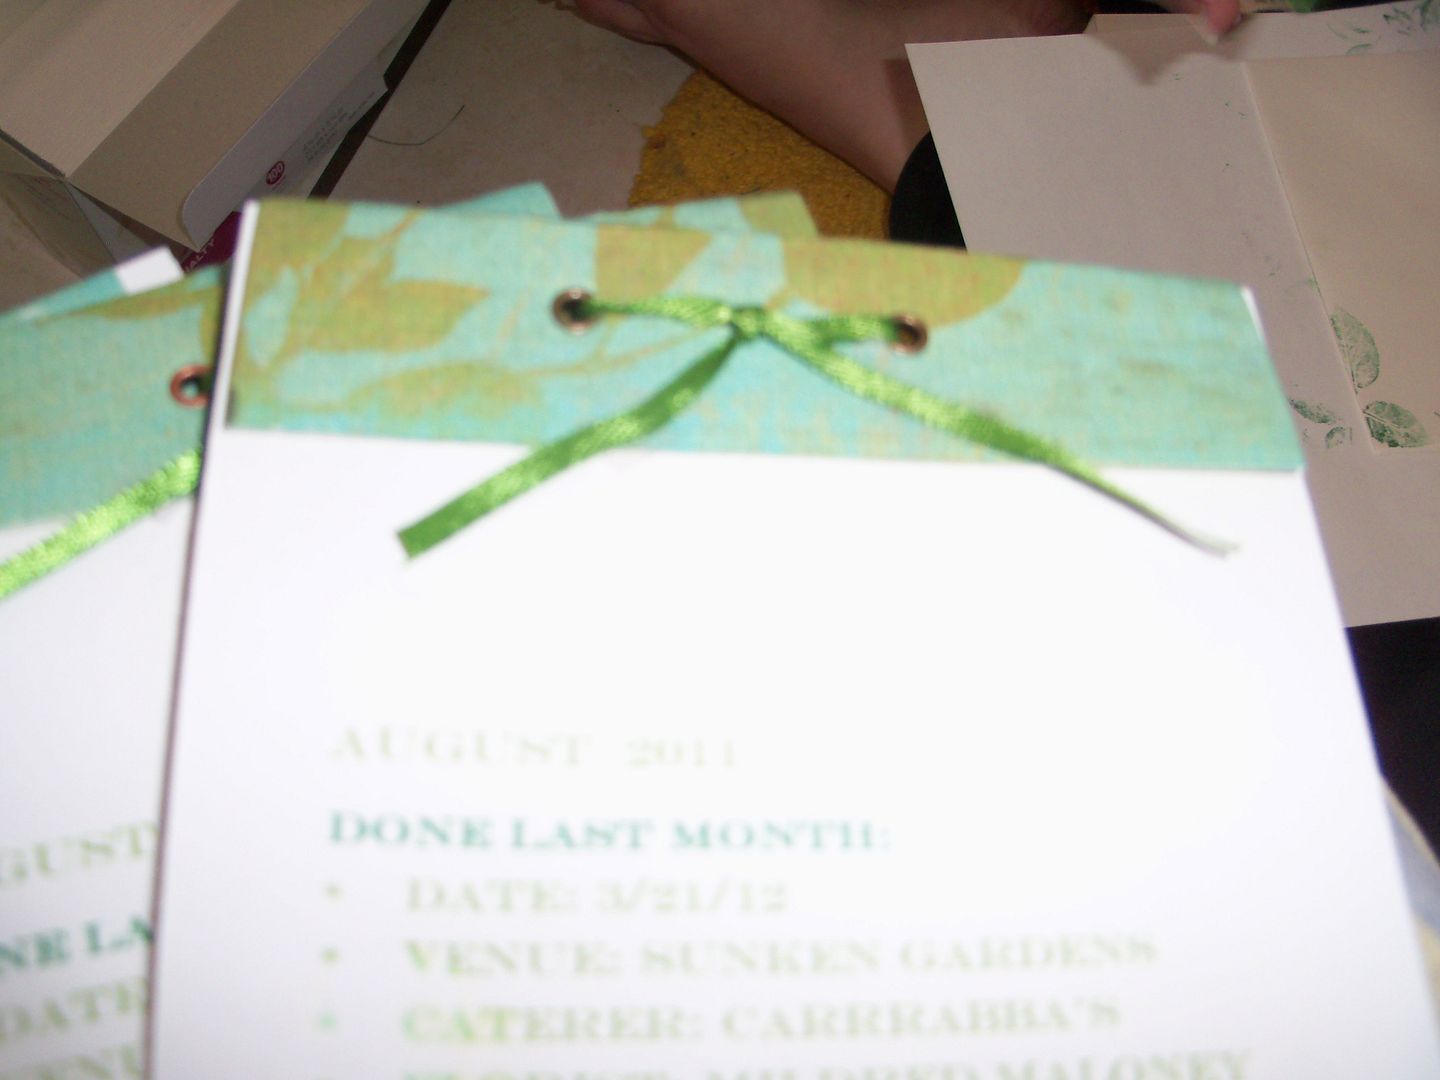
Next, cut your patterned paper into 4x2in stripes. Fold them in half lengthwise and score them. It should come down evenly on both sides. Once your happy with your fold put a piece of double sided tape on each side and press down.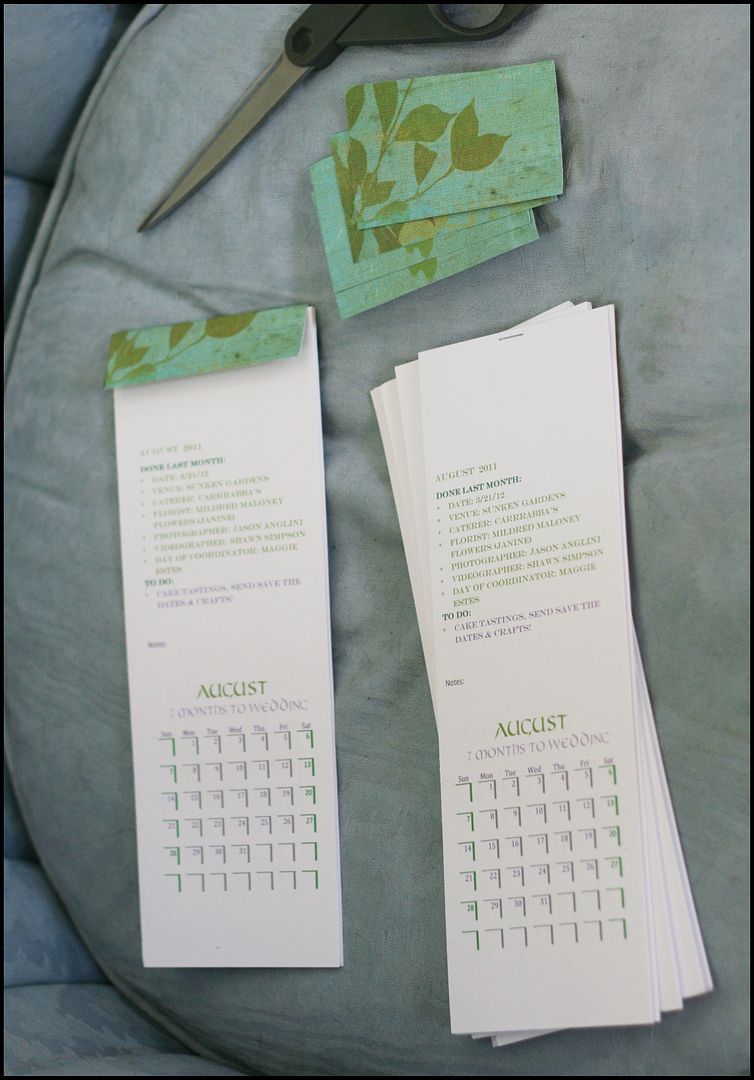 Then comes my favorite part! Using my brand new toy, the Crop-a-dile I punched 2 1/8in holes in the top of each calendar. Now because this was my very first time using this tool I ended up with extra holes, uneven placed holes, and squashed eyelets. In the end it was nothing something pretty ribbon couldn't hide. Test you hole punching and eyelet setting prowess before you attack your pretty calendars, if you’re a newbie too.
That's all there is too it!
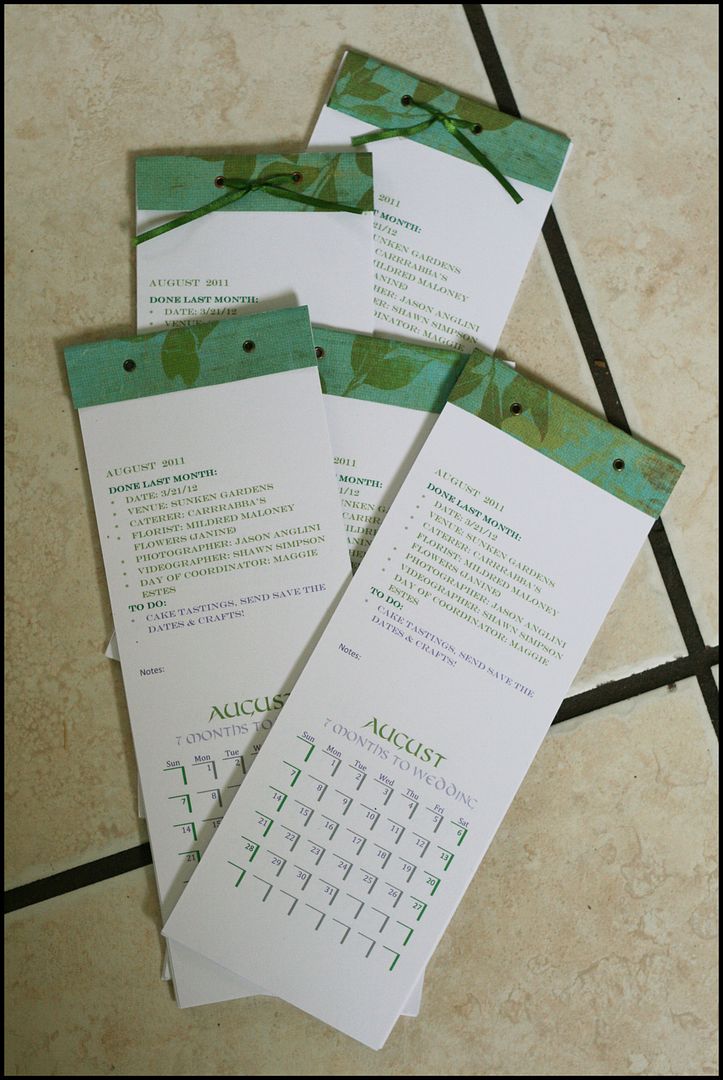 For fun I added a large jewel sticker on the wedding day and a small one for bridesmaid dress fitting day. I like my little bit of sparkle. I also color coordinated my Vendor and Wedding Party contact sheets with the Bridesmaids Calendars so everything matches (:
Love button needed now! Like I said....you need to do this for a living -Cindi
ReplyDeleteYou are too cute!
ReplyDeleteThis is a very cute idea! What all did you include in the calender?
ReplyDeleteI put the bridesmate's dress fitting, the rehearsal, and the wedding as far as fixed dates, but I made notes on what would generally be happening. For example: Aug-Done this month: Bridesmaid get together, Save the Dates sent. To Do: Cake Tastings. You get the idea (:
ReplyDelete