I wanted to something like this. I already asked my maids to fill the position by phone before I made their bio section on the blog. If you haven't seen it or in case you want to refer to their actual likenesses after you see the paper versions: Cast List. So, mine were thank yous rather than "will you be my bridesmaid" cards.
Paper...
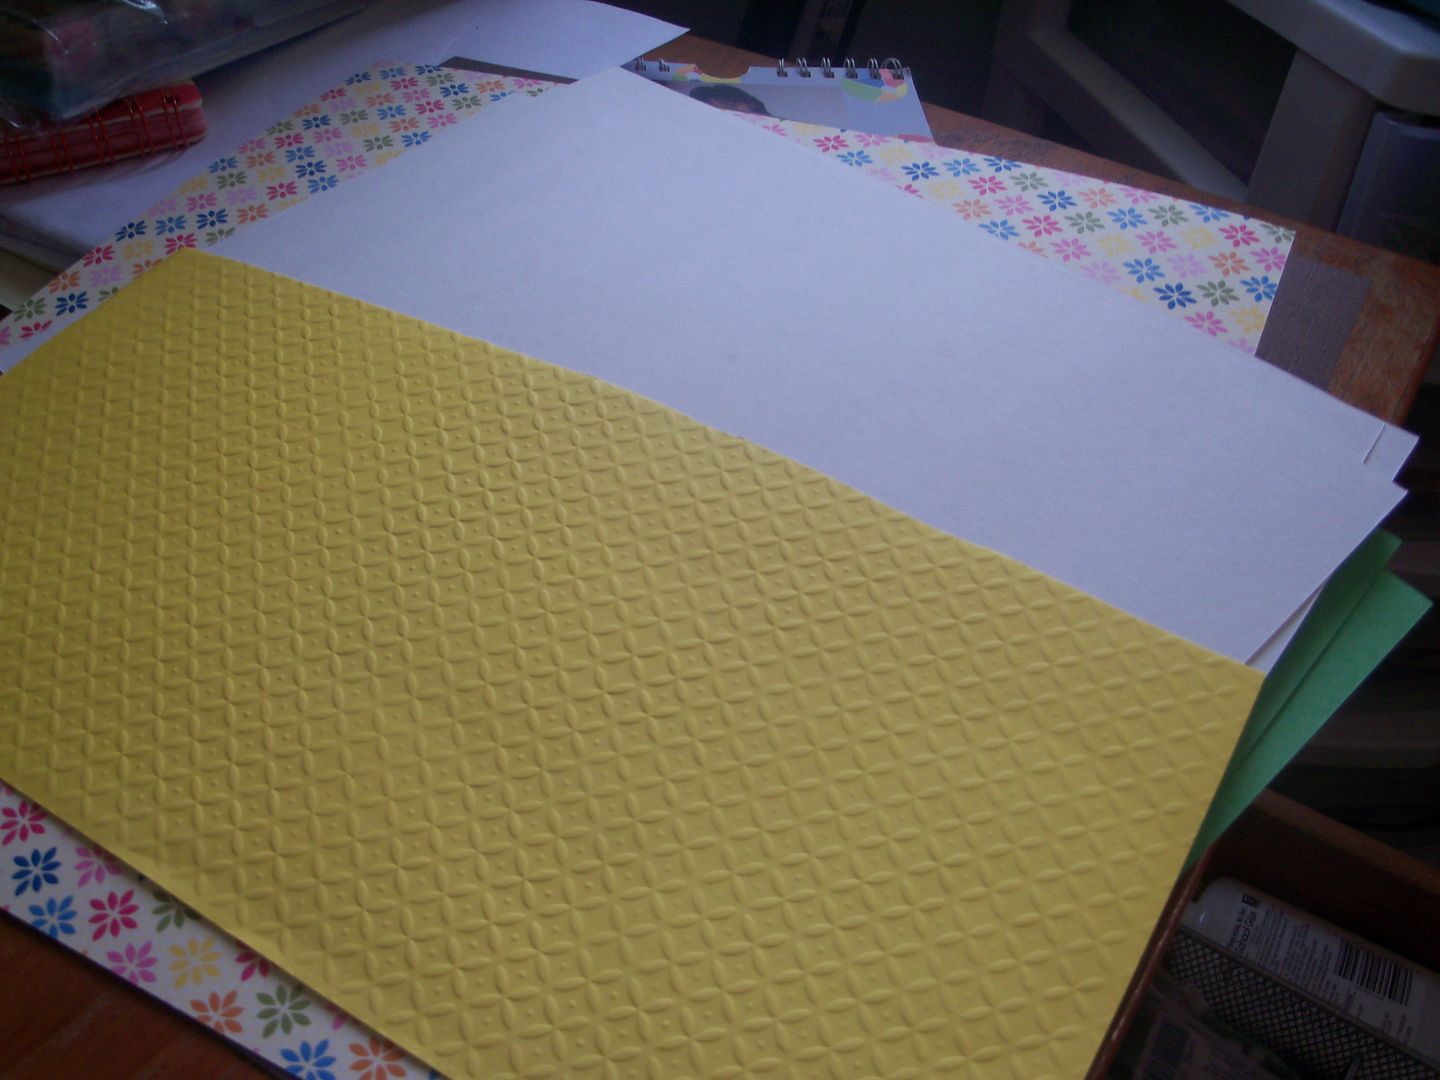 This was the first issue I had with the instructions she did 6 girls 3.5in apart and 6in tall. I don't know about you guys, but my craft paper is 12x12. If you scroll all the way down it says she used 18x18 Martha Stewart paper. If you have more than 4 maids I reccomend bigger paper.
Folding/Cutting

Make sure your folds are sharp and your cuts are straight it makes a big difference. Use the scoring blade on your cutting tool or a dull pair of scissors. Mike actually stopped what he was doing to come give me folding lessons after my first failed attempt.
I made my girls 3in apart and 5in tall. Once you have your marks you can fold directly to them and then draw the whole body. You can also fold them in half and draw half of the outline. Like when you fold a piece of paper in half draw half a heart and cut it out and unfold a whole heart.
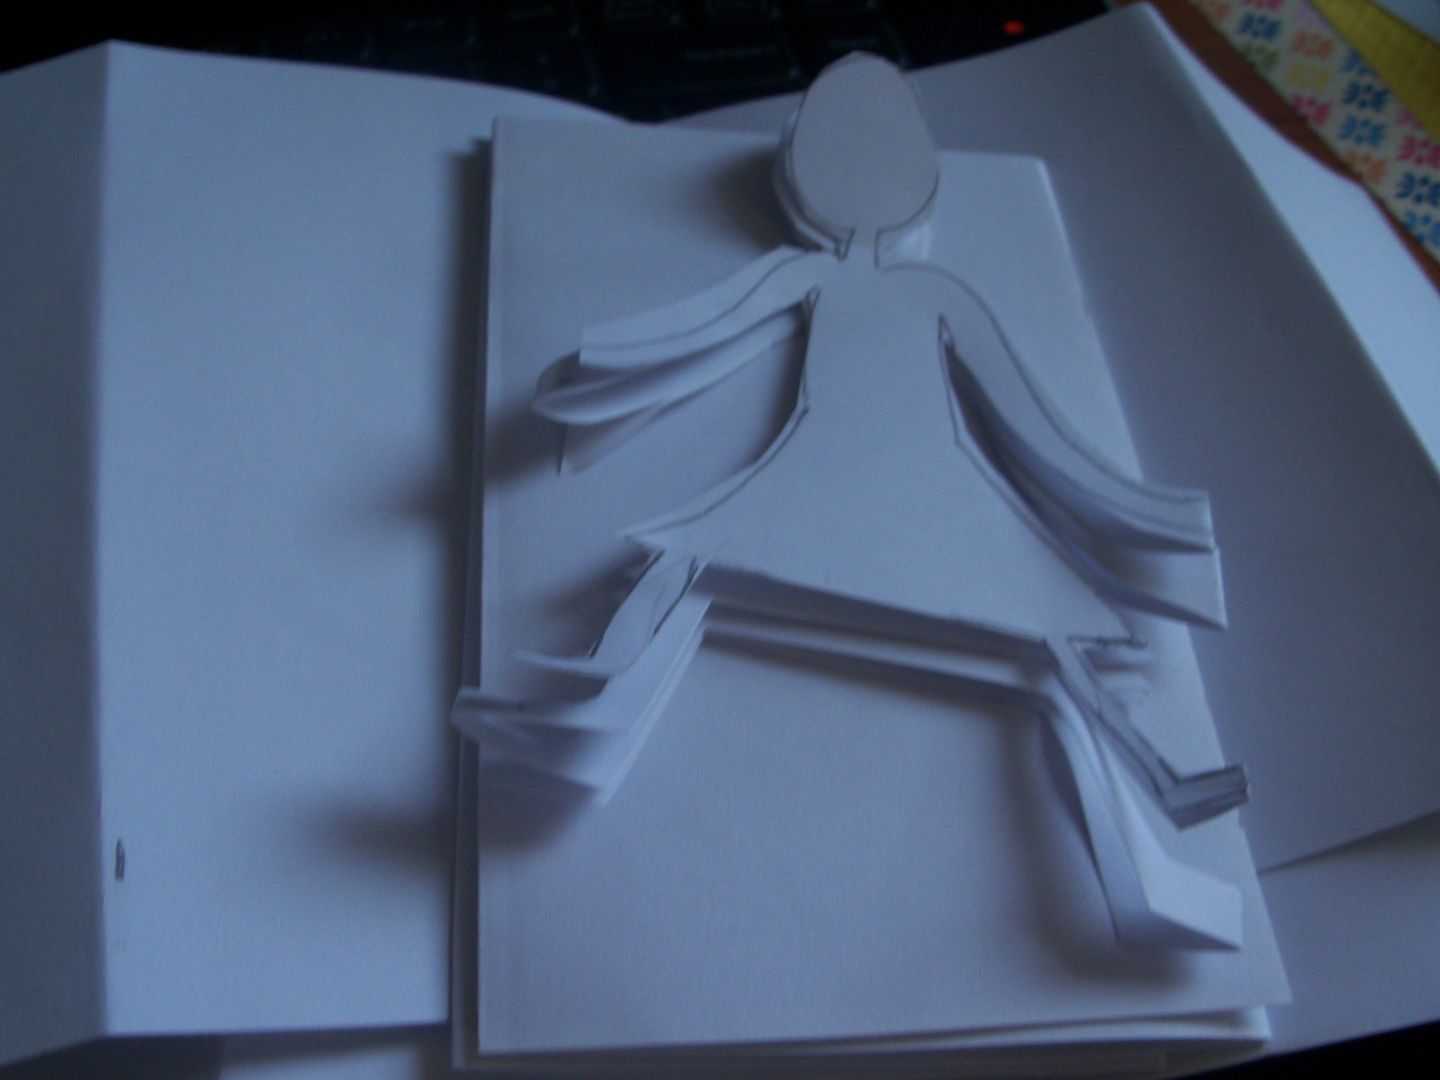
My first failure, ugh. I didn't make my folds very even. It looks like a line of Rockettes! I did get the shape closer to what you need if you're doing the same style dress as OnceWed.
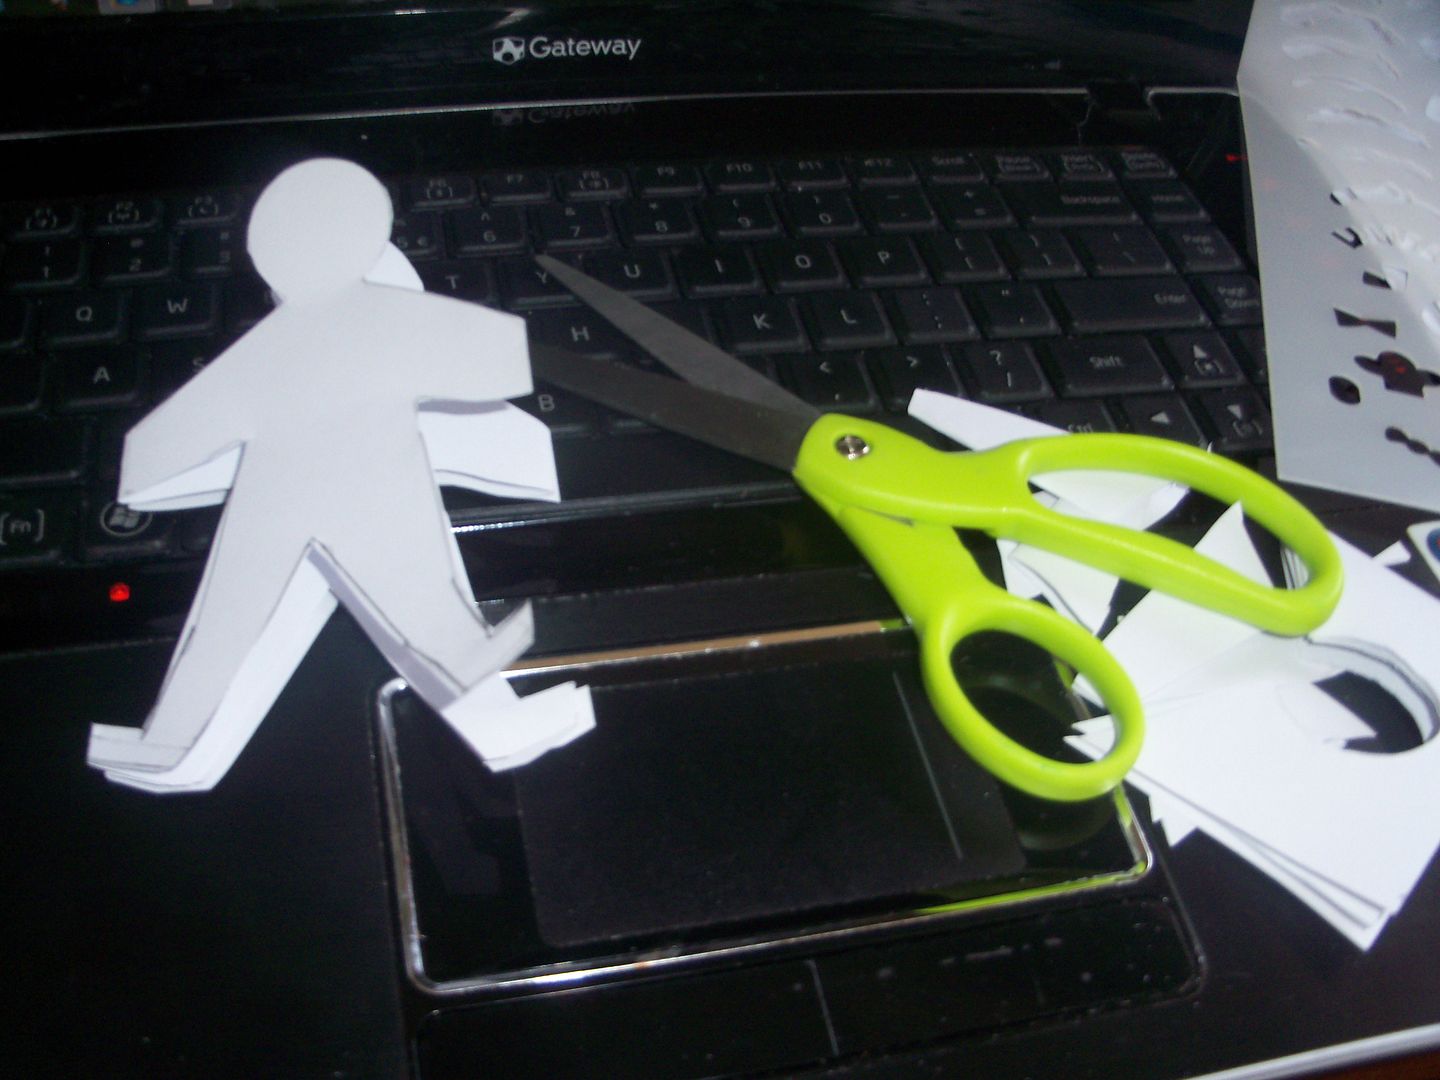
Here's the body shape I went with. I actually used a stencil I have for scrapbooking. I thought it would be wise to keep the body as uniform as possible. The thicker you can make the arms and legs the better because they have to be durable enough to be folded and unfolded many times without ripping apart.
Decorating the Dolls
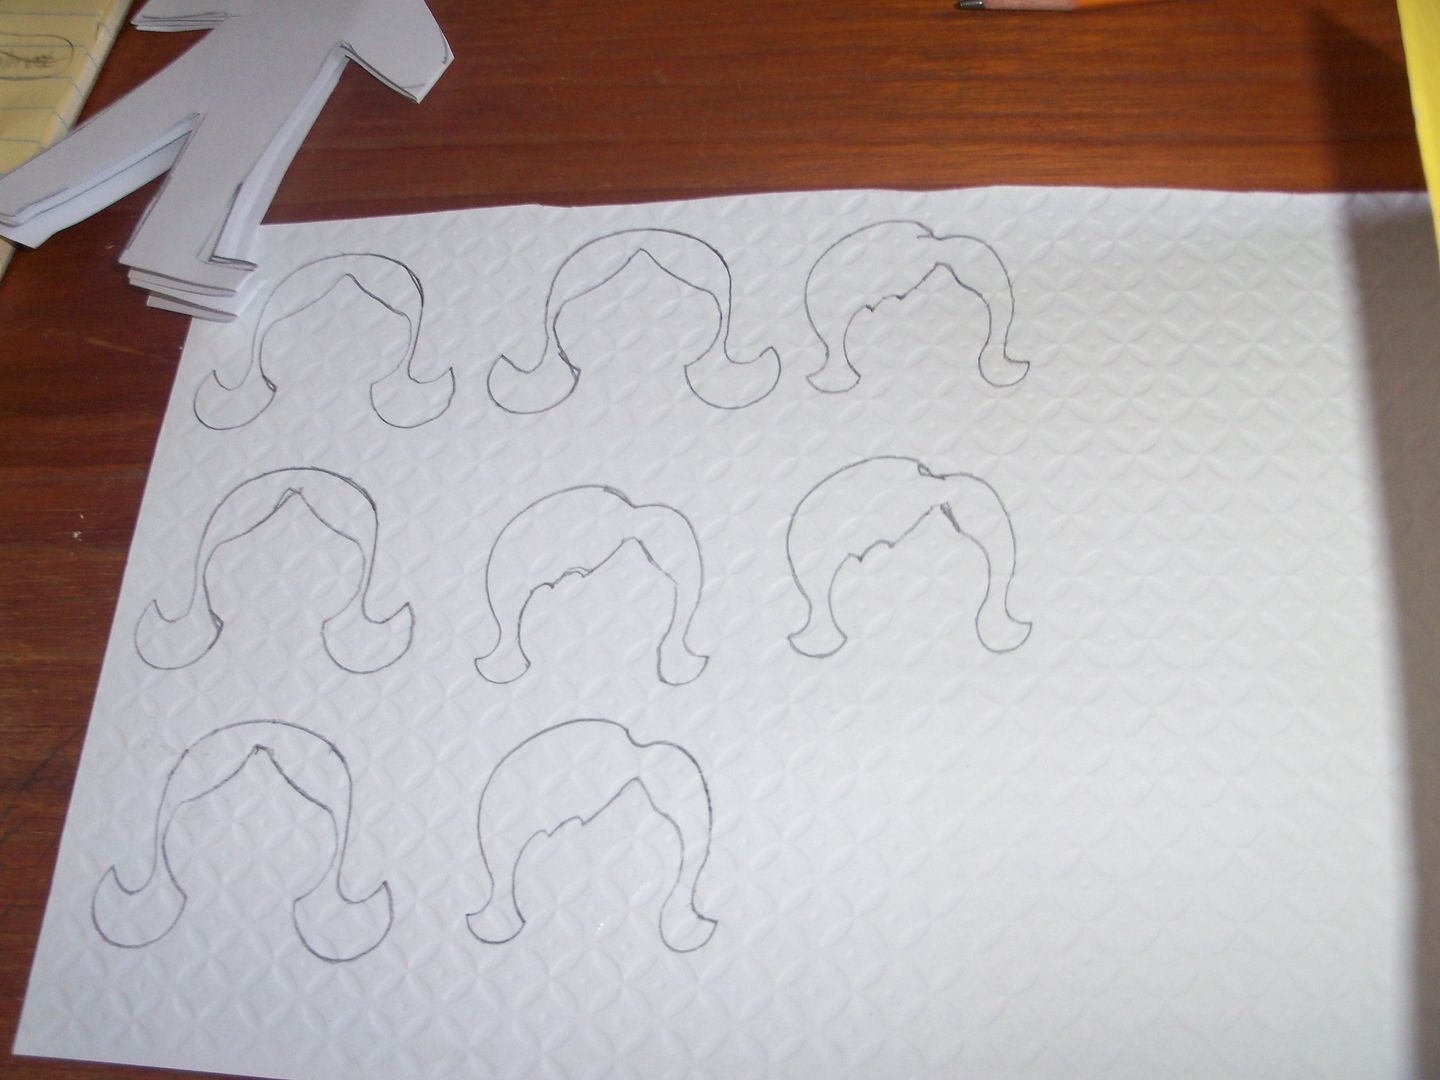
I used the same stencil for the hair. I wanted my girls to have true to life hair (or as close to as possible). I used textured scrapbooking paper for the hair. Here's the traced out blonde "wigs".
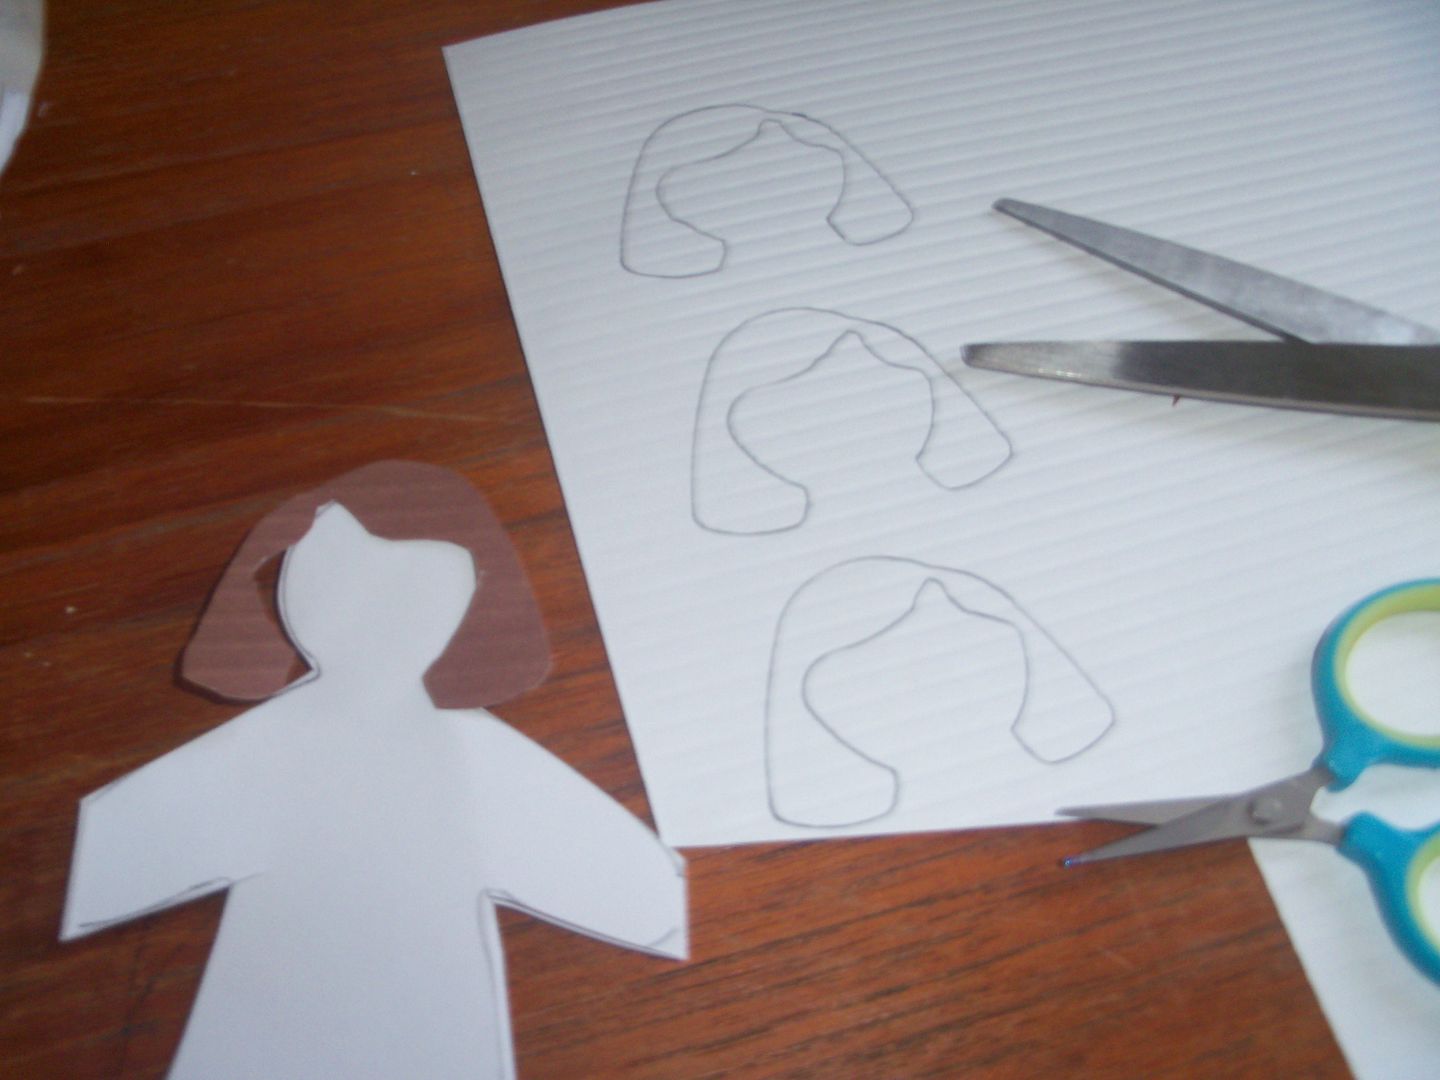
Here's my lone brunette. Paper is very forgiving so if you cut your hair out and it isn't quite right a little snip with the scissors or strategic fold does wonders. I used the small sewing scissors you see to cut out the hair.

Getting the girls dressed was a challenge. I made a few failed attempts to draw a dress before I realized my dolls were a different shape than the ones in the directions. Like I said, paper is forgiving so the girls underwent a little "plastic surgery". Not that I would ever want my beautiful girls to change for a dress, but their paper versions did. Once I gave them hips it was much easier to draw appropriate dresses. The best way to do it is to trace an outline on scrap paper and then draw a dress on top of that outline. Remember you want the whole dress outside the body's outline for this to work. Then cut the dress you're happy with out and use it as the template. I used regular green construction paper for my dresses.
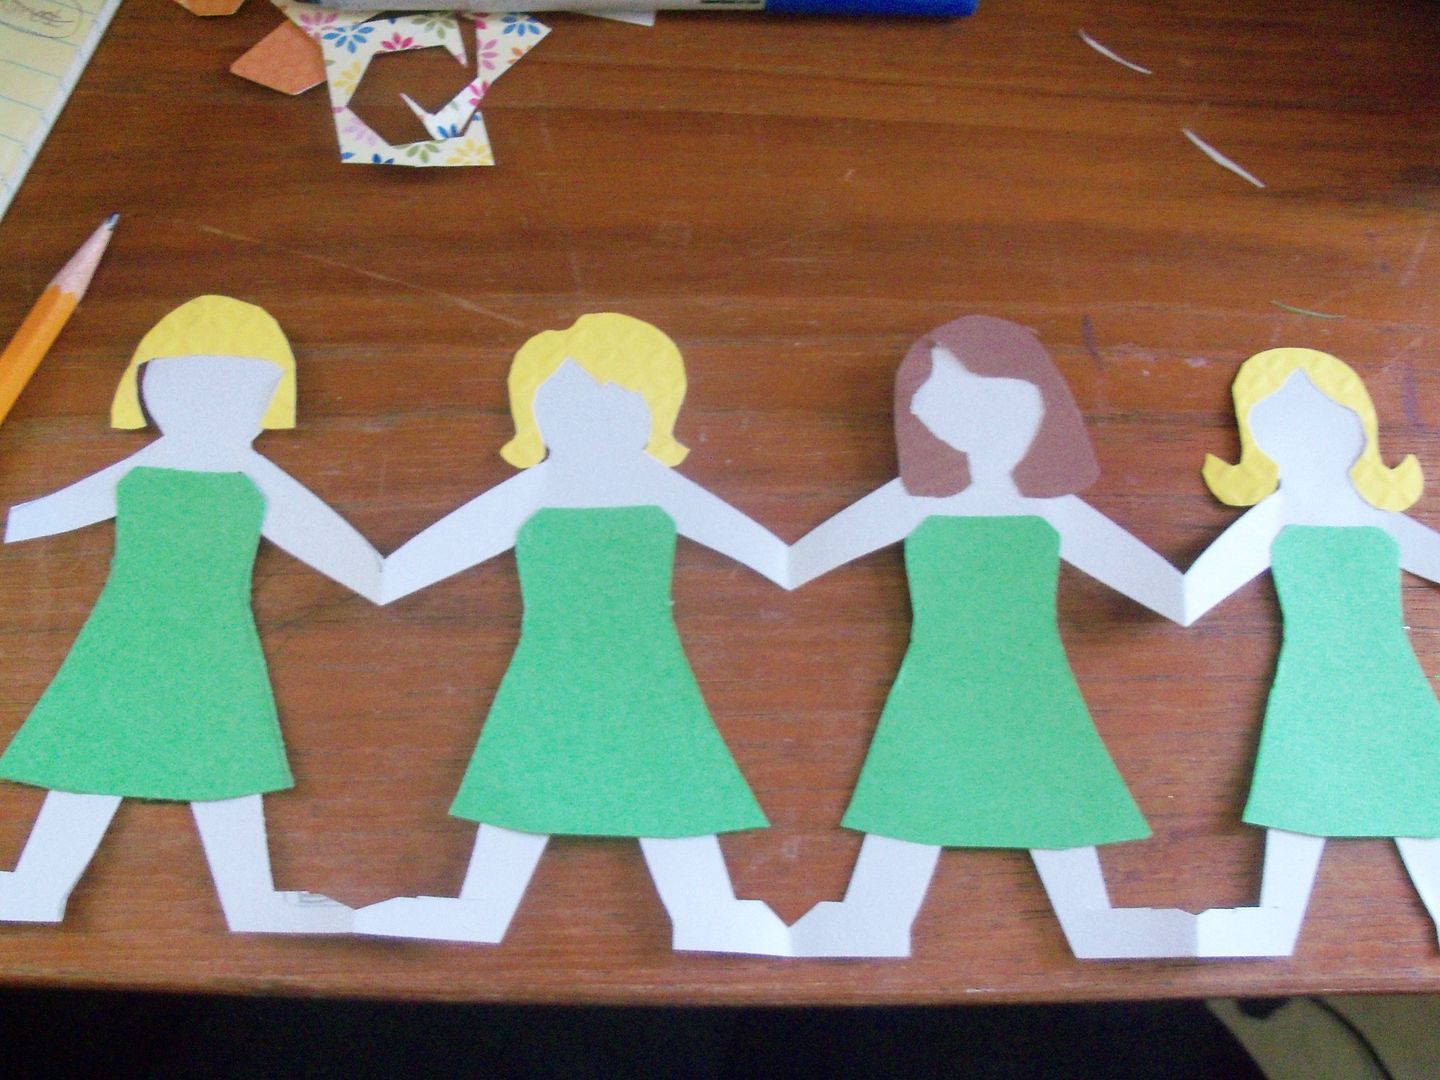
Here's one set of maids with hair and dresses. Remember you have to duplicate the set many times so keep them simple. I hand drew their faces trying to keep true to eye color. After that I added sashes to alternating dresses, a necklace or a hair flower and the names. The flower was cut from scrapbook paper the necklace was rhinestone stickers I cut to size.
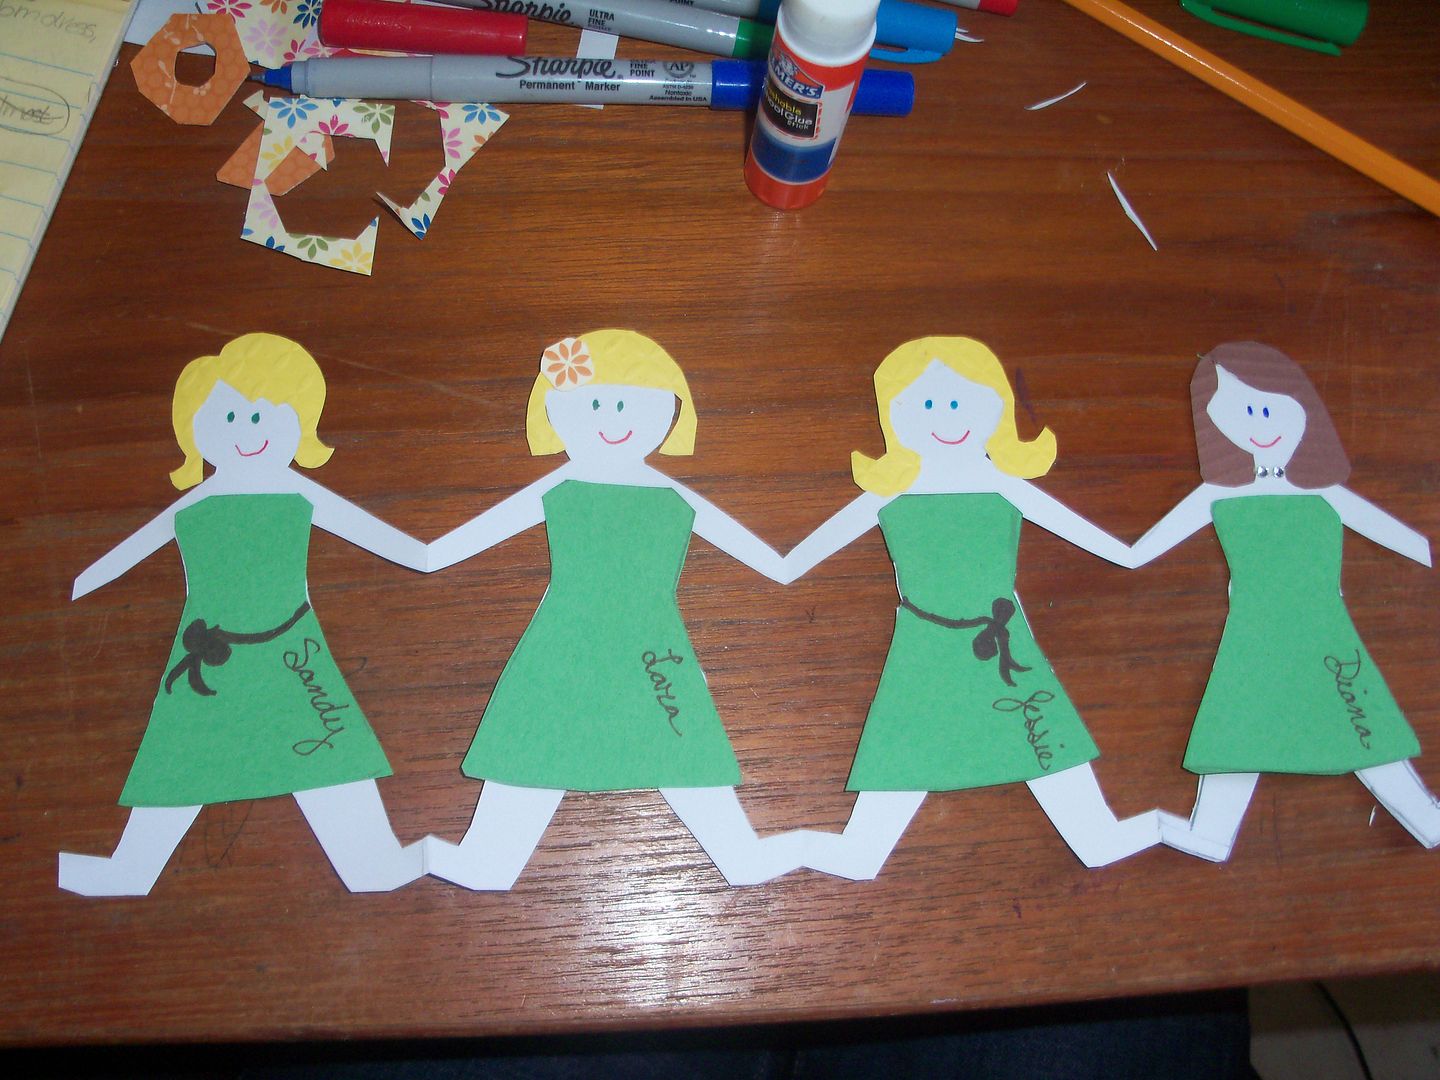
Here's a finished set. I tried to glue little bouquets in their hands, even after folding them alternating directions they popped off every time I folded the chain of girls. Also, remember you need the maid the card is for on top. I was all excited about line placement (bookend sisters, brunette, blonde) and then I realized their position has to change each set.
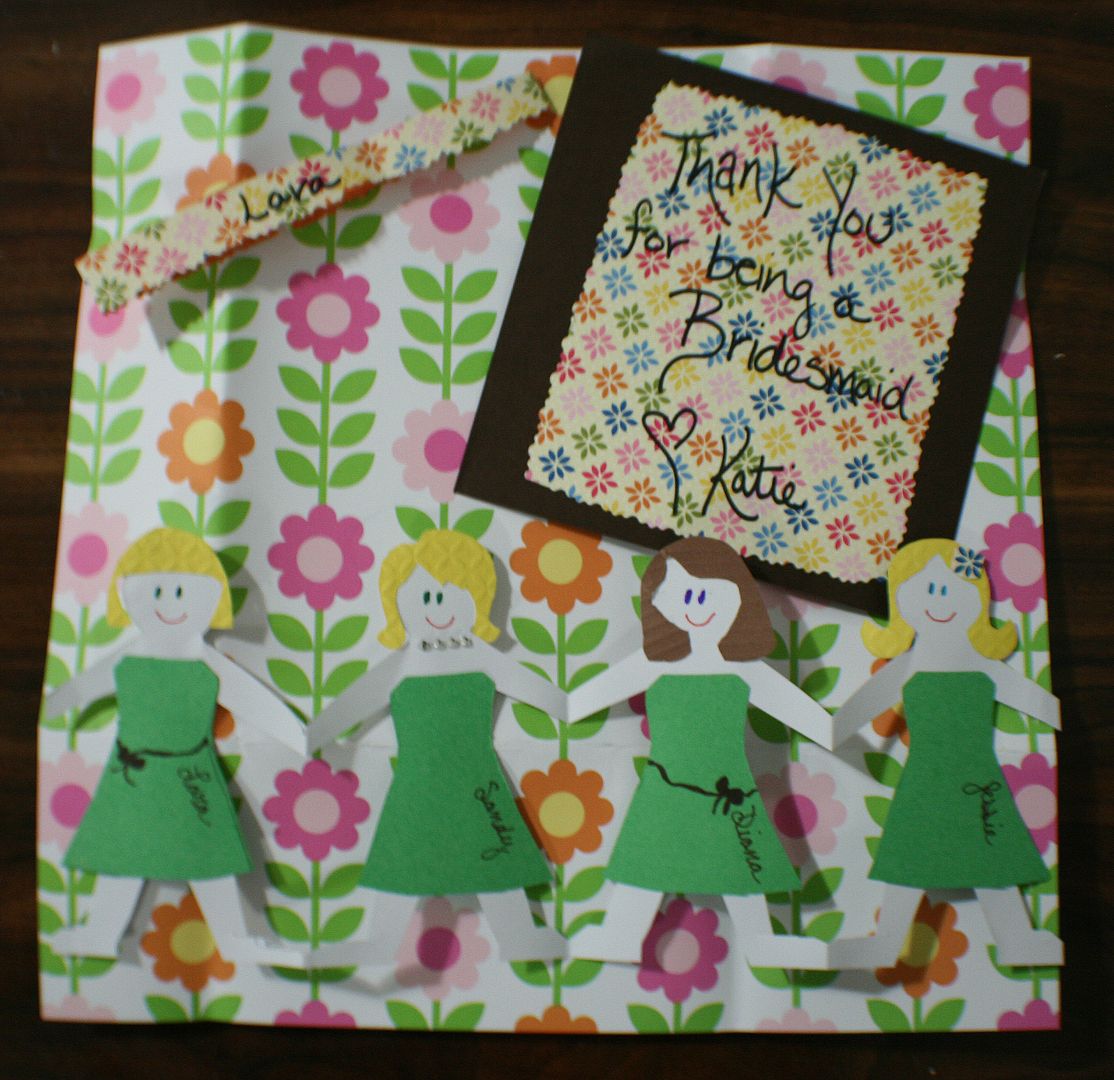
Here's my sister's finished card. I had written a beautiful thank you out on the computer, but I was low on colored ink. Instead I went with colorful paper, black sharpie and an incredibly simple note. I figure there's time for more elaborate thank yous down the line.
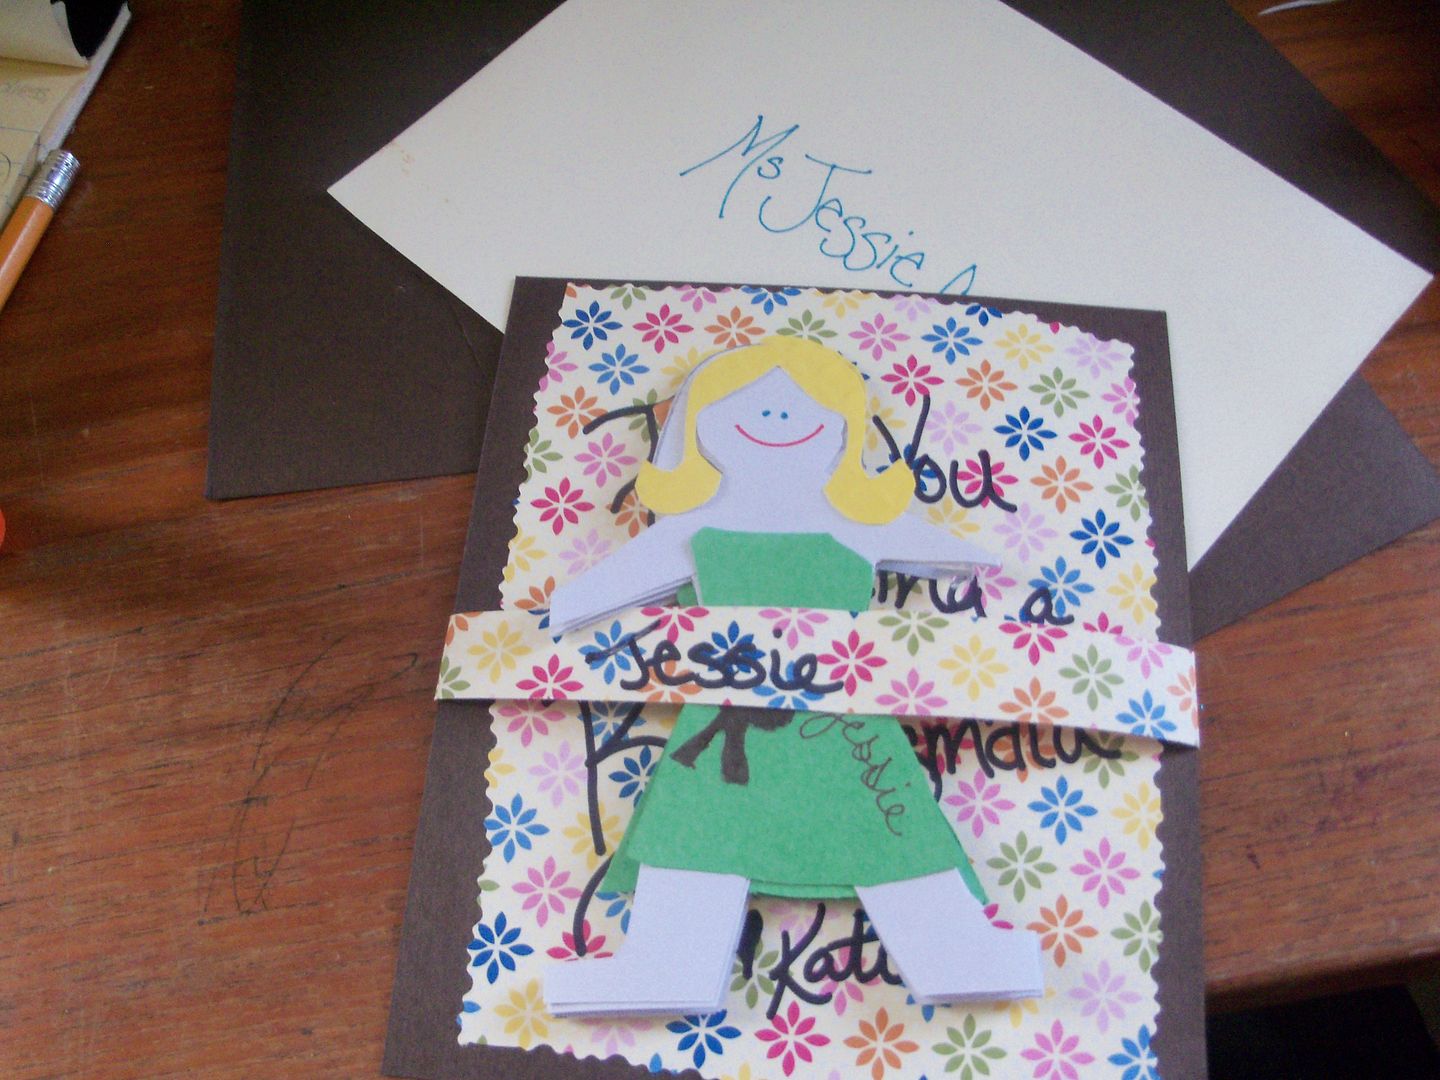
Here's my future sister in law's card all laid out. I used a strip of the same colorful paper to make the band that holds the dolls on. In hindsight solid paper would have been a better, more readable, choice. I used edging scissors on the strip too. I believe it was the "corkscrew" pair. I used brown cardstock behind the colored paper for the card itself. I chose to make every set a little different because I liked how that looked better and to break up the tedium of making 16 of everything.
In the end I'm extremely pleased with the result. They were a big hit with the girls. I know if I had received that I would have put in my scrapbook with wedding photos or hung in up over my desk. It was fun and it greased the wheels for all the DIY projects to come. I also think it's good to take a minute to say thank you up front because it will only get busier from here.
Katie, those are adorable. :) Well done!
ReplyDeletethose are awesome! Stacy
ReplyDeleteVery impressive Katie:) Cathy
ReplyDeleteThanks guys! They were another deceptively simple looking project. I'm really happy with them though.
ReplyDeleteaDORable! Rebekah
ReplyDeleteYou are So talented. Wonderful show of graditude.
ReplyDelete